Authentic mid-century art can be pretty pricey if purchased directly from the auction house or antique store. But you can skip the large expense simply by using free paint chips from the hardware store to get the look! Read on for the step-by-step tutorial, which shows you how to create a one-of-a-kind, retro-inspired art piece using supplies you likely already have on hand.
Video of the Day
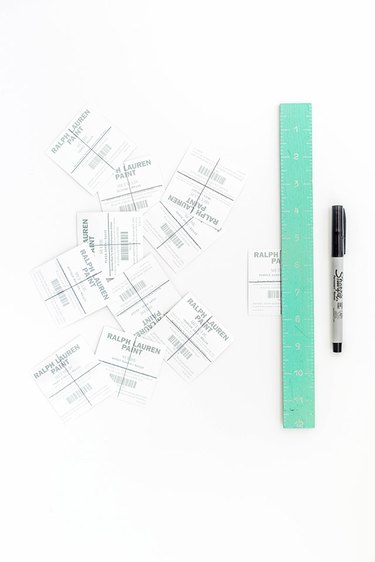
Things You'll Need
Sheet of white 8-by-10-inch cardstock paper
Assortment of paint chips
Fine-tip permanent marker
Straight edge
Scissors
Double-sided tape
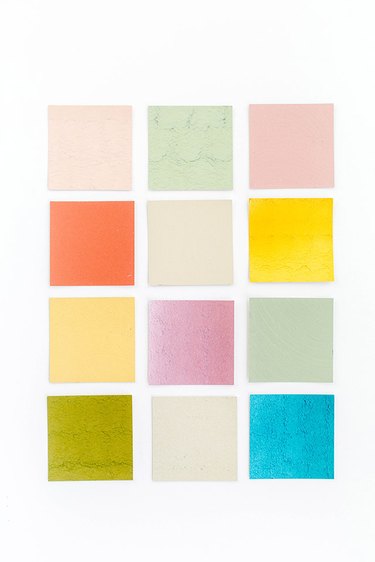
Step 1: Choose Your Color Palette
Curate a cohesive color palette using paint chips. You can pick these up free of charge from most hardware and home improvement stores.
Video of the Day
Tip
Run a search for "mid-century art" on the Internet to get a sense of the authentic color palette of the era. Shades of red and orange, teal, and lilac serve as easy starting points for your retro-inspired color scheme.
Step 2: Trace Lines on the Backs of the Paint Chips
Flip the paint chips over on a flat work surface, and use a straight edge and marker to draw lines on the backs of the chips to divide them into even sections.
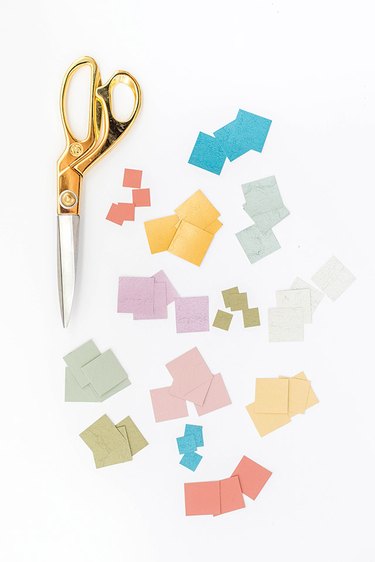
Step 3: Cut the Paint Chips to Size
Cut along the traced lines on the backs of the paint chips with scissors. For the smallest pieces, trim the cut squares into even smaller squares. You'll need two sizes of cut paint chip squares for this project.
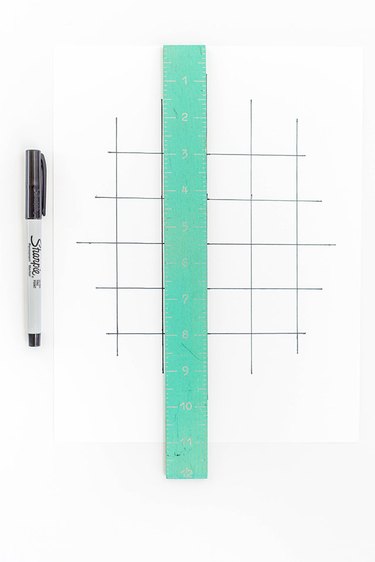
Step 4: Draw a Grid on a Piece of White Card Stock
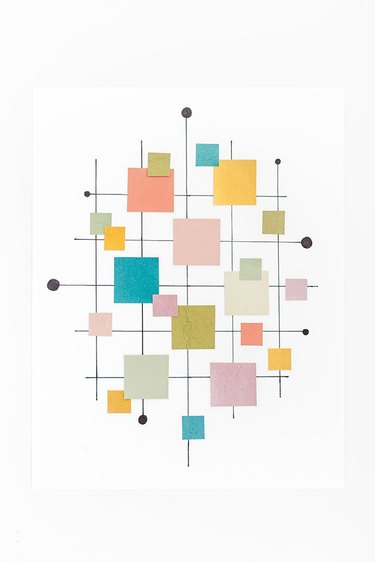
Draw a gridded diagram on a piece of thick white cardstock using a fine-tip permanent marker. For this design, you'll want the middle lines to be longer than the outer lines. Make the lines progressively shorter as you work your way out towards the edges of the paper.
The distance between your lines will depend on the size of your paint chips. Make sure that the lines are at least as far apart as your largest cut paint chip squares.
Step 5: Lay Out the Paint Chips
Lay your paint chips out one by one on the gridded card stock until you're satisfied with the design. Start with the largest size of cut paint chip squares.
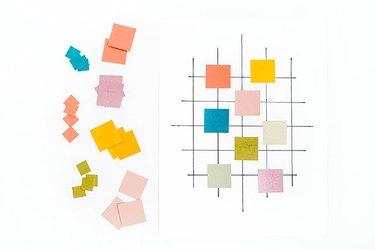
Step 6: Attach the Paint Chips to the Paper
Lay out the smaller size of paint chip squares, and play with them until you're satisfied with the design as a whole. When ready, attach the paint chips to the cardstock using double-sided tape.

Step 7: Add Finishing Details
If desired, layer a few extra small cut paint chip squares on top of the first layer of squares, and then draw small circles on a handful of the lines near the edges of the grid.
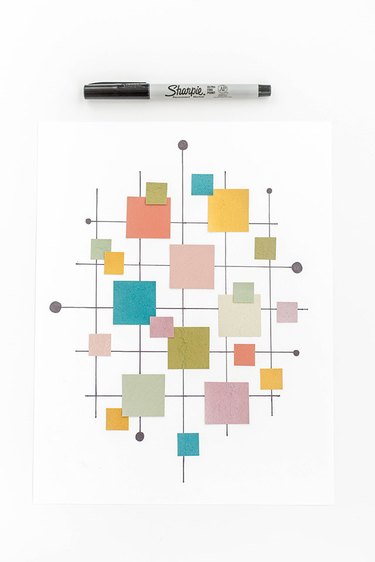
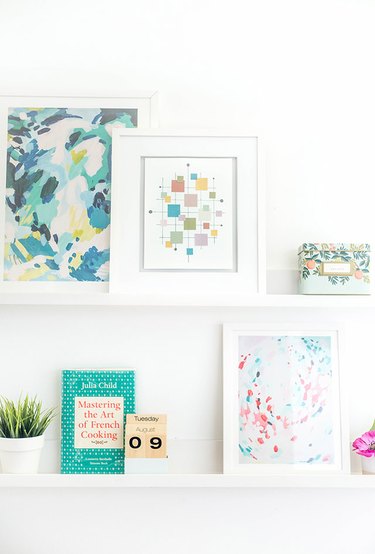
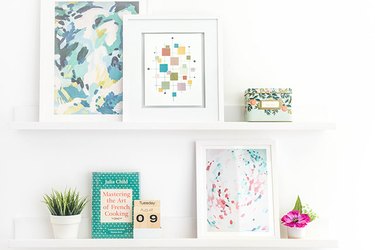
Step 8: Frame Your Art Work Immediately
Because there is no glue or wet paint involved in this project, you can frame it immediately after completing it. Simply put the DIY print in a frame and hang it on the wall alongside your other mid-century-era art and accessories!