Things You'll Need
Wood blocks, 1 1/2-inch thick
Table saw or miter saw
Drill bit, 3/16-inch
Drill/driver
Wood glue
Screws, 2-inch
Drill bit, 5/16-inch
Lag bolts, 1/4-inch
Washers
Socket and ratchet, 3/8-inch
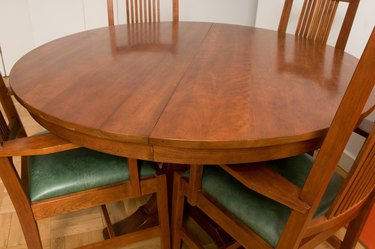
Pedestal tables are elegant and attractive. They are supported by a single post in the center that's attached by arms that splay 90 degrees at the top. The attachment at the top requires adequate fasteners to ensure that the table remains stable and secure. Lag bolts are commonly used because of their strength and gripping ability. Since the top of the table may only be 3/4-inch thick, braces or thick shims are added to the bottom of the table to give the lag bolts necessary purchase to secure the legs to the table.
Step 1
Turn the table upside down. Place the pedestal assembly centered on the bottom of the table as if it were already installed. Three or four of the splayed out legs might fit flat against the bottom of the table. Trace around each one of them. Remove the pedestal leg assembly from the table.
Video of the Day
Step 2
Cut one 1 1/2-inch-thick wood block that's at least 1 inch bigger than the footprints or tracings of each foot. Use a table saw or miter saw to cut the blocks.
Step 3
Drill four pilot holes through each block on a 1 inch diagonal from each corner. Use a 3/16-inch bit and drill/driver to drill the holes.
Step 4
Apply glue to one side of each block. Place the blocks, centered, over each tracing. Screw the blocks to the table using 2-inch screws and the drill/driver.
Step 5
Place the pedestal base on top of the blocks, centering the legs on the blocks. If the legs do not already have holes in them, drill two pilot holes through the legs using a 5/16-inch drill bit. Install a 3/16-inch bit, and drill down through the 5/16-inch holes and through the blocks to create pilot holes in the blocks for the bolts. To ensure that you don't drill too far, place a piece of tape on the drill bit to indicate the depth of the block.
Step 6
Place 1/4-inch lag bolts with washers in the holes. The bolts should be long enough to penetrate through the legs and blocks. It's OK if the lag bolts also penetrate into the table at least 1/2 inch. Take some measurements before using the lag bolts and select the right size.
Step 7
Drive the screws in tight using a 3/8-inch socket and ratchet to secure the pedestal leg assembly to the dining table.
Tip
Apply a bit of paraffin wax to the lag bolts if they are stubborn and won't penetrate the blocks easily.
Warning
Check the stability of the pedestal leg assembly before installing it. If any of the braces or fasteners seem loose, replace or tighten them.
Video of the Day