Things You'll Need
Adjustable wrench
Garden hose
Screwdriver set

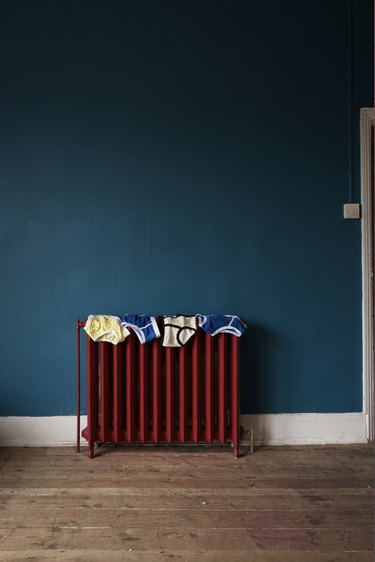
Hot water from a boiler warms a hydronic heating system's baseboards. The temperature across a properly functioning baseboard, often called a radiator, remains even over its entire surface. Over time, sediment builds up in the heating system's pipes, baseboards and expansion tank. A sediment blockage in the pipes or baseboards lowers the rate of water flow through the baseboards, reducing the heating system's efficiency. Sediment buildup in the expansion tank lowers the tank's ability to regulate water pressure in the system. Draining and refilling the heating system flushes the debris from the pipes, baseboards and the expansion tank.
Step 1
Turn off the circuit breaker labeled "Boiler" or "Furnace."
Video of the Day
Step 2
Turn off the boiler's gas valve, using an adjustable wrench to turn the valve's handle counterclockwise. The brass gas valve connects to the building's gas pipe outside of the boiler unit.
Step 3
Wait two hours for the water in the heating system to cool. The scalding hot water the boiler produces must cool before continuing.
Step 4
Turn the handle on the boiler's water supply valve counterclockwise, closing the valve. A pressure regulating actuator usually mounts between the water supply valve and the boiler. The water supply valve or the pressure regulating actuator connects to the boiler port with the "Water supply" label.
Step 5
Attach a garden hose's female fitting to the boiler's drain fitting, the fitting near the bottom of the boiler with the "Drain" label. Twisting the garden hose's female fitting clockwise tightens the connection. Run the male end of the garden hose to a floor drain.
Step 6
Turn the handle on the boiler's drain fitting counterclockwise, opening the drain fitting. The boiler's water should gurgle out the end of the garden hose.
Step 7
Open the bleeder screw on the baseboard farthest from the boiler, using a slotted or hex screwdriver to turn the bleeder screw counterclockwise. Some radiators use a slotted bleeder screw, while others use a hex screw. The bleeder screw threads into a fitting near the top of the baseboard. Open each baseboard bleeder screw, working from the baseboard farthest from the boiler toward the baseboard closest to the boiler. Opening the bleeder screws allows air to enter the system, which increases the water's flow rate out of the garden hose attached to the boiler's drain fitting.
Step 8
Watch the garden hose's male fitting. Once the water stops draining from the heating system, close the boiler's drain fitting and remove the garden hose. Turning the drain fitting's handle clockwise closes the fitting and twisting the garden hose's female fitting counterclockwise disconnects the hose.
Step 9
Connect the garden hose's female fitting to the expansion tank's drain fitting, if applicable. Modern expansion tanks use a diaphragm and do not have a drain fitting. Older expansion tanks have a drain fitting located on the bottom of the tank. Turn the drain fitting's handle counterclockwise, opening the valve. After the water stops flowing out of the garden hose's male end, close the expansion tank's drain fitting and disconnect the garden hose.
Step 10
Close all of the baseboard bleeder screws, using the slotted or hex screwdriver to turn the bleeder screws clockwise.
Step 11
Turn the handle on the boiler's water supply valve clockwise, opening the valve.
Step 12
Open the bleeder screw on the baseboard closest to the boiler, using the slotted or hex screwdriver to turn the screw counterclockwise. The water entering the system from the boiler's water supply valve forces the air in the pipes and baseboard out of the bleeder fitting. Once water starts to spurt out of the bleeder fitting, close the bleeder screw. Bleed the air from each baseboard, working from the baseboard closest to the boiler toward the baseboard farthest from the boiler.
Step 13
Turn on the boiler's gas valve, using the adjustable wrench to turn the valve's handle clockwise. Light the boiler's pilot light, using the boiler's instructions as a guide.
Step 14
Turn on the boiler's circuit breaker.
Tip
If a baseboard does not heat evenly across its entire surface, turn off the boiler and bleed the air from the baseboard. Air trapped in the baseboard's upper level will prevent the hot water from warming the entire baseboard.
Video of the Day