Just like a car, the brake systems on your Murray riding mower are important for safety. Even though your Murray riding mower doesn't go as fast as a car, you're likely to use it on slopes or surfaces with less grip than a road. Over time, your mower's brakes can come out of adjustment and not provide as much stopping power as before. Fortunately you can readjust and repair your brake system without taking it to a technician.
Step 1
Place your mower on level ground and turn off the engine. Disconnect the spark plug with your wrench to prevent any accidental starts while you work on your Murray mower.
Video of the Day
Step 2
Set the parking brake and put the shift lever into the neutral position, which is marked with an "N."
Step 3
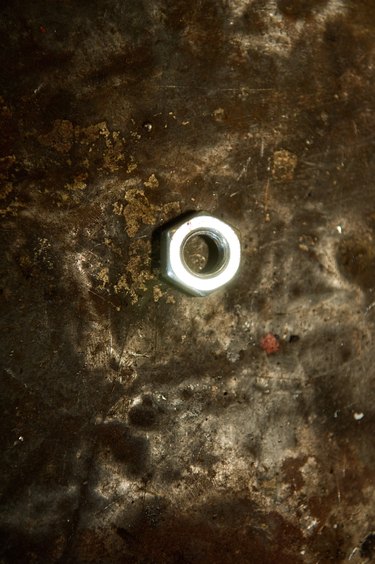
Undo the hex nut with your socket or wrench set by turning it clockwise. Keep turning it until the rear wheels don't move when you push your mower forward.
Step 4
Release the parking brake and move your mower. If it doesn't move, tighten the hex nut by turning it counterclockwise until the unit starts rolling.
Step 5
Set the parking brake and push your mower. If the rear wheels remain in place, the drive brake has been correctly adjusted. If they do move, repeat steps 2 through 4 accordingly.
Video of the Day