Things You'll Need
Hammer drill
Masonry bits
Brush or air hose
Sillcock
Pencil or marker
Concrete screws
Driver bit
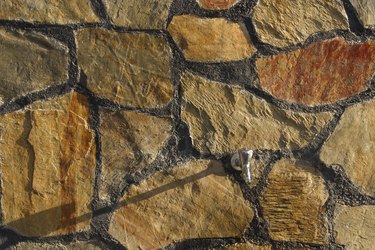
Hose bibs with wall-mount flanges, called "sillcocks," butt flush against all types of exterior wall surfaces, including brick and concrete walls. Unlike standard hose bibs, sillcocks accept water supply lines from their rear. Before mounting the sillcock's flange to a wall with concrete screws, you must drill an access hole through the wall for water piping. Sillcock inlets join with piping via common pipefitting methods, such as soldering and threaded connections.
Step 1
Mount a masonry bit to a hammer drill; use a bit slightly larger in diameter than the sillcock's supply pipe. Set the drill to the hammer setting. Drill through the masonry wall at the desired location of the hose bib. Remove the bit from the hole and clean debris and dust from the hole with a brush or air hose.
Video of the Day
Step 2
Butt the hose bib's flange flush against the wall and align the hose bib's supply inlet with the hole. Twist the hose bib to align its outlet; the outlet usually faces the ground. While holding the hose bib in position, press a pencil or marker through the hose bib's flange's screw holes to layout drill marks on the wall's surface. Remove the hose bib from the wall.
Step 3
Select a masonry drill bit roughly equivalent in diameter to the diameter of your concrete screws' shanks; consult your concrete screw manufacturer's guidelines for precise drill bit sizing. Mount the bit to the hammer drill and set the drill to the hammer setting. Drill into the wall at each screw hole to the depth specified by your concrete screw manufacturer's guidelines. Clean debris and dust from the holes with a brush or air hose.
Step 4
Mount a driver bit into the hammer drill and set the drill to the driver setting. Align the screw holes on the hose bib's flange with the screw holes on the wall. While holding the hose bib in position, drive a concrete screw through each of the flange's screw holes and into the screw holes on the wall. Drive the screws until they butt against the flange and secure the hose bib to the wall.
Tip
If your sillcock accepts soldered supply pipes, solder the pipe to the sillcock before securing the flange to the wall.
If your sillcock accepts threaded pipes, thread the pipe into the sillcock's inlet after securing the flange to the wall; remember that threaded fittings require pipe-thread sealant.
Video of the Day