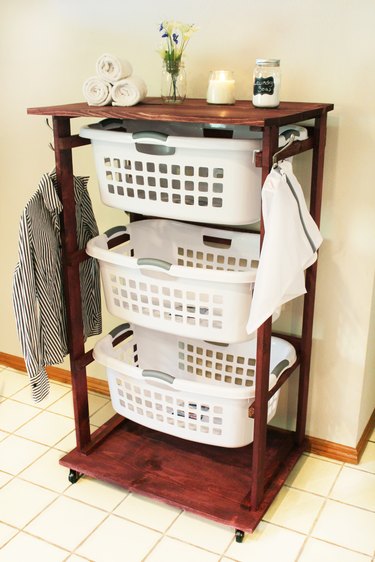
Lifting several baskets to and from the laundry room can be quite tiresome. Creating your own rolling laundry cart allows you to push around three laundry baskets at once, cutting down on precious time and labor. You can simply roll your baskets from room to room with ease and make laundry day less of a chore.
Video of the Day
Things You'll Need
Tape measure
Pencil
10-foot piece of one-by-twelve pine wood
8-foot piece of one-by-three pine wood (3)
10-foot piece of one-by-two pine wood (2)
Circular saw
Wood stain
Rag
Gloves
7/64-inch drill bit
Power drill
1 1/4-inch screws
1/2-inch screws
2-inch swivel wheels (4)
Garment hooks (2)
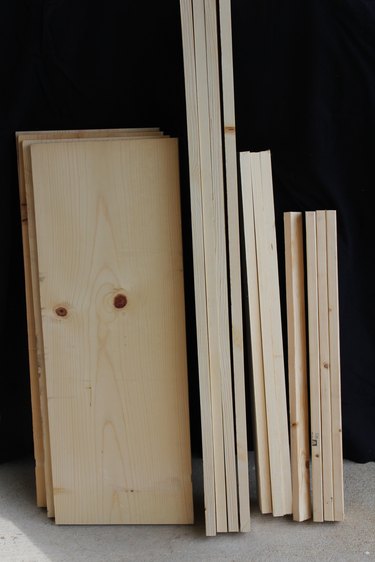
Step 1: Cut Wood Pieces
Begin by cutting all of the wood you will need to build your rolling laundry cart using the circular saw. Cut the one-by-twelve into four pieces at 30 inches each in length. Then cut the one-by-twos into 10 different 18-inch pieces. Now cut the one-by-three into four 4-foot pieces. Lastly, cut three pieces of one-by-three into 28 1/2-inch pieces.
Video of the Day
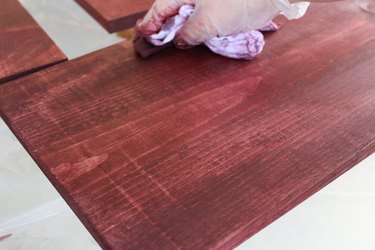
Step 2: Stain the Wood
Stain the wood pieces according to the manufacturer's instructions on the label. Be sure to wear plastic gloves. The longer you keep the stain on the wood before wiping it off, the darker the stain will be. Make sure to time how long you stain each piece so you end up with the same shade for each piece of wood. It can take several hours before the stain dries -- allow it to dry completely before moving on.
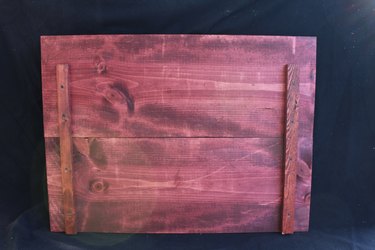
Step 3: Build the Top and Base
Lay two of the one-by-twelve pieces side by side on the ground. Now lay a one-by-two piece perpendicularly over the one-by-twelve pieces, "linking" them together. Make sure it is positioned 1 1/2 inches in from the side and one end is flush with the one-by-twelve. Place the other one-by-two piece along the other side; it should mirror the other piece.
Use the power drill to drill in four 1 1/4-inch screws into each one-by-two, securing them in place. This will be the base of the cart. Repeat this step to complete the top piece.
Tip
Prior to drilling in any screws, use your power drill and a 7/64-inch drill bit to create pilot holes in each spot where you will drill a screw. This will help prevent the wood from splitting.
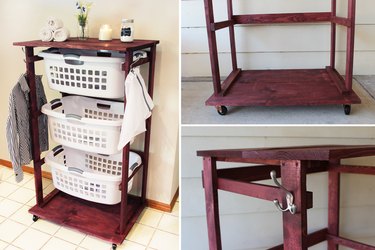
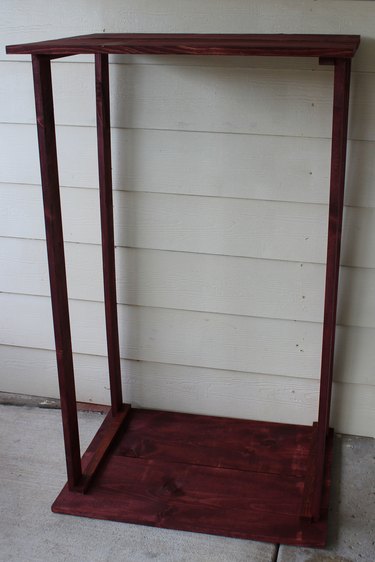
Step 4: Attach Top and Base
Place the base piece on the ground with the one-by-twos facing up. Stand a one-by-three (4-foot piece) up on the back of the cart, on the outside of the one-by-two. Drill it into the one-by-two with two 1 1/4-inch screws. Repeat on the remaining three corners, making sure to line the one-by-threes up outside of the one-by-twos.
Take your top piece and place it on top of the four one-by-three pieces in the same fashion as the base piece. Connect it to the one-by-threes the same way you did to the base piece.
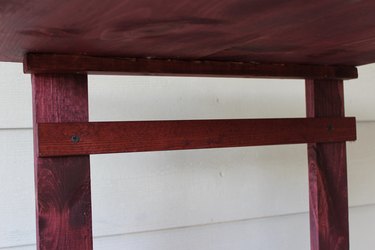
Step 5: Attach Shelving Lips
Measure 14 inches from the bottom of each of the one-by-three pieces and mark with a pencil. Do this again at 28 inches and 42 inches. This is where each shelving lip will go to hold your three laundry baskets. Line up a one-by-two piece along the 14-inch marks on one side of the cart -- it should be flush from front to back. Drill two 1 1/4-inch screws through the one-by-two into the one-by-three pieces. Repeat at the 14-inch marks on the other side of the cart to create your first tier of shelving. and then repeat at the 28-inch and 42-inch marks to create your second and third shelving tiers.
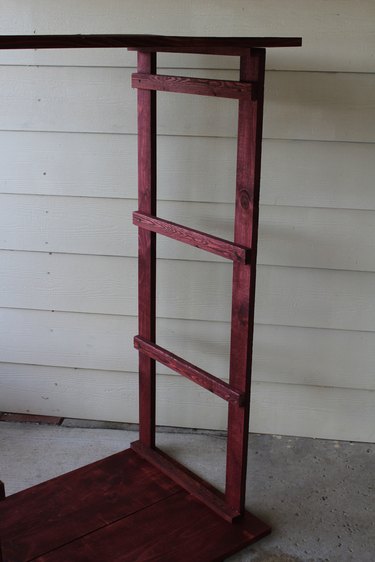
Step 6: Install Back Beams
Take one of the remaining one-by-three pieces (28 1/2-inch piece) and place it behind the cart, making the bottom flush with the bottom of the top shelving tier. Use the power drill to drill in one 1 1/4-inch screw on each side to hold it in place. Do the same for the next two shelving tiers.

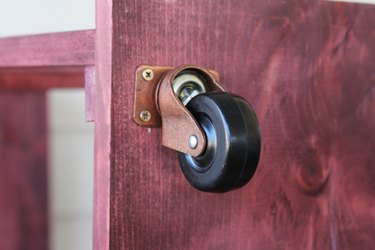
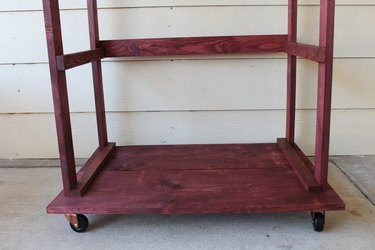
Step 7: Install Wheels
Turn the cart on its side to install the wheels on the bottom. Place the wheels 1/2 inch from the front and back, and 1 1/2 inches in from the sides. Use the 1/2-inch screws to drill them into place.
Step 8: Install Garment Hooks
Place garment hooks on either side of the cart, lined up along the outside of the top shelving tier. Use the screws that came with the hooks or 1/2-inch screws.
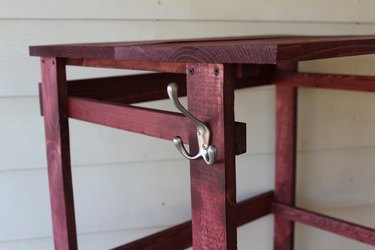
Tip
These hooks are handy for hanging delicate items that cannot go into the dryer.
Look forward to easier, breezier laundry days this day forward!