Duct tape has always been a handyman's tool. The super-adhesive has been used predominantly in the military to seal and repair everything from ammunition cases to broken windows and Jeep parts. Duct tape has been used in the medical field and in space flight. Many more colors have been created since its original silver hue, and these varietes can easily be found in most craft stores. Duct taping letters is a great way to personalize books, binders, gift cards or any type of paper.
Video of the Day
Things You'll Need
Scissors
Paper Towel
Cutting Mat
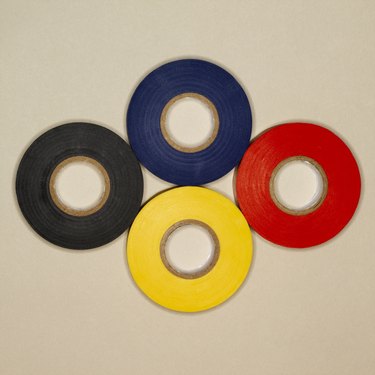
Duct Tape (Colors Of Choice)
Marker
Exacto Knife
Step 1
Cut pieces of duct tape from the roll with scissors and place evenly on the cutting mat. Draw a letter on each piece of duct tape with the marker. Make certain that the ends of the letters are even, or you will have to redo them.
Video of the Day
Step 2
Slice along the marker line with an exacto knife. For the corner of letters, use the tip of the knife to prick the corner. Then slice along the edges.
Step 3
Peel away the excess tape slowly. Wipe any marker remaining on the letters with paper towel. Peel letter off of cutting mat and place on preferred craft.
Tip
Craft stores provide a wide selection of stencils you can use in lieu of designing letters by hand.
Warning
Before you cut, make certain the surface beneath the cutting mat is safe to cut on to avoid unnecessary damage.