Things You'll Need
Die-cast mold
Mold lubricant
Furnace
Cold-chamber or hot-chamber die-casting machine
Metal
Trimming die
Hydraulic press
File
Polisher
Work gloves
Eye protection
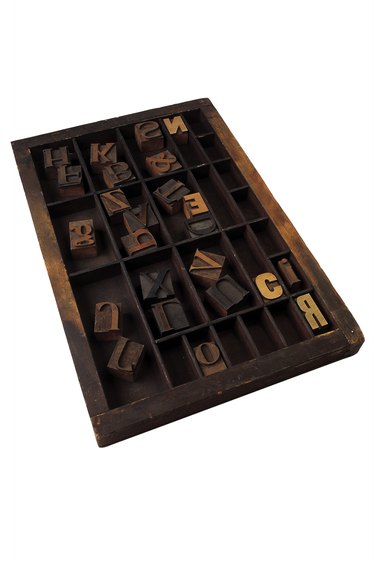
Die-casting was first used in the mid-1800s to manufacture printing type. This process for making metal parts, including toys, differs from gravity-assisted metal casting, in that it uses high pressure to force the molten metal into steel molds. The molds, known as dies, are reusable and can create highly accurate, complex shapes again and again. Today, die-casting is used to manufacture a variety of items, including toys.
Step 1
Prepare the mold. Spray mold lubricant into all sections of the mold. This will not only help control the mold temperature, but also help ensure the finished piece can be easily removed after it has been cast. If the mold is not properly lubricated, the finished toy can be damaged when it is removed from the mold or the mold can become too hot and the piece can be damaged in the casting process.
Video of the Day
Step 2
Prepare the metal for the die-casting process. The metal for die-casting differs greatly, depending on your final product. Common metals for die-casting include: aluminum, copper, lead, magnesium, tin and zinc, due to their fairly low melting points. If you are using a cold-chamber machine, you will need to melt your metal in a furnace before putting it in the machine. If you are using a hot-chamber machine, the machine will heat the metal to the correct temperature for the die-casting process.
Step 3
Cast the die-cast toy. The machine will inject the molten metal into the die-cast mold and maintain pressure until the toy has cooled enough to solidify. The ejector die is then used to eject the toy from the mold. Use the trimming die, on the hydraulic press, to trim the excess metal from the finished piece. Finish the toy with your preferred finishing tools, including filing, polishing and painting.
Tip
Save the scrap pieces you've trimmed from your finished toy and re-melt them to reuse in future castings. The Internet is an excellent source for die-casting supplies.
Warning
Always work in a well-ventilated area. Always wear work gloves and eye protection during the die-casting process. Some metals, such as lead, can be hazardous. Always follow safe material handling practices when working with these metals and dispose of waste per state and local regulations.
Video of the Day