Things You'll Need
CPVC transition fittings
White sealing tape
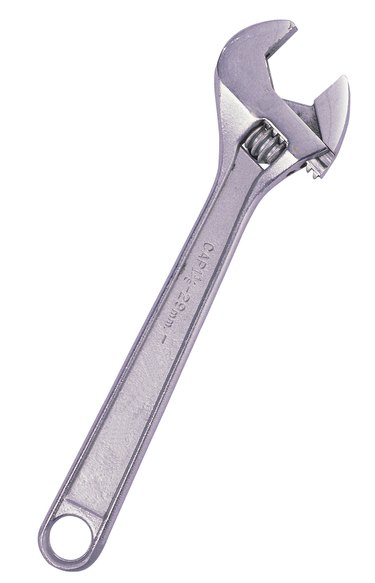
Adjustable wrench
PVC primer
CPVC cement
CPVC pipe
120-grit emery cloth
Circular wire brush
Copper male adapters
Soldering paste and brush
Roll of solder
Propane torch
Rag
CPVC hot/cold adapters
Pump pliers
Chlorinated Polyvinyl Chloride (CPVC) is a hard white plastic that is code-accepted for both hot and cold water supply line installations. Generally installed in either 3/4- or 1/2-inch diameters, the pipe sections join together with primer and CPVC cement. Shower valves are typically made of brass and have inlets designed for soldering pipe or that attach to pipe via threads. Joining a shower valve to CPVC requires a transition fitting that cements to the CPVC pipe on one side, and either threads or solders to the shower valve on the other.
Valves With Threaded Inlets
Step 1
Look at the valve's inlets to see if they have male (exterior) or female (interior) threads. Use a female thread-ended CPVC transition fittings on male threaded valve inlets and male thread-ended CPVC transition fittings on female threaded valve inlets.
Video of the Day
Step 2
Wrap white sealing tape twice clockwise around the male threaded ends of either the valve inlets or transition fittings. Screw the fittings onto the valve inlets by hand. Tighten the fittings in place with an adjustable wrench.
Step 3
Brush PVC primer onto the inside of the CPVC end of the fittings, as well as the outside ends of the CPVC pipes to be attached. Brush CPVC cement onto all primed areas. Push the CPVC pipe ends fully into the inlets. The hot line goes into the left inlet and the cold line into the right inlet. Hold the pipes onto the inlets for 15 seconds while the cement dries.
Valves With Soldering Inlets
Step 1
Sand around the outside end of the valve inlet with 120-grit emery cloth. Push a circular wire brush into the end of a copper male adapter, turning the brush several times. Brush a thin layer of soldering paste onto both cleaned areas. Push the adapter onto the valve inlet so the threaded end of the adapter faces away from the shower valve.
Step 2
Pull 8 inches of solder from its spool and turn on a propane torch. Heat around the seam where the adapter surrounds the inlet. Touch the end of the solder to the seam. If the solder melts, apply solder all around the seam. Wipe off all solder drips and soldering paste residue from the seam with a rag. Repeat the process with all inlets. Wait for the installed adapters to completely cool.
Step 3
Screw a CPVC female hot/cold adapter onto each of the copper adapters' end threads. Tighten each CPVC adapter in place with a pair of pump pliers. Brush PVC primer around the inside ends of the CPVC adapters as well as the outside ends of the CPVC pipes to be attached.
Step 4
Brush CPVC cement onto all primed areas. Push the cemented pipe ends into the ends of the CPVC adapters. Hold the pipes onto the adapters for 15 seconds while the cement dries.
Video of the Day