DIY College Dorm Door Sign with Hooks: A Full Build Guide
A personalized wooden sign built for a University of Texas at Austin freshman took less than three hours of hands-on work spread across two days (Times with TABBY, nearly three years ago). It's proof that a DIY college dorm door sign doesn't have to eat up an entire weekend.
The maker used two heavy-duty Command Strips to mount the finished sign, a choice made specifically for the dorm installation (Times with TABBY, nearly three years ago). The tutorial explains how to decorate the sign; it doesn't establish how much weight those strips can hold once a wood board, three hooks, and whatever gets hung on them are all pulling on the same adhesive. This guide covers what to confirm with housing first, which of two build formats to choose, and how to mount the finished piece without guessing at that number.
Check your housing rules before you buy anything
Video of the Day
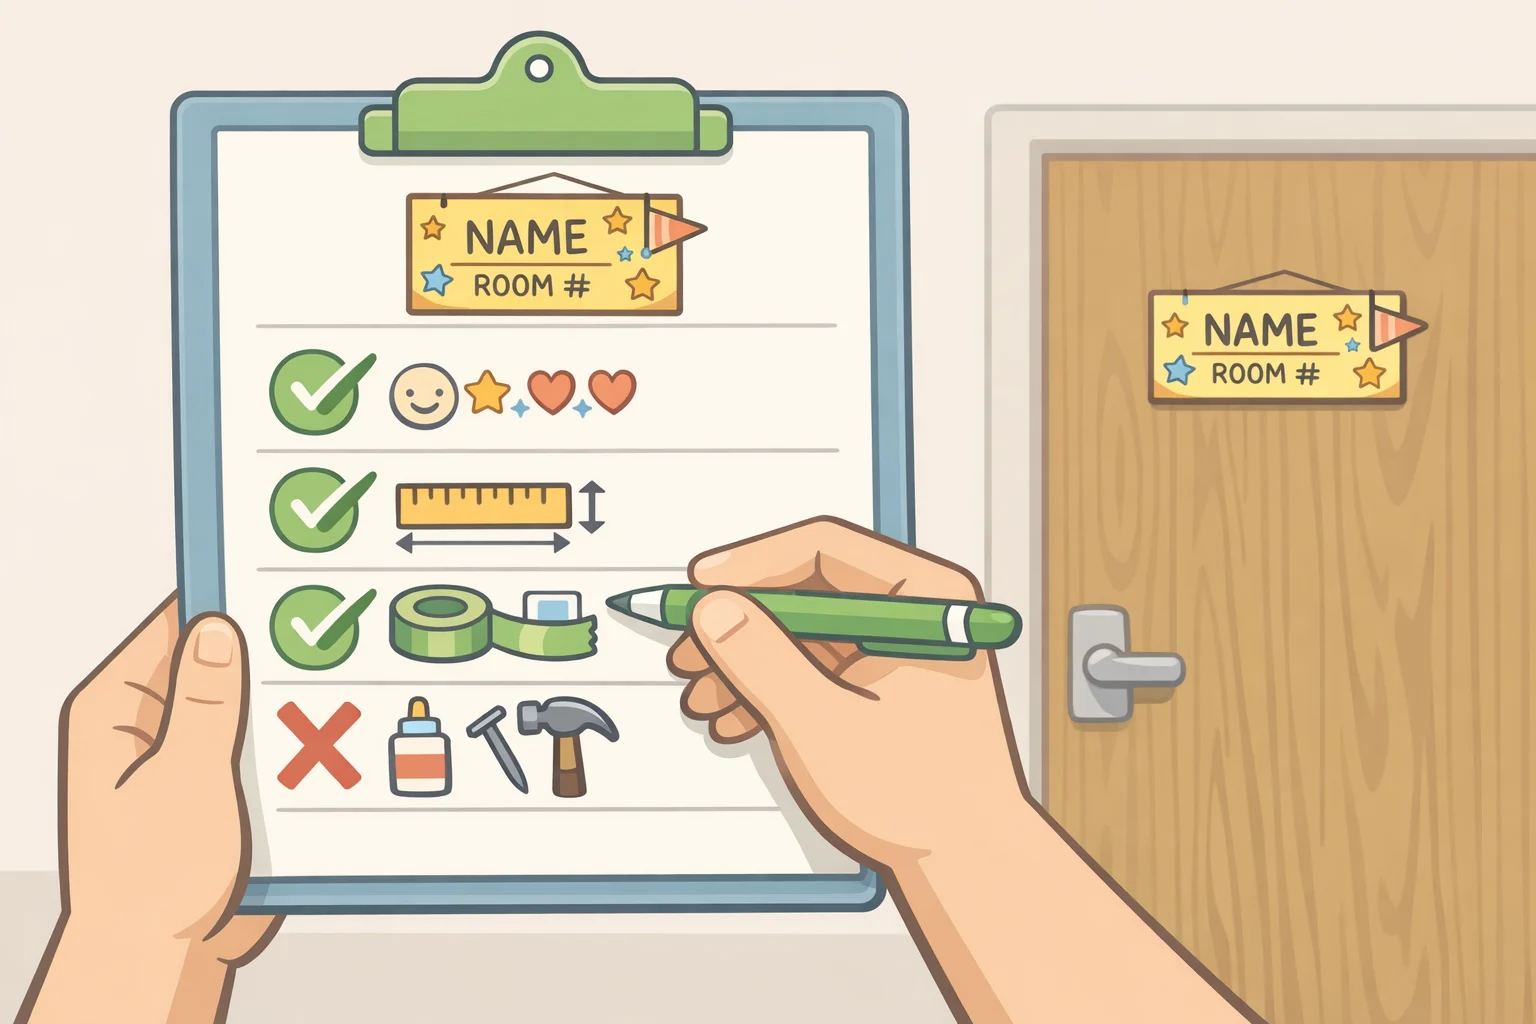
The example this guide draws from used Command Strips rather than nails or screws, precisely because the sign was headed for a dorm room door (Times with TABBY, nearly three years ago). But "heavy duty" printed on a strip package doesn't tell you the combined weight of a finished sign, three hooks, and whatever gets hung on them, a set of keys, say, as one example of a light load rather than a tested one. It also doesn't tell you whether a specific hall allows hooks on the door for actual storage, as opposed to decoration only.
A craft blog can't answer either question. Call or email your housing office before spending money on wood and hardware, and confirm:
- Whether door decorations are allowed at all
- Which mounting methods are approved (adhesive strips, magnetic hooks, tape, and so on)
- The maximum size permitted for anything mounted on the door
- Whether hooks can hold actual items or are decoration only
- How many days before move-in you'll have access to build and let the piece dry
That last point matters more than it sounds. Jennifer Maker's own instructions call for an overnight dry before sealant and a 12- to 24-hour cure afterward (Jennifer Maker, nearly five years ago). Skip those windows and it's the finish that suffers, not just the schedule.
Video of the Day
Choose your format: hook sign or lightweight door hanger
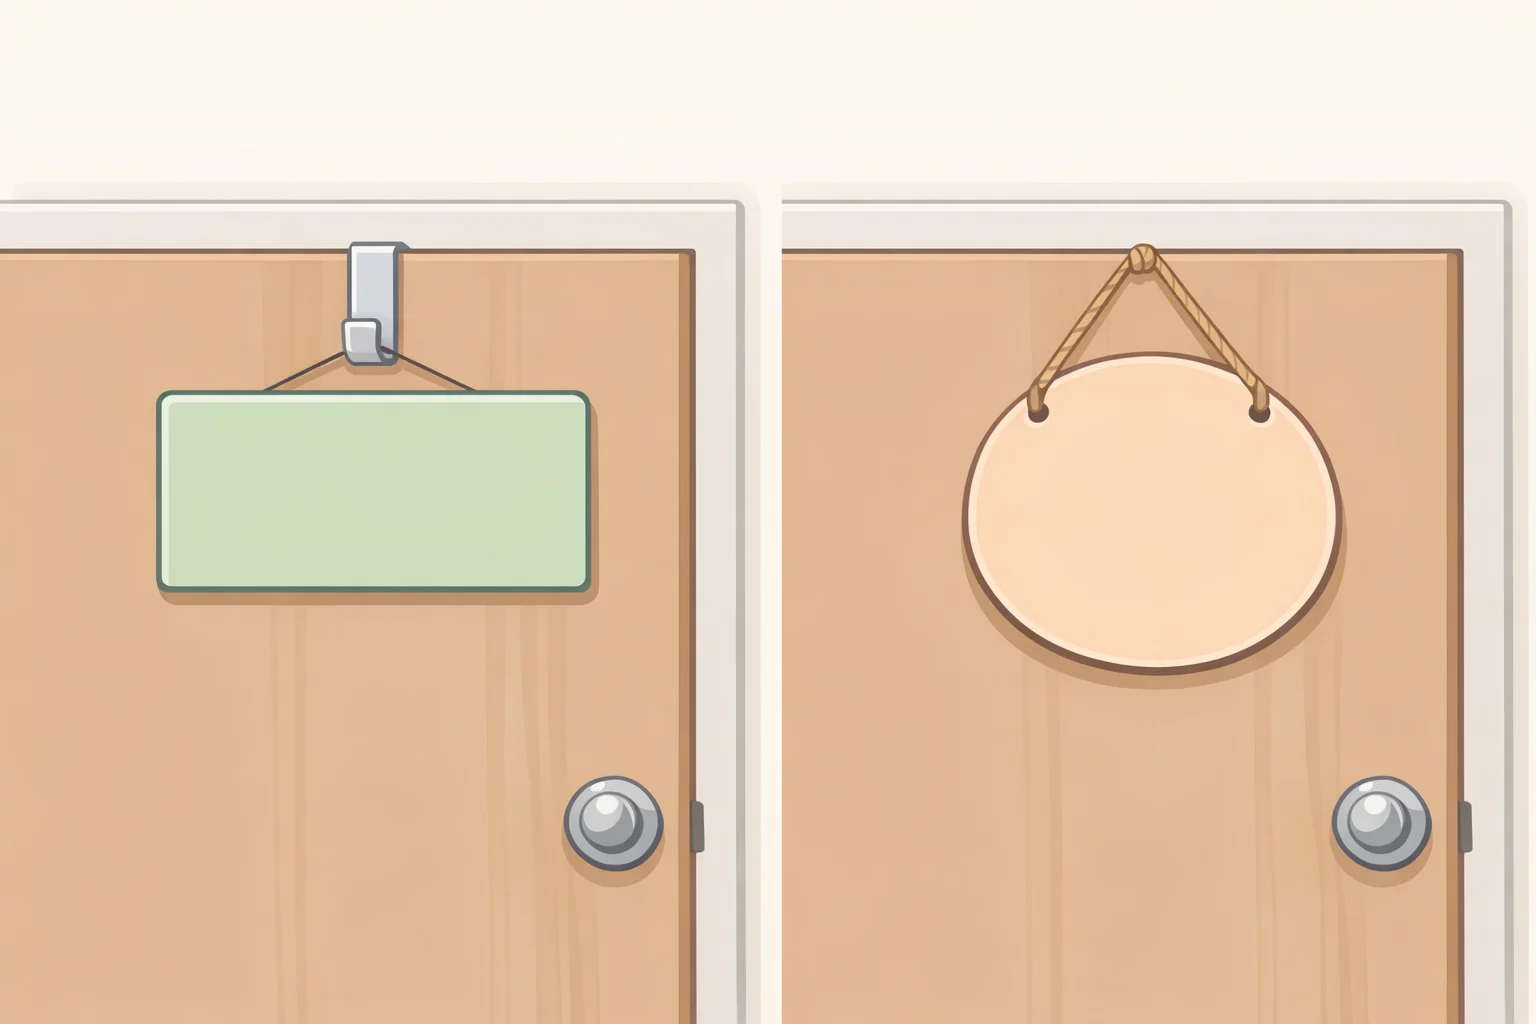
The rectangular hook-sign format pairs a personalized wood board with a set of double hooks, the same format used for the original UT Austin project (Times with TABBY, nearly three years ago). Built and mounted correctly, it works as a personalized dorm room door sign that also holds light items, a lanyard or a set of keys, though those are just examples of what "light" might mean, not weights either tutorial actually tested. Treat it as light-duty storage until you've checked the strip's own rated weight against your actual finished sign, not the empty board.
The round hanger format skips hooks entirely: a thin wood circle, painted and personalized, hung by twine through pre-drilled holes (Jennifer Maker, nearly five years ago). Jennifer Maker recommends a 12-inch round, closer to 11.8 inches in her own materials, as a good fit for most front doors, but that's a claim about front doors, not dorm doors (Jennifer Maker, nearly five years ago). Measure your approved display space rather than ordering that size on assumption.
The round hanger still needs an approved mounting method, but it never carries the added weight of hooks and whatever hangs on them. Choose it if housing limits you to decoration only, or if your door surface can't take much added weight. Choose the rectangular hook sign if policy allows door-mounted storage and you're willing to verify the mounting hardware's weight capacity before hanging it.
Plan your design before you cut anything
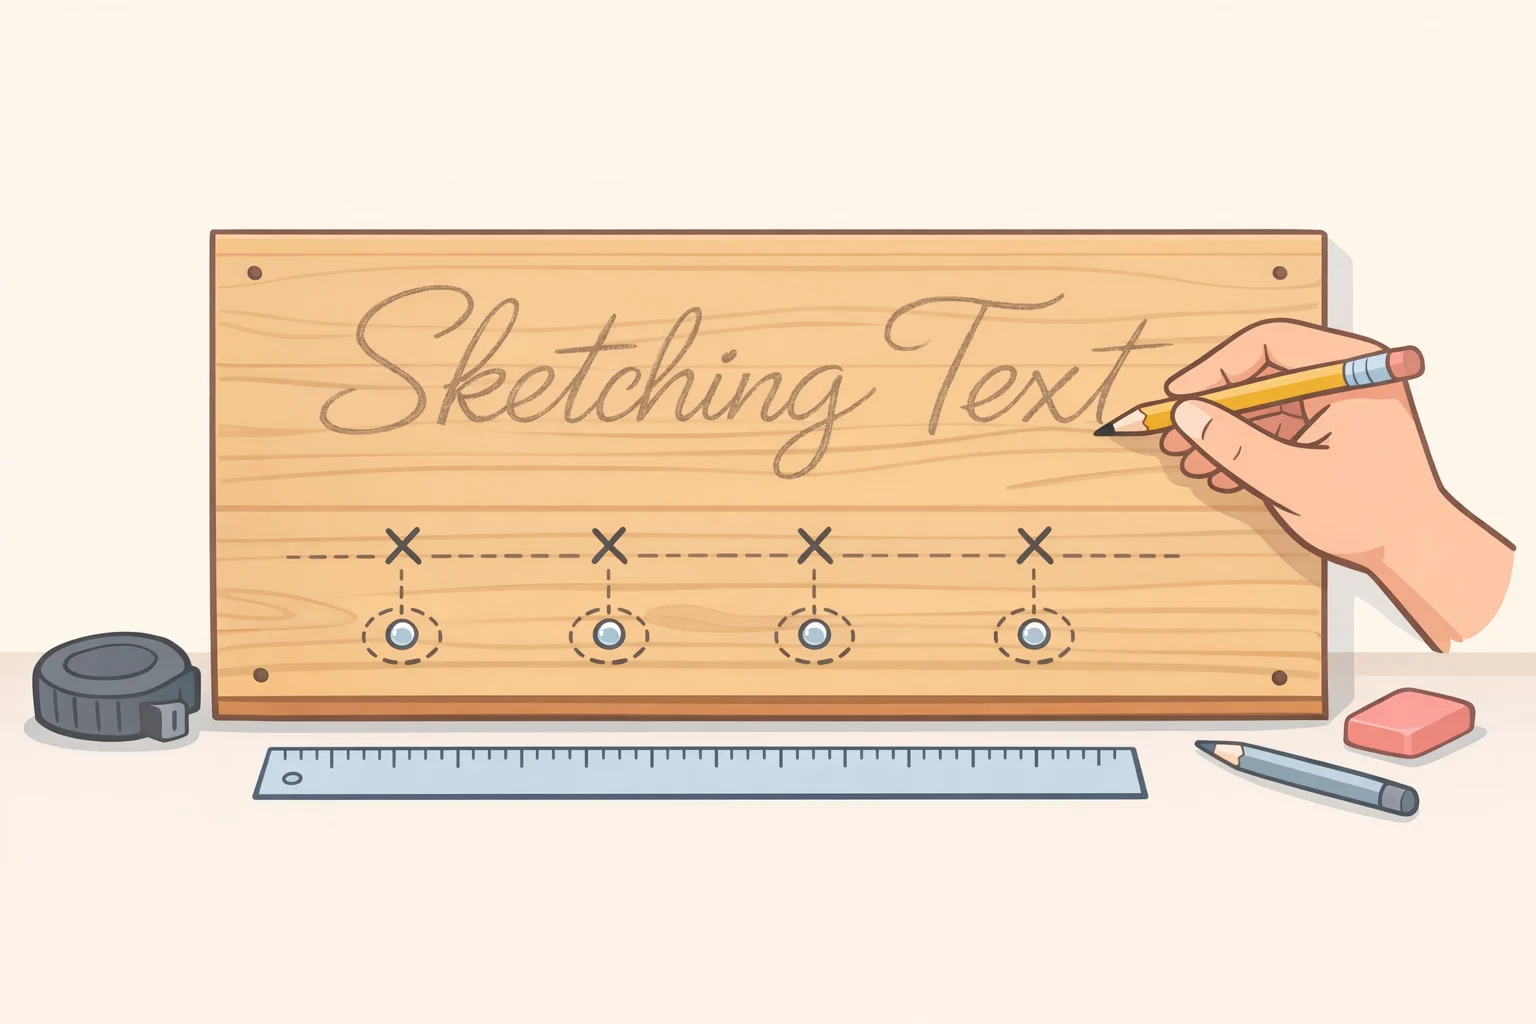
Both formats are really just a blank canvas. For college dorm door sign ideas, a name, school year, hometown, or team colors are all straightforward to execute in vinyl or paint. The original UT Austin sign kept it to a single phrase, "Hook 'em," cut at size 68 in the Shining Monday font (Times with TABBY, nearly three years ago), a length that's easy to keep legible without crowding a small board.
Sketch the layout, hook placement included, before any paint goes on the board. A handmade college door decoration is still a sign first. For something meant to be read from across a hallway, consider high contrast and short wording, especially once it's competing with a dozen other doors down the corridor.
Materials and tools for a DIY wooden dorm sign with hooks
For the hook-sign version, the original project's own materials list left the board dimensions blank rather than fixed, a hint to size yours to your approved display space instead of guessing (Times with TABBY, nearly three years ago). Beyond the board, you'll want:
- A wood board sized to your approved display area
- A set of double wooden hooks; the original maker used a pack of three black double hooks bought on an Amazon sale for $4.99 (Times with TABBY, nearly three years ago)
- Acrylic paint for the base coat
- Lettering materials, vinyl or chipboard (next section)
- Hot glue if using chipboard letters
- Command Strips or another mounting method your housing office has approved
- A pencil, ruler, and small level for marking hook placement
For the round-hanger version:
- A 12-inch unfinished wood round, ideally pre-drilled with twine included, which makes the build considerably easier (Jennifer Maker, nearly five years ago)
- Twine, if your round doesn't already come with it
- Paint, chalk or acrylic both work
- Permanent vinyl for lettering
Either build also benefits from a scraper or old gift card for weeding vinyl, transfer tape, and a hot glue gun if you're adding chipboard letters or, on the round hanger, a bow or greenery.
Vinyl or chipboard: picking a lettering method
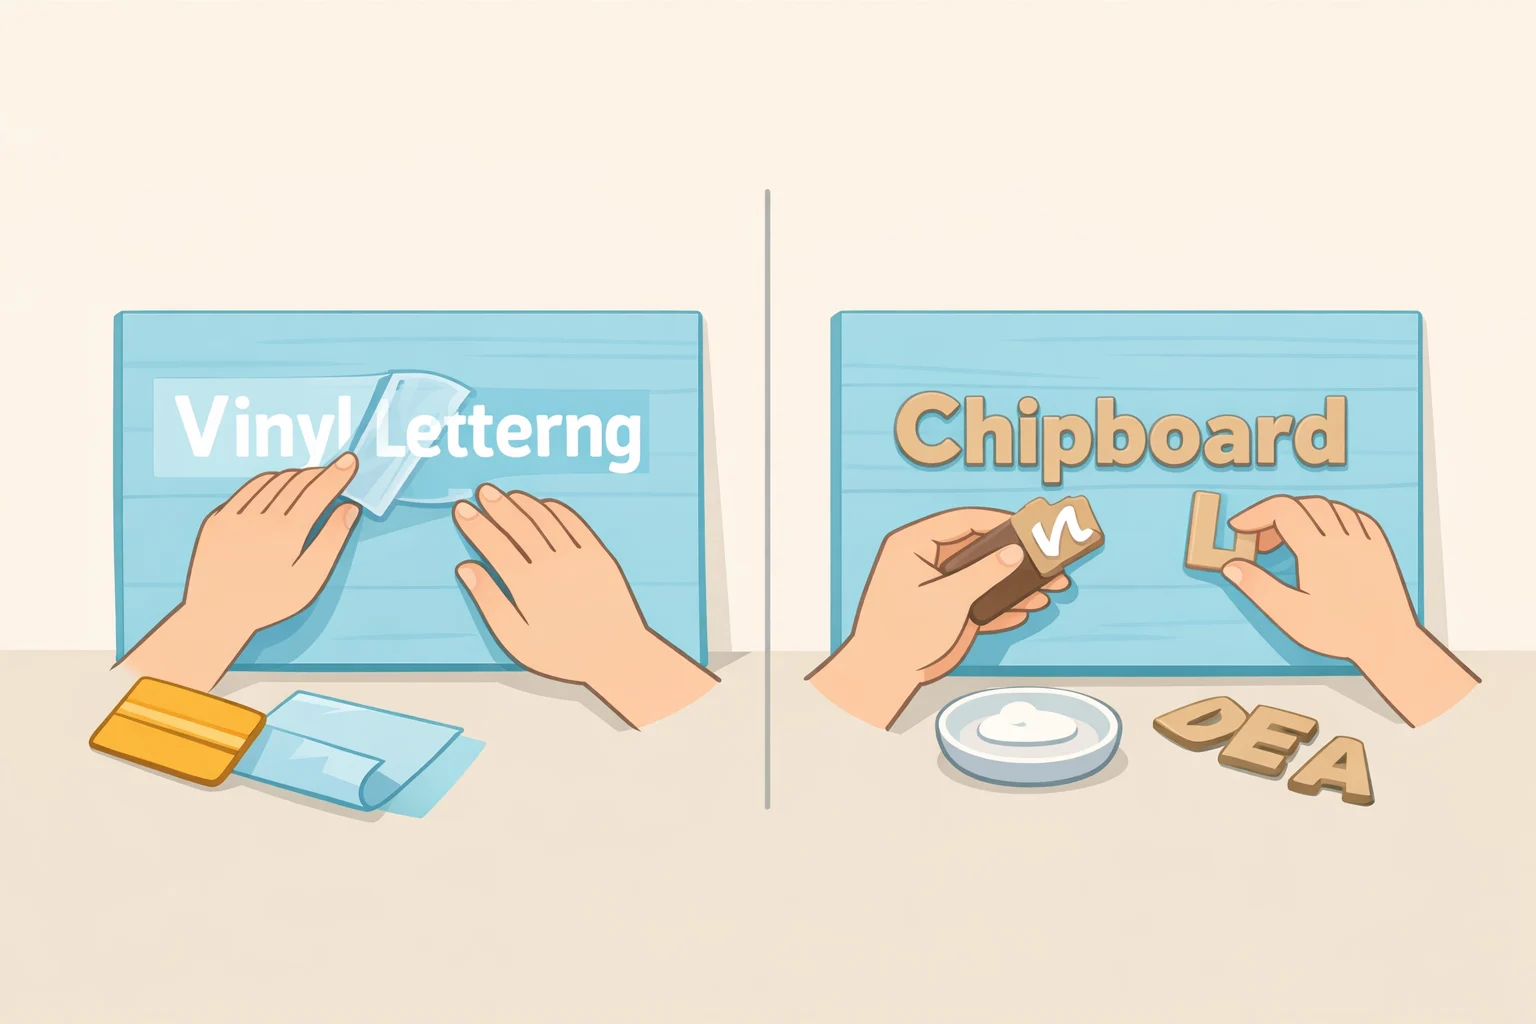
Permanent adhesive vinyl works with a Cricut or Silhouette cutting machine, which makes it a reasonable starting point even for someone new to a cutting machine (DIY Danielle, more than four years ago). On the round wood hanger specifically, permanent vinyl is the recommended option because it sticks to that surface better than other materials (Jennifer Maker, nearly five years ago).
There's a dimensional upgrade if the equipment is on hand. The original hook sign's "Hook 'em" letters were cut from Cricut Heavy Chipboard in the Shining Monday font at size 68, then attached to the painted board with hot glue (Times with TABBY, nearly three years ago). The Knife Blade that heavy chipboard requires only works with Cricut Maker machines, so this route isn't available on every cutting machine (Times with TABBY, nearly three years ago). It adds raised, dimensional lettering, but it's an option for owners of the right machine, not a requirement for either build.
One instruction applies to vinyl regardless of format: don't mirror the design in the cutting software unless the vinyl's own directions call for it, or the lettering will come out backward (DIY Danielle, more than four years ago).
How to make a DIY college dorm door sign with hooks
-
Measure your approved display space, then buy or cut a board (rectangular sign) or wood round sized to fit it, rather than defaulting to a standard size.
-
Paint the base coat. Expect roughly an hour to dry before a second coat, which is recommended for solid coverage (Jennifer Maker, nearly five years ago). Adding a second color or a stripe means waiting two to three hours to be sure the first coats are fully dry before layering more paint (Jennifer Maker, nearly five years ago).
-
Cut and apply your lettering. With permanent vinyl, cut the design, weed away the excess, then use transfer tape to lift and press the lettering onto the sign (Jennifer Maker, nearly five years ago). If using the chipboard upgrade instead, don't trust the machine's suggested pass count at face value: the heavy chipboard setting suggests a very high number of passes, but one maker pulled her piece after about 10 passes and it still cut clean (Times with TABBY, nearly three years ago). Chipboard letters attach with hot glue directly to the painted board (Times with TABBY, nearly three years ago).
-
Add hardware or twine, depending on your format. For the hook sign, this step is general shop practice rather than something drawn from either tutorial: mark hook placement in pencil first, using a level to keep the layout straight. Use screws only if the hook hardware comes with them or the manufacturer specifies screws for your board material; check the hardware's own instructions rather than assuming a length, and confirm any screws are shorter than the board is thick so they don't poke through the front face. If the hardware doesn't include screws, choose fasteners sized to the board's thickness before drilling any pilot holes. Drive screws only once you're confident in the layout, since filled holes are hard to undo cleanly on a display piece. Keep the two mounting jobs separate in your head: screws, if used, attach the hooks to the board, while Command Strips or another approved method attach the finished sign to the door itself. For the round hanger, thread twine through the pre-drilled holes at the top and knot each end (Jennifer Maker, nearly five years ago). Skip added hardware on the hanger version; that's what keeps it lightweight.
-
Seal it, or don't. If a sign is prepped and lettered with permanent vinyl the way Jennifer Maker describes, sealing isn't necessary (Jennifer Maker, nearly five years ago). For extra durability, let the paint dry overnight, apply water-based polycrylic, then wait 12 to 24 hours for it to cure before adding vinyl on top (Jennifer Maker, nearly five years ago).
Mounting and timeline: plan around drying, not just building
Once the sign is fully assembled, hooks and all, weigh it. That number, not the weight of the empty board, is what gets matched against whatever mounting hardware housing has approved. The maker of the original dorm sign chose two heavy-duty Command Strips for the dorm installation (Times with TABBY, nearly three years ago). That's a reasonable starting point, but it's not a substitute for checking the strip's own rated weight against the finished piece.
If housing approves adhesive strips as the mounting method, follow the instructions printed on that specific product's package rather than the example above; weight ratings vary by product line, and neither tutorial behind this guide verifies one. As an optional, conservative step, some builders test the mounted sign empty for a day or two before adding anything to the hooks, though that's a personal precaution rather than a manufacturer-backed procedure.
Build in calendar days, not just hours of labor. A base coat, an overnight dry, and a 12- to 24-hour polycrylic cure can stretch a straightforward project across the better part of a week even though the hands-on time is short (Jennifer Maker, nearly five years ago; Times with TABBY, nearly three years ago). The original hook sign's own timeline broke down to less than 30 minutes on day one and about two hours on day two (Times with TABBY, nearly three years ago), a useful benchmark for hands-on time, though it says nothing about the drying windows in between. Start several days before move-in, not the night before.
The final decision: storage or decoration
Everything else in this guide, the paint, the lettering, the timeline, comes second to one decision made before any wood gets cut: what housing actually allows, and whether the approved mounting method can carry the sign's full loaded weight, not just the empty board. Settle that first, and it decides which build to make, the hook sign or the round hanger, before a dollar gets spent on hardware.
Before hanging the finished piece, run through this checklist:
- Confirm the assembled weight, not the board's weight alone, against the mounting hardware's rated capacity
- Confirm the mounting method is the one housing actually approved
- Confirm paint and any sealant have had their full cure time, not just a surface dry
- Confirm hook spacing and screw length, if screws are used, were checked before final assembly
- Consider testing the mounted sign empty for a day or two before loading anything onto the hooks, as an added precaution rather than a required step