Hawaiian roll sandwich hack: how to build perfect baked sliders
This Hawaiian roll sandwich hack turns one connected slab of sweet rolls into 12 baked sliders in 35 minutes, with less assembly than building sandwiches one at a time. The method solves three real problems: soggy bread, filling that shifts when you pick up a slider, and the grind of portioning food for a crowd. One pan goes into the oven; 12 pull-apart Hawaiian roll sliders come out.
The approach is structural, not just procedural. Keep the entire 12-count package connected, slice the whole slab horizontally like one large sandwich, layer fillings in a specific order that blocks moisture from reaching the bread, and bake in two stages. NYT Cooking puts it directly: sandwiches for a crowd are usually labor-intensive, and this format is specifically designed around that problem.
This guide covers the complete method: slicing and prepping the slab, layering fillings in the right order, executing the two-stage bake, and adapting the formula beyond any single recipe.
What you need before starting:
- One 12-count package of Hawaiian sweet rolls, kept intact. Do not separate them.
- A 9x9-inch baking pan
- Aluminum foil and a pastry brush
- Fillings that fit the layering formula: a fat-based spread, sliced protein, a melting cheese, and an optional glaze (constraints covered in Step 2)
Step 1: Slice the slab and set up the pan
Video of the Day
1. Preheat the oven to 350°F (175°C) with the rack in the middle position.
2. Coat a 9x9-inch baking pan with cooking spray and set it aside.
3. Keep the rolls connected. Do not separate them. The entire package stays as one intact unit through assembly and baking.
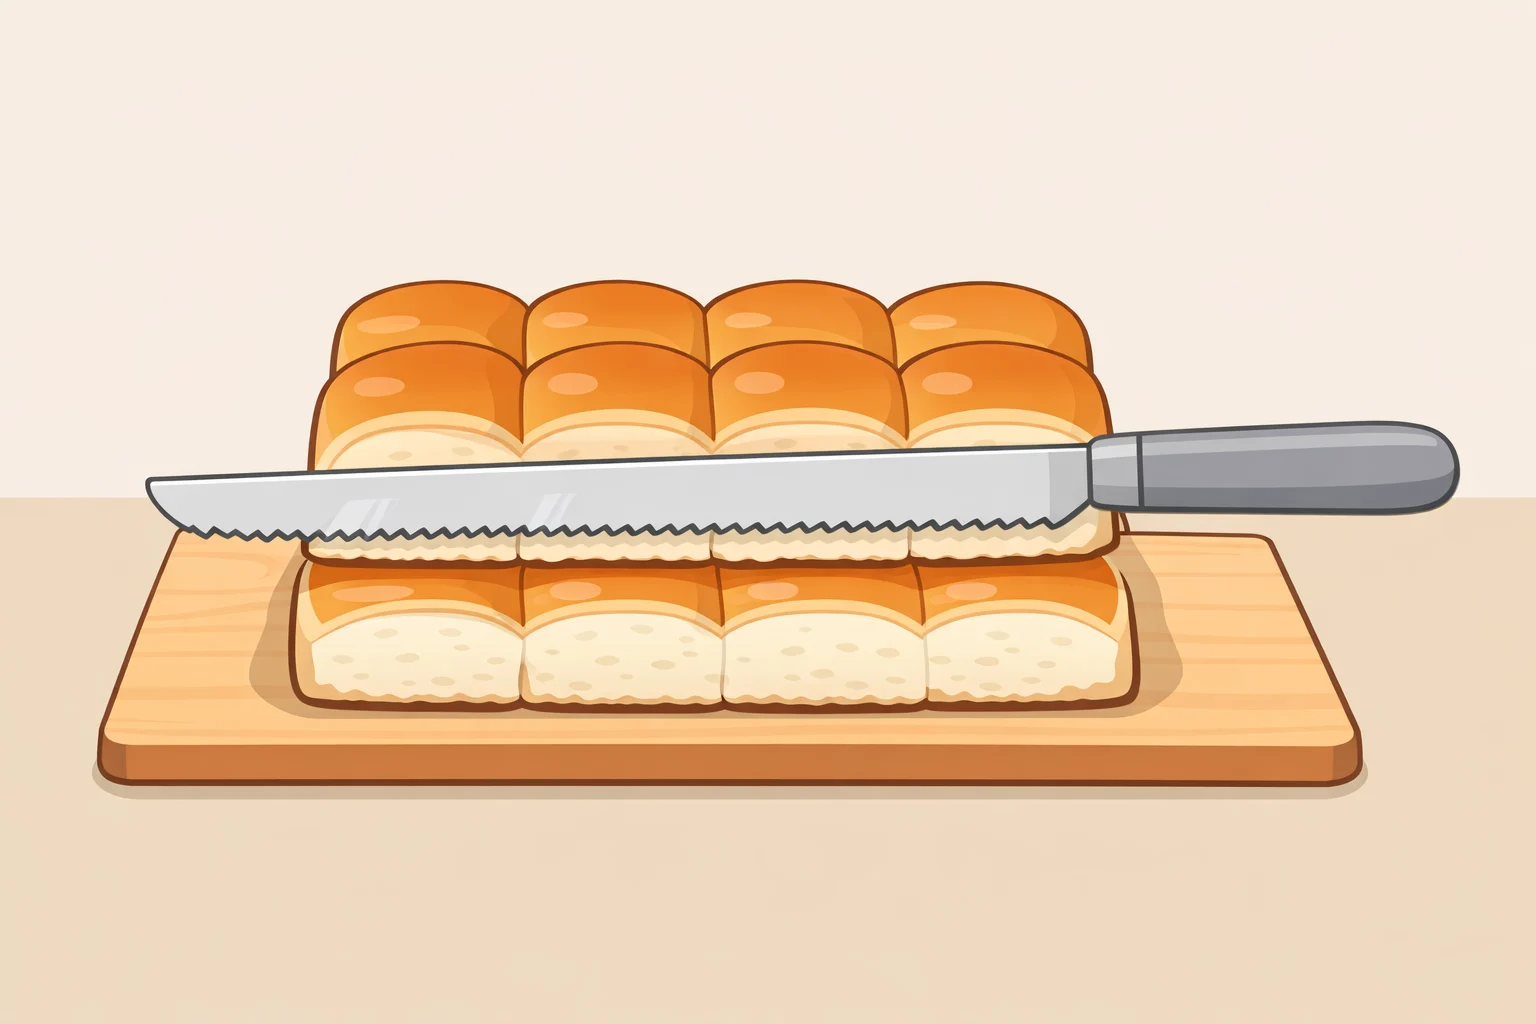
4. Using a long serrated knife, slice horizontally through the entire connected slab, one clean pass through the middle, cutting it into a top half and a bottom half like splitting a single large bun. Set the top half aside.
5. Place the bottom half, cut side up, into the prepared pan.
Gotcha: The pan walls matter. They keep the slab from spreading during baking and give each slider a defined shape when it comes out. Don't skip the cooking spray, either. Hawaiian rolls are sweet enough that the bottoms will stick to a bare pan.
Video of the Day
Step 2: Layer fillings in the right order this is what prevents soggy bread
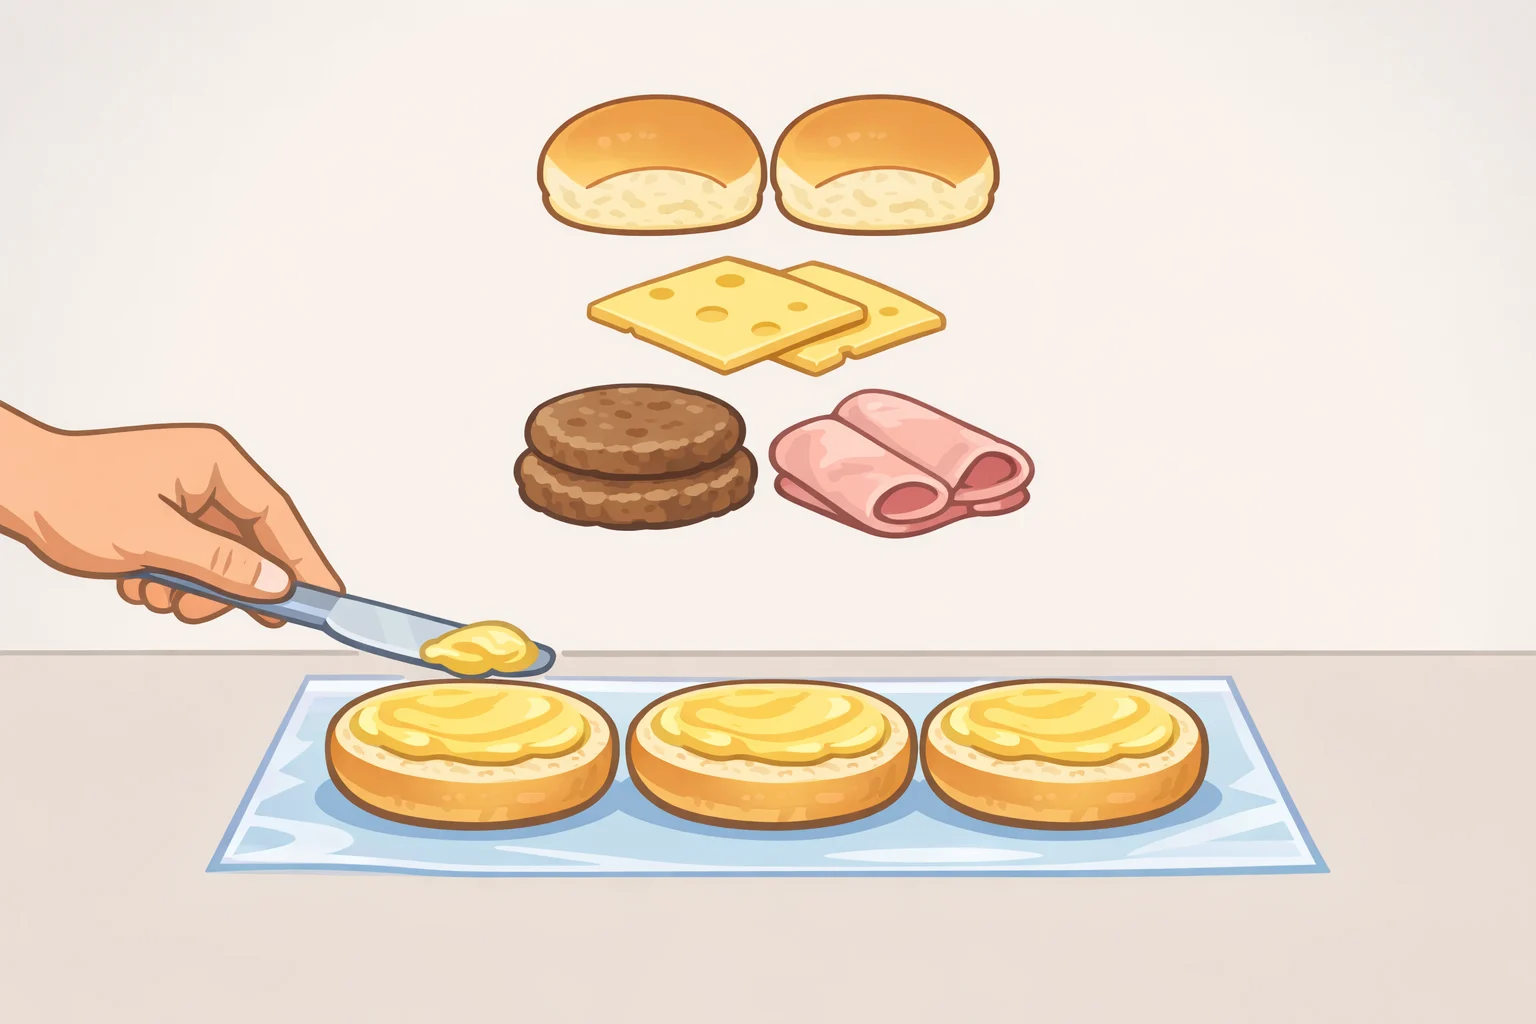
The order of ingredients is not aesthetic. Each layer has a job. Put them in the wrong sequence and the bread absorbs moisture from the inside out before the pan even goes into the oven.
1. Spread a fat-based condiment directly on the cut surface of the bottom rolls. This is the moisture barrier. Serious Eats tested this explicitly: the relish-mayo-mustard mixture on the bottom half "acts as a moisture barrier instead of a sog-machine." Mayo, cream cheese, or a similar fat-based spread works. Skip this layer and the bread goes soft long before anyone pulls a slider.
2. Add your protein in a single, even layer over the spread. Cover the surface as uniformly as possible. Uneven stacking means some sliders hold together and some fall apart when lifted.
3. Place cheese in a flat, even layer on top of the protein. As it melts, cheese binds over the meat and keeps it from shifting. Serious Eats describes an even cheese layer as anchoring "the ham so it doesn't slide around like deli-meat tectonics."
4. If using a liquid sweetener, drizzle it over the cheese, not the bread. Per Serious Eats, honey drizzled over the cheese "adds sweetness that plays beautifully with the ham and rolls without soaking the bread."
5. Place the top half of the slab back on, cut side down, and press gently to seat it.
Gotcha wet fillings: Ingredients like sauerkraut or roasted peppers carry significant moisture. Squeeze or blot them dry before adding. Excess liquid defeats the moisture barrier regardless of how carefully the rest was layered.
What works with this method: Sliced deli proteins, melting cheeses (Swiss, provolone, American, cheddar), toppings that spread flat or layer thinly and evenly. What doesn't: chunky fillings that prevent the top half from sitting flush, or heavily sauced proteins that release liquid during baking.
Step 3: The two-stage bake covered first, then glazed and open
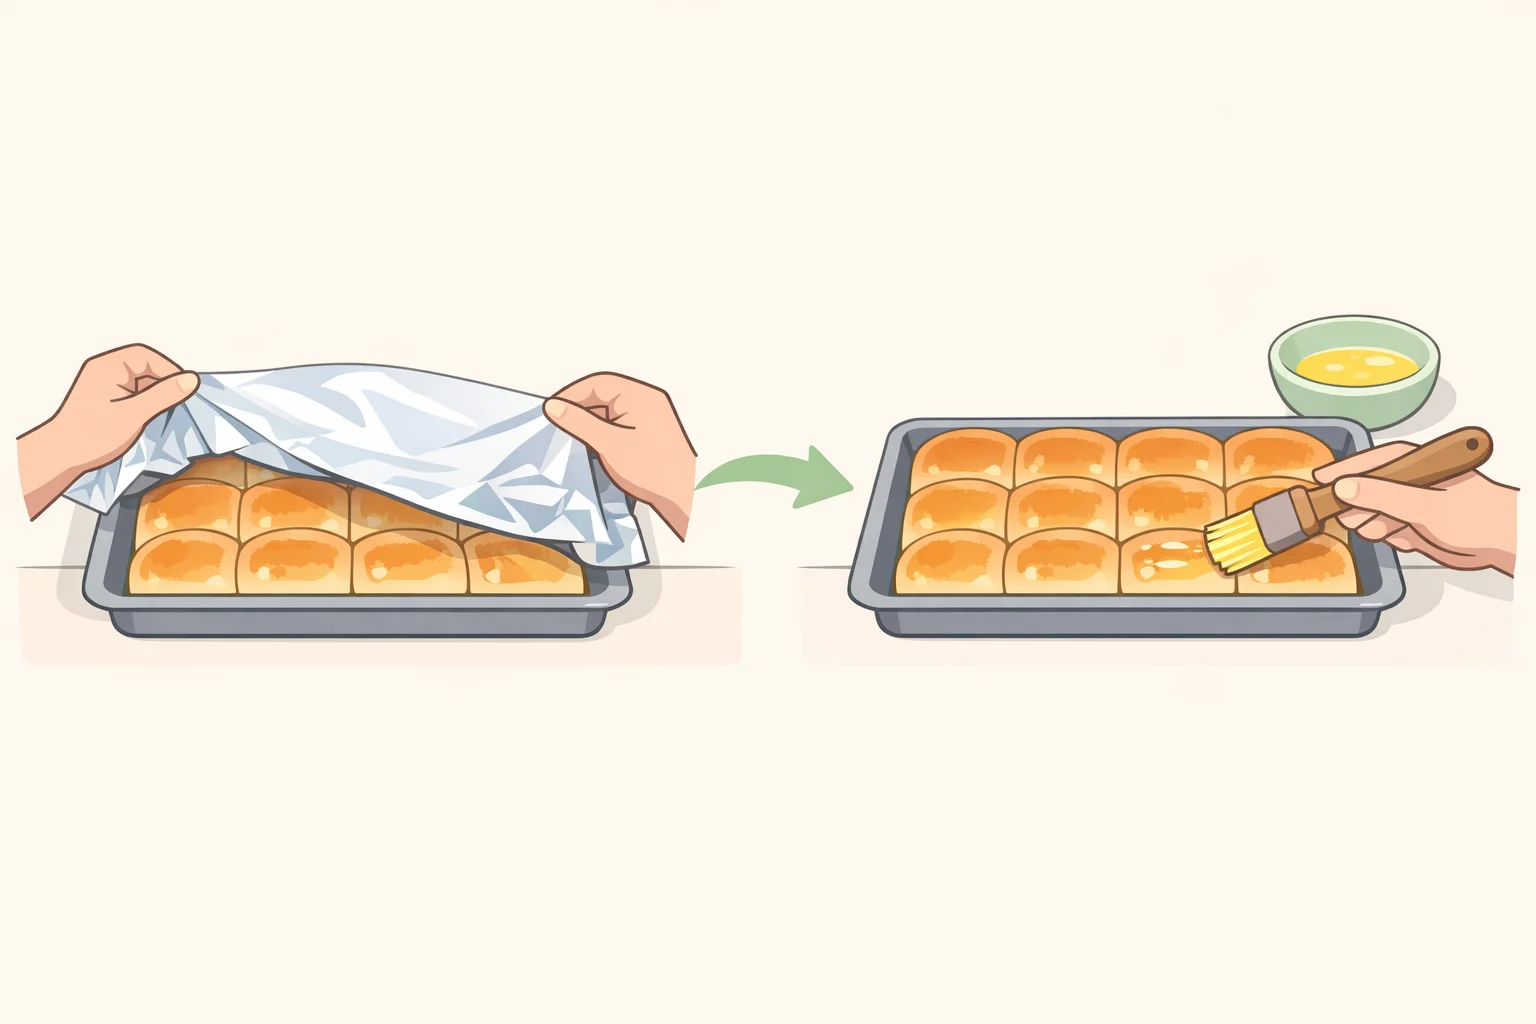
The two stages solve different problems. Skipping the first one is why baked Hawaiian roll sandwiches come out with burnt tops and cold centers.
Stage one covered bake:
1. Tent the pan tightly with aluminum foil.
2. Bake for about 8 minutes. The foil traps steam and warms the filling from the inside. Serious Eats describes this stage as warming the insides "without over-browning the tops." The cheese begins melting before the roll surface has been exposed to direct heat at all.
3. While the sliders bake covered, mix the glaze. Per Serious Eats, combine softened butter with mustard and chopped fresh chives in a small bowl. Have it ready when the foil comes off.
Stage two glaze and finish:
4. Remove the pan from the oven and take off the foil.
5. Brush the butter glaze across the entire top surface of the roll slab using a pastry brush.
6. Sprinkle flaky salt over the top. Hawaiian rolls are sweet. Salt on the glaze balances that without touching the filling.
7. Return to the oven uncovered and bake 8 to 10 more minutes, until the tops are golden brown and the cheese is fully melted. Serious Eats notes the rolls "crisp just enough on the edges while staying soft in the center."
8. Remove from the oven and serve immediately.
Scaling up: Two assembled pans can bake side by side on a sheet pan. NYT Cooking recommends wrapping the entire sheet pan tightly in foil during the first stage to ensure even melting across both batches.
When things go wrong: a quick fix guide
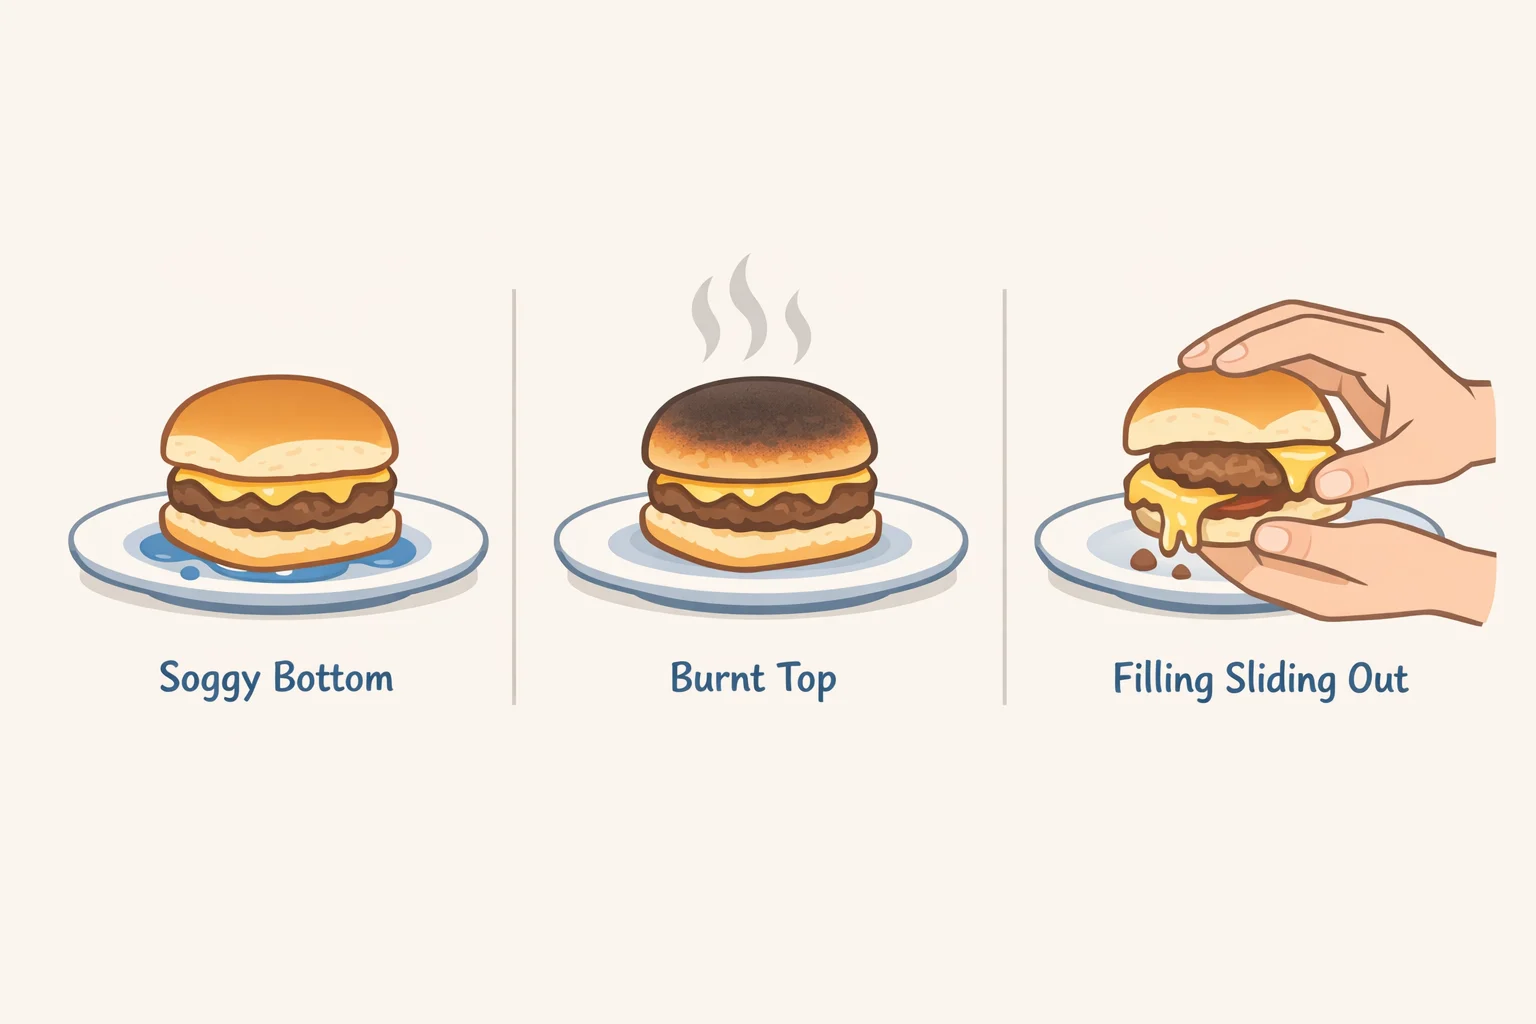
Three failure modes cover most of what goes sideways with this method:
Soggy bottoms. The fat-based spread was skipped, applied too thin, or a wet filling went in without blotting first. Sauerkraut, roasted peppers, and caramelized onions all carry enough moisture to defeat a properly applied barrier if they go in wet. Dry them first.
Burnt tops, cold or unmelted center. The covered stage was skipped or shortened. That first 8 minutes under foil is what gets the filling hot before the bread surface takes any direct heat. Without it, the top browns faster than the center warms.
Filling slides out when you pick up a slider. Either the protein was piled unevenly, leaving gaps, or the cheese wasn't laid flat enough to melt into a cohesive layer. The cheese's job is structural. It needs full, flat contact with the protein beneath it to anchor everything.
Make-ahead and serving math
Assembling ahead: Complete all filling steps, seat the top half, then cover the pan and refrigerate until ready to bake. Serious Eats confirms the sandwiches can be assembled ahead in the baking dish and baked right before serving. Add two to three minutes to the covered stage if the pan goes in cold from the refrigerator.
Leftovers: Best served immediately, but Serious Eats notes leftovers keep refrigerated for up to 3 days. To reheat, place uncovered in a 325°F oven for 5 to 8 minutes. The bread won't fully recover its crispness, but it's close.
Serving math:
- One 9x9-inch pan = 12 sliders, serves 6 as a main
- Two pans on a sheet pan = 24 sliders, serves 10 to 12. NYT Cooking suggests doubling for any gathering where demand is uncertain, which is most of them.
Best situations for this format: Game day spreads, holiday overflow, school or office gatherings, any situation where food needs to be ready on arrival rather than assembled to order. Serious Eats puts the target audience plainly: "holiday visitors, hungry kids, or an entire living room of football fans."
A formula for baked Hawaiian roll sandwiches
Two published recipes illustrate how the method transfers across different fillings:
- Ham and Swiss with honey: Relish-mayo-mustard spread on bottom rolls, sliced deli ham, Swiss cheese, honey drizzled over the cheese, mustard-butter-chive glaze on top. From Serious Eats.
- Turkey Reuben: Thousand Island dressing on bottom rolls, sliced turkey, Swiss, sauerkraut squeezed dry, buttery glaze on top, extra dressing on the side for dipping. From NYT Cooking.
The reusable formula: fat-based spread on the bottom rolls, sliced protein in an even layer, melting cheese flat over the protein, optional liquid sweetener over the cheese, glaze brushed on top before the uncovered bake. Any filling combination that fits this structure and stays relatively dry will work.
What separates a filling that works from one that doesn't: sliced proteins layer evenly; chunky fillings don't. Melting cheeses bind the stack; hard or crumbly cheeses won't. Wet ingredients need to be dried before they go in, or positioned above the moisture barrier layer, not below it.
One pan, 35 minutes, 12 sliders. The next time more than six people need to eat, the only real question is how many pans and what's in the fridge that fits the formula.