Pepper Jelly Chicken Wings Recipe With Easy Oven Glaze
Pepper jelly has spent most of its life next to crackers and a wedge of brie. This pepper jelly chicken wings recipe puts it somewhere better: spooned over hot wings straight from the oven, where it melts on contact into a sticky, sweet-heat glaze. No fryer. No stovetop sauce work. The Kitchn made the case yesterday: wings baked until golden and crispy, then tossed in sauce while still hot, can pass for restaurant-quality without the deep fryer.
The oven-and-rack method here is not a compromise. Food & Wine tested six cooking methods yesterday, including deep-frying and an air fryer, and found that baking unbreaded wings on a sheet pan with a wire rack produced the best results: genuinely crispy skin, less cleanup, and capacity for up to 2 pounds in a single session.
By the end of this guide, you'll have a complete baking sequence from dry rub to glaze, using one temperature and one clear timing path. Two glaze options are covered: a straight-from-the-jar version that adds essentially zero prep time, and a richer butter-and-vinegar variation for when you want more depth. Common failure points are flagged inside each step. Make-ahead options are covered for anyone cooking for a group.
What you need before the oven turns on
Video of the Day
Wings: 2½ to 3 pounds, split at the joints into flats and drumettes, tips discarded. Pat them thoroughly dry with paper towels before doing anything else. Surface moisture is the first obstacle between you and crispy skin, and it's worth 60 seconds to deal with it before seasoning.
Dry rub (per 2½ to 3 lbs):
- 1 tablespoon kosher salt
- 2 teaspoons baking powder (aluminum-free if metallic flavors bother you, as America's Test Kitchen notes)
- 2 teaspoons smoked paprika
- 1 teaspoon garlic powder
- 1 teaspoon onion powder
- Black pepper to taste
Salt warning: if you're using fine table salt instead of kosher, cut the amount in half. Hearts Content Farmhouse flags over-salting as the most common misstep with this recipe.
Glaze, choose one before you start:
- Simple: ½ cup hot pepper jelly, straight from the jar. Tossed over the wings right after baking. The wings' residual heat melts the jelly instantly, with no stovetop step required, per Hearts Content Farmhouse. Best for weeknights and game day.
- Richer: Pepper jelly plus 2 tablespoons apple cider vinegar, cubed unsalted butter, and a pinch of crushed red pepper, simmered briefly, brushed on mid-bake, and tossed at the end. The vinegar cuts sweetness, the butter adds gloss, and applying the glaze partway through lets it caramelize against the skin, producing what Yum by Jess describes as a crispy and sticky exterior. Full steps are in the variation section below. Plan for an extra 10 to 15 minutes of active oven time.
Equipment: A rimmed baking sheet and a wire rack. The rack matters because it lifts the wings off the pan so fat drips away and heat reaches underneath. Food & Wine and America's Test Kitchen both point to the elevated rack position as the reason oven wings crisp instead of steam. Lightly grease the rack before use. Wings can bond to bare metal as their skin renders, and sticky glaze makes the cleanup considerably worse.
On leftovers: Glazed wings are best served right away; the skin softens as it sits. To recover crunch from leftovers, reheat on a wire rack at 400°F for 10 to 12 minutes, per Yum by Jess, or 8 minutes in an air fryer, per Hearts Content Farmhouse. Glaze just before serving, not before storage.
Video of the Day
Why baking powder and a rest period change the skin
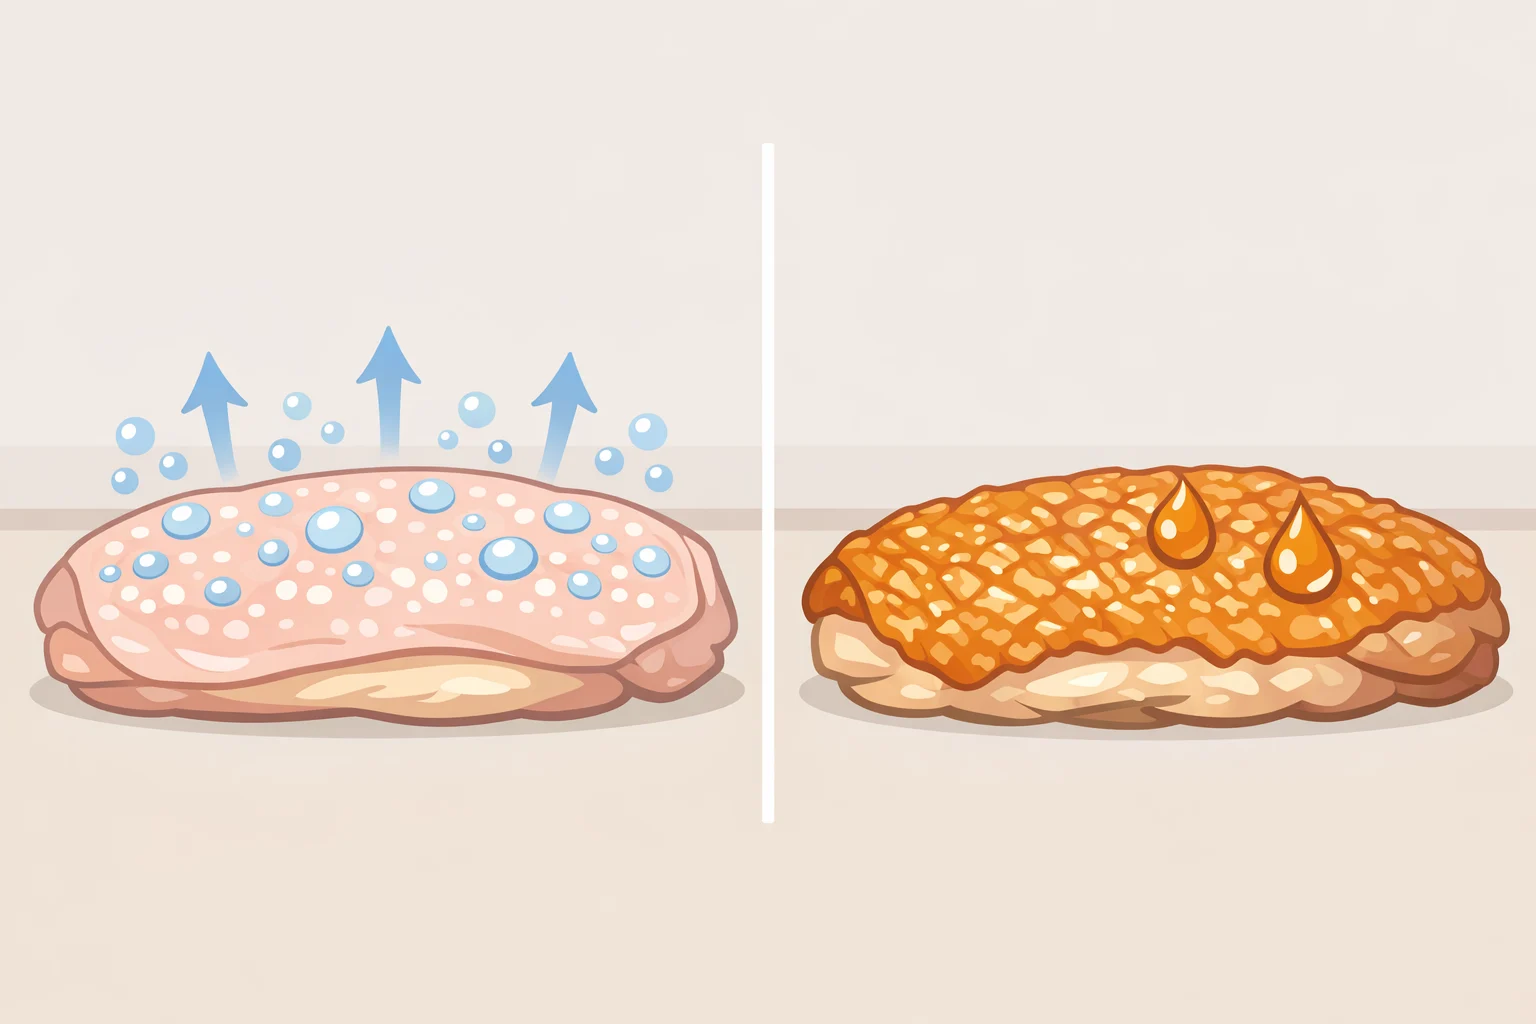
Two things make baked wings genuinely crackly: baking powder in the rub, and time uncovered in the refrigerator. Neither is optional if you want the result the rack method promises.
Baking powder does two useful things to chicken skin. By slightly raising the skin's surface pH, it speeds up browning and weakens the protein bonds that would otherwise tighten and turn leathery under high heat. It also reacts with the skin's natural moisture in the oven, releasing carbon dioxide that forms tiny bubbles. Those micro-blisters puff and harden as the wings cook, creating more surface texture, faster browning, and more craggy pockets for the pepper jelly glaze to grip, per Serious Eats. The practical result is the difference between skin that crackles and skin that flexes.
Resting the seasoned wings uncovered in the refrigerator removes surface moisture before any heat touches the pan. The salt pulls moisture from the skin, which then evaporates in the cold, dry air of the fridge. Less moisture at the start means the wings spend less time steaming in the oven and reach browning sooner. Salt also migrates into the meat, seasoning it throughout and helping it retain juice during the bake, per Serious Eats. That's how you get skin that crackles alongside meat that isn't dry. Eight to 24 hours of uncovered refrigerator time produces the full effect; even an hour, as Yum by Jess uses, produces a clear improvement over baking straight from the package.
Keep the wings uncovered during the rest. Covering them traps the moisture you're trying to eliminate.
How to make pepper jelly chicken wings in the oven
Step 1: Season the wings.
In a large bowl, toss the dried wings with the kosher salt, baking powder, and dry spices until every piece is evenly coated. Take an extra 30 seconds to make sure coverage is complete. Gaps in the baking powder coat produce uneven crisping.
Step 2: Rack, space, refrigerate.
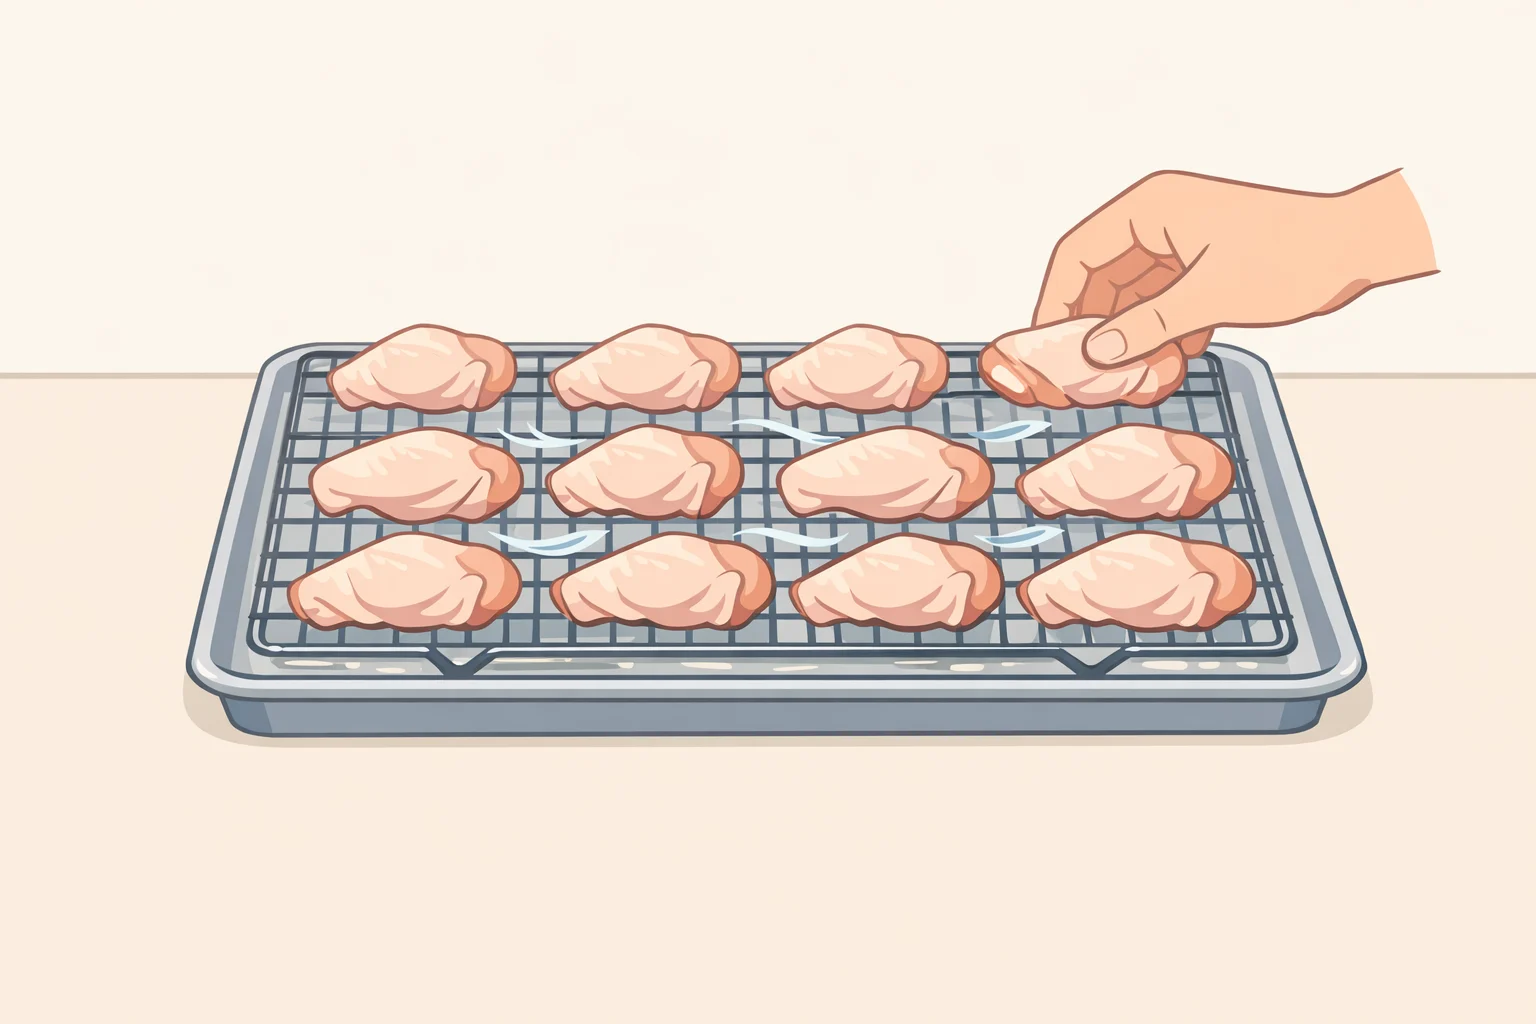
Arrange the wings skin-side up on a lightly greased wire rack set inside a rimmed baking sheet. Leave space between each piece; crowding prevents air circulation and produces soft, steamed skin instead of crispy skin. Slide the tray uncovered into the refrigerator for at least 1 hour or up to 24 hours. America's Test Kitchen confirms wings held at this stage for up to 24 hours cook with no drop in quality. This is the natural make-ahead window.
Step 3: Preheat to 425°F.
Give the oven at least 20 minutes to fully reach temperature before the wings go in. A cold or underheated oven extends the steaming phase and delays browning. Both Hearts Content Farmhouse and America's Test Kitchen use 425°F as their baking temperature. If you're cooking two pans at once, position racks at upper-middle and lower-middle and rotate halfway through.
Step 4: Bake 40 to 50 minutes, flipping once.
Place the rack-and-pan in the oven. Flip the wings at the 20- to 25-minute mark. They're done when the skin is deeply golden and a thermometer at the thickest part reads at least 165°F. Bake to color, not just the clock; wing size varies and so does oven output. Pale skin at 45 minutes means the moisture hasn't fully driven off. Give them more time rather than pulling early.
Step 5: Rest 5 minutes, then glaze.
Transfer the baked wings to a large bowl and let them rest for 5 minutes. America's Test Kitchen recommends this brief pause so the glaze adheres rather than sliding straight off. Spoon the pepper jelly over the hot wings. The residual heat melts the jelly on contact, per Hearts Content Farmhouse. Toss with tongs until every wing is coated and glossy, then serve immediately.
If the jelly isn't melting evenly, the wings cooled too long before glazing. A 2-minute return to the still-warm oven fixes it. Don't sauce fully cooled wings; the jelly won't coat as evenly.
The butter-vinegar glaze: a different workflow
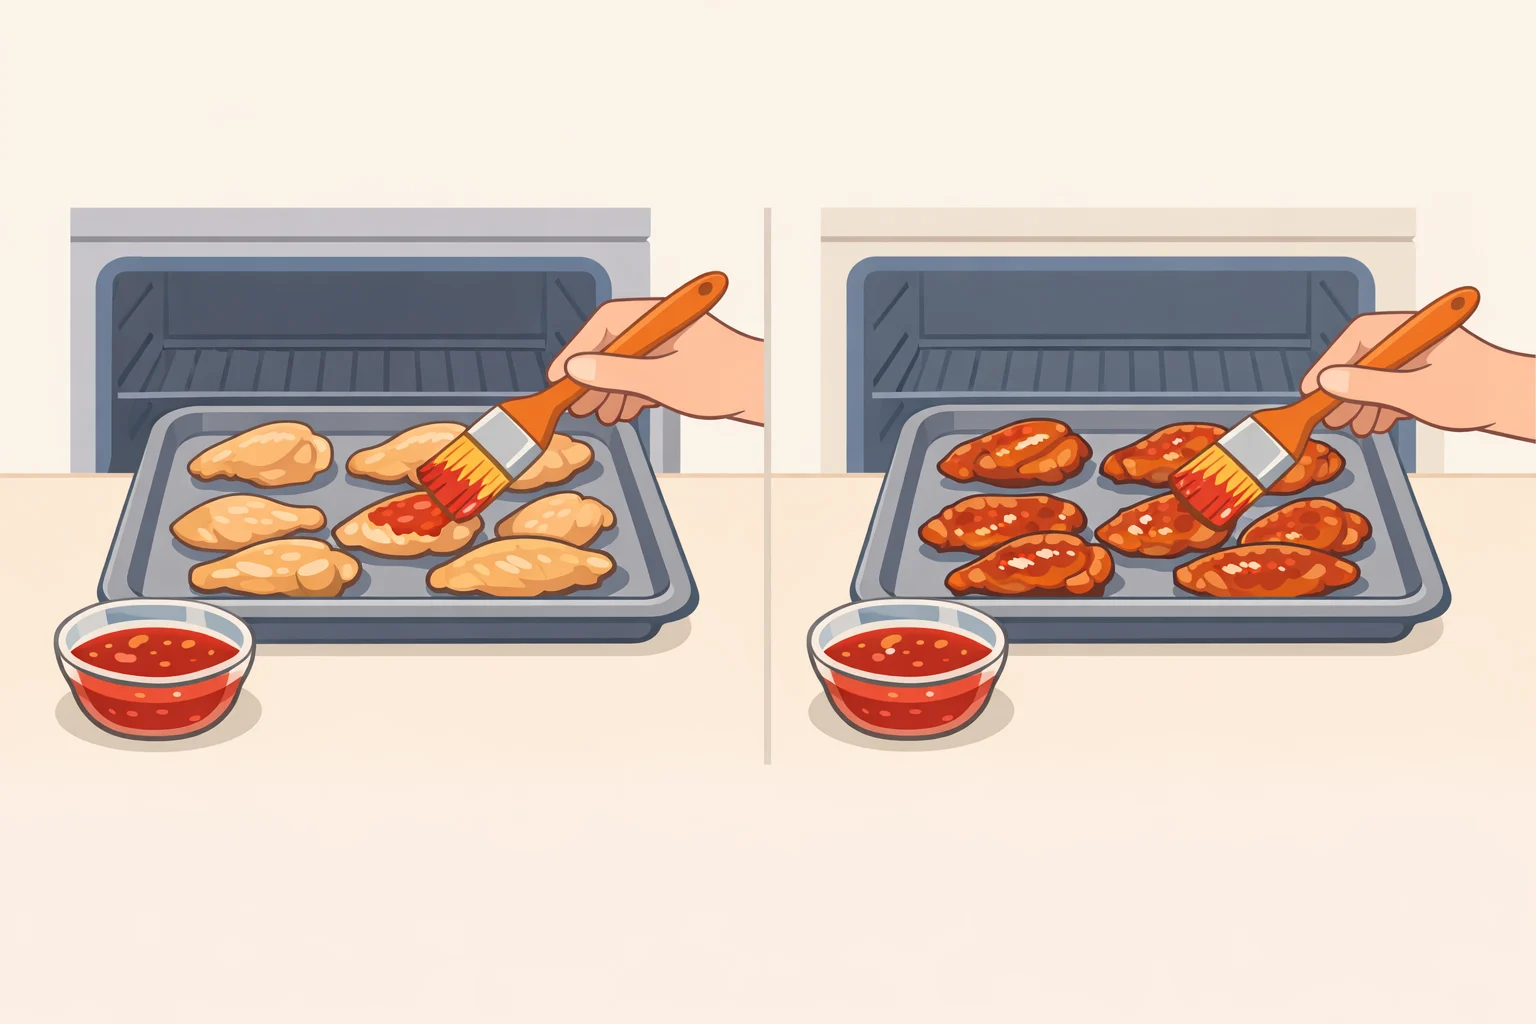
Half a cup of hot pepper jelly, tossed over hot wings, handles everything in about 30 seconds. For a weeknight or casual spread, that's the whole glaze section.
The butter-vinegar version is a distinct method, not a small upgrade. It takes an extra 10 to 15 minutes and applies the glaze in two stages: once mid-bake, where it caramelizes against the skin, and once at the end. Yum by Jess describes the result as a crispy and sticky exterior. Worth it when you want the wings to hold up as a centerpiece rather than a quick snack.
After the initial 25 minutes of baking, pull the wings from the oven. Combine the pepper jelly and 2 tablespoons apple cider vinegar in a small saucepan over medium-high heat, stirring until the jelly fully melts, about 1 to 2 minutes. Remove from heat and stir in the cubed butter and a pinch of crushed red pepper until smooth. Reserve a quarter cup of glaze; brush the remainder over the par-baked wings, return them to the oven, and bake another 18 to 20 minutes until deeply browned and at least 165°F internal. Toss with the reserved glaze before serving. The glaze can be made ahead, cooled, and reheated when needed, per Yum by Jess.
Hosting and make-ahead notes
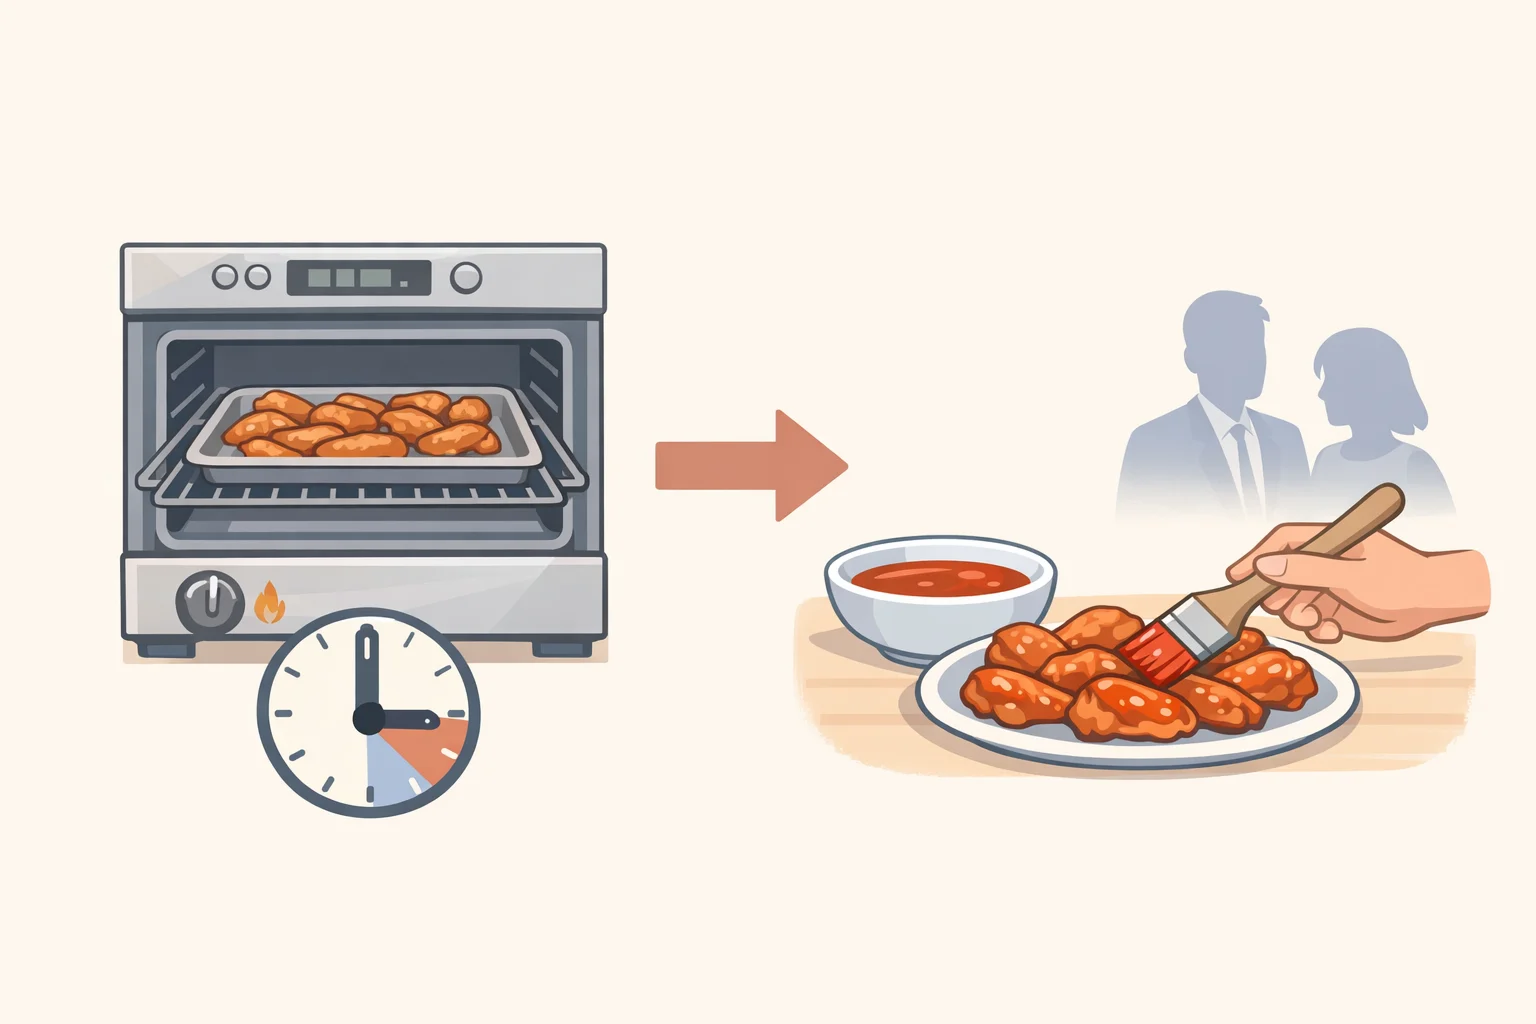
Sheet pans scale well. Hearts Content Farmhouse runs two pans at once, handling up to 3 pounds total with everything finishing at the same time. One pan per rack position; rotate halfway through baking.
For party timing, the approach depends on how far ahead you want to work. Bake the wings fully, then hold them unglazed in a 200°F oven for up to 30 minutes before guests arrive and glaze right before serving, per Hearts Content Farmhouse. For a longer buffer, America's Test Kitchen notes that fully roasted wings can be reheated at 325°F for 10 minutes up to 2 hours after the initial bake, then tossed with sauce at serving time.
If you want to prep even further out, season the raw wings, freeze them flat in a zip-top bag for up to a month, and bake straight from frozen by adding 5 to 10 minutes to the roasting time, per Yum by Jess. Season and freeze the weekend before, bake the day of, glaze at the last minute.
Which glaze, and when
Both glazes work. The decision comes down to what you're making the wings for.
The simple version, half a cup of jelly tossed over hot wings at the end, is genuinely good. Quick, clean, and consistent. That's the right call for a weeknight dinner or a last-minute game-day spread where you'd rather spend the time on something else.
The butter-vinegar version earns its extra steps when the wings are the main event. The mid-bake application caramelizes the glaze against the skin rather than just coating it; the result is stickier, more layered, and better suited to a platter that needs to hold attention for a few hours. If you're hosting and have already committed to the overnight dry brine, the extra 15 minutes for the richer glaze isn't much of an ask. Season the wings the night before, bake up to two hours ahead at 425°F, hold them unglazed in a 200°F oven, and glaze at the last minute. Most of the work is done before anyone arrives.