How to check meat temperature without cutting into it
When Food & Wine surveyed working pitmasters last month about the habits that irritate experienced grill cooks most, one answer kept surfacing: cutting into meat to check whether it's done. Christopher Prieto, pitmaster-owner of Prime Barbecue in North Carolina, named it without hesitation.
This guide covers why the cut-and-peek method fails, how to check meat temperature without cutting into it, and the four numbers that cover nearly every protein home grillers actually cook. By the end, you'll have one method you can apply every time you're at the grill.
Prerequisite: You need an instant-read thermometer. The technique below works regardless of grill type or protein.
Why you should not cut into meat while grilling
Video of the Day
The instinct has a certain logic: nick the surface, peek inside, judge the color. The problem is that color at the center varies by cut thickness, fat content, and how the grill is running. None of that is visible in a cross-section, and none of it tells you whether the meat is actually safe.
Each protein has a different safe internal target that a visual check cannot confirm. Steaks and chops need to reach 145°F at the center; ground meat needs 160°F; poultry needs 165°F, according to USDA guidance published last year. A food thermometer is the only method the USDA recommends to verify those thresholds have been met. Color is not a proxy.
What cutting does accomplish is damage. Sam Martin, pitmaster and head butcher at Edenmoor, put it directly: slicing into meat that's actively cooking "can cause the meat to lose precious juices, and it tends to disturb how heat carries through the cut," Food & Wine reported last month. You create two new problems while failing to solve the original one.
An instant-read thermometer, by contrast, reads temperature in one to two seconds with no juice loss and no heat disruption, per Food & Wine. One probe, one number, no guesswork.
Video of the Day
How to use an instant-read thermometer for grilling: the core method
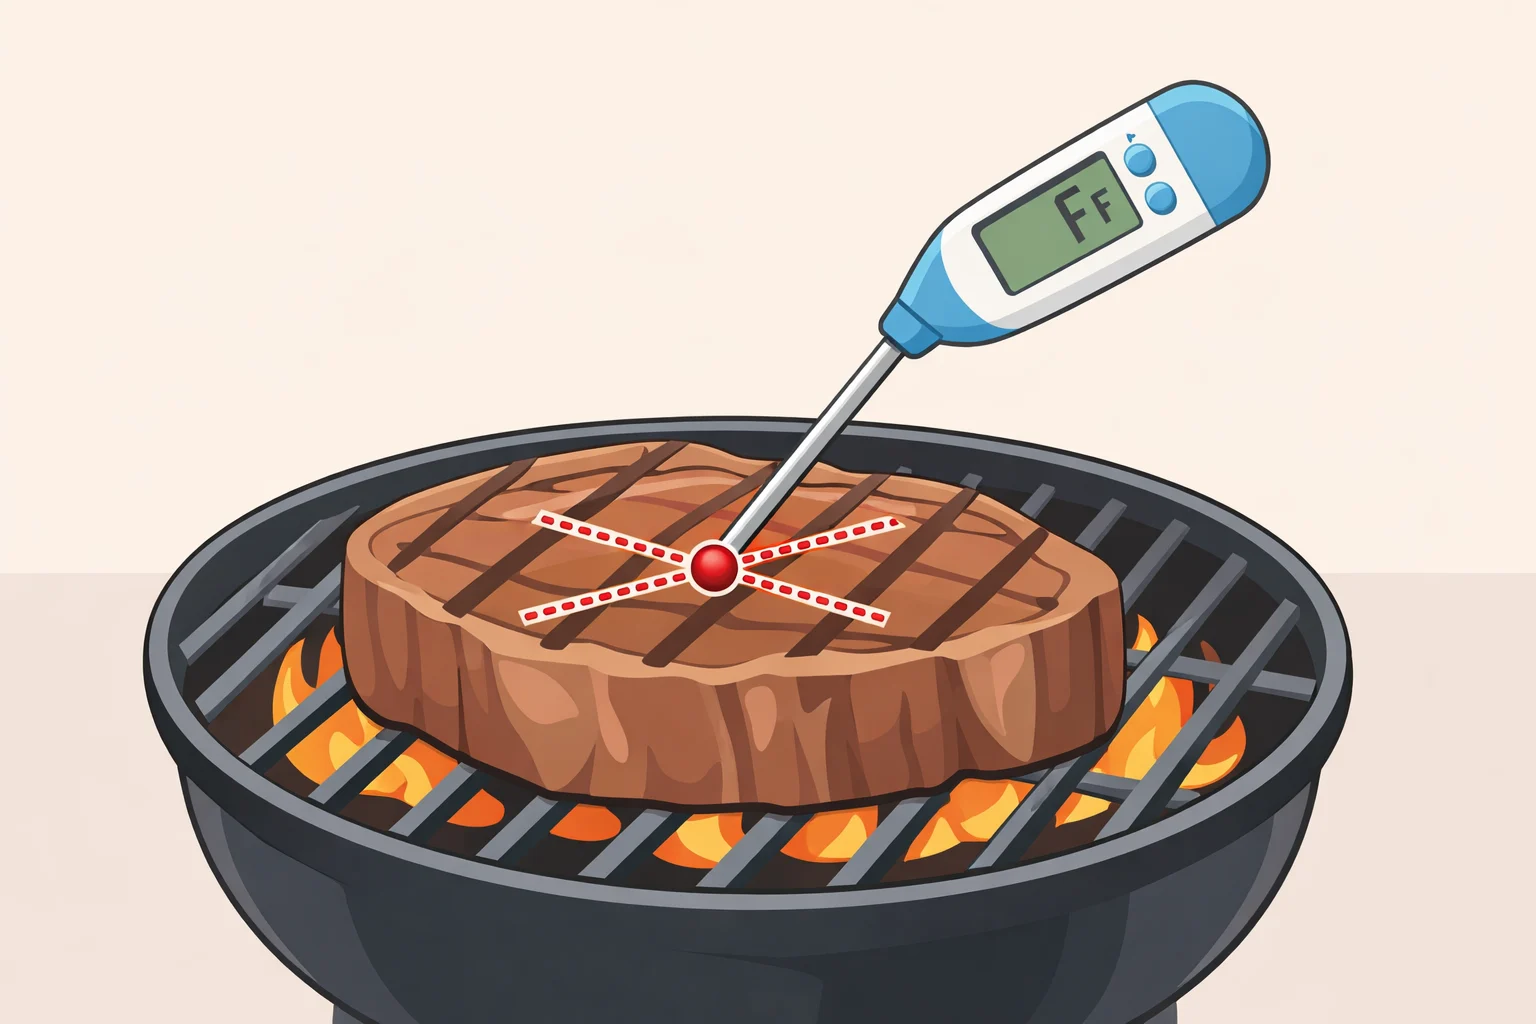
The operating rule: Probe the thickest part of the cut, stay away from bone, pull the meat before your target temperature, then rest it. Temperature will keep climbing after it leaves the grill.
Step 1: Find the right spot, then insert once.
Aim the probe tip toward the geometric center of the cut the thickest point, away from any bone and away from the grill surface. Prieto describes the technique directly: swivel the metal prong out and direct the tip toward the center of the steak, ribs, or other cut, per Food & Wine. The center is where temperature lags most. That reading is where the cook actually stands.
- Thin cuts (under ¾ inch): Insert from the side, horizontally. Probing from the top on a thin steak reads the hot exterior before reaching the core.
- Bone-in cuts (chops, chicken thighs, bone-in breast): Bone conducts heat faster than muscle and produces a falsely high reading. Keep the probe tip at least a half-inch from any bone.
- Larger cuts (thick ribeye, whole chicken): Probe the thickest section first. On poultry, the thigh consistently runs cooler than the breast probe both and use the lower reading.
Step 2: Read it immediately, don't repeat.
Hold the probe steady and read within one to two seconds, then remove it. Probing repeatedly reintroduces the same problem as cutting: unnecessary holes, unnecessary juice loss. One clean probe at the correct location is enough.
Step 3: Pull before your target temperature, then rest.
Temperature keeps rising after meat leaves the grill, so pulling a cut exactly at its target risks overshooting during the rest. Pull it a few degrees early and let the residual heat finish the job.
The required three-minute rest for steaks and chops isn't just a safety formality. Rest time allows the innermost parts and juices of the meat to become fully cooked, FoodSafety.gov explains. Don't cut into the meat during that window. Same reasoning as on the grill.
Gotcha: Never partially grill meat, pull it off, and plan to finish cooking later. USDA FSIS is unambiguous on this point: partial cooking followed by an interruption is unsafe. If you need to pause, keep the meat on the grill over indirect heat.
How to tell when grilled meat is done: a cut-by-cut guide
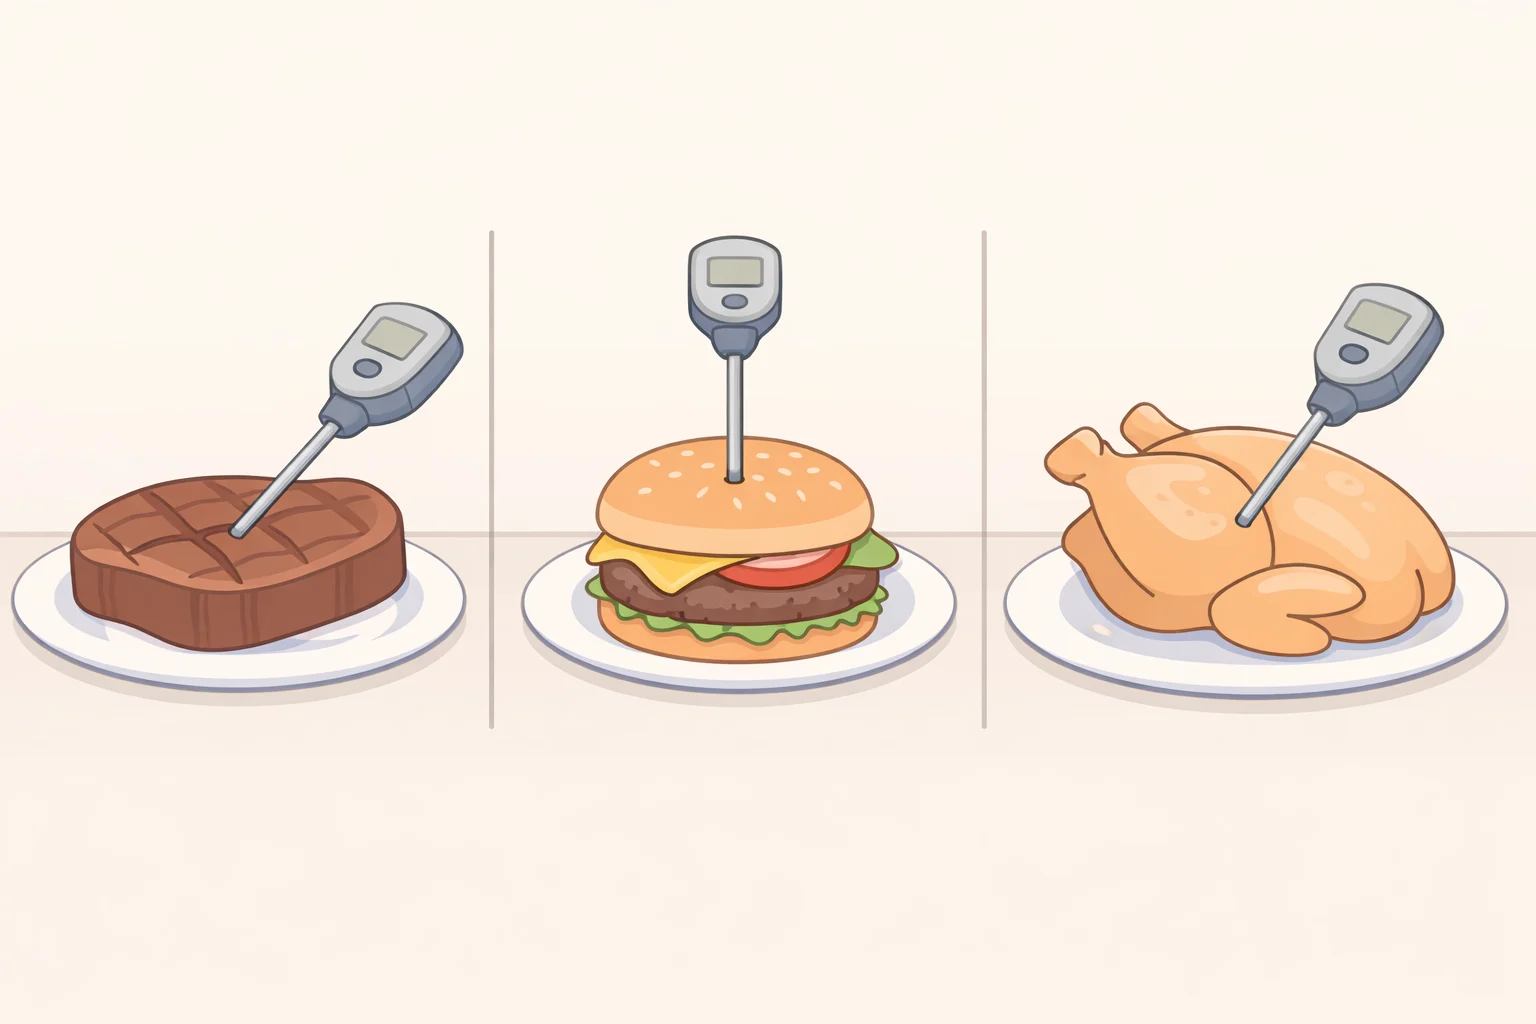
The principle is the same across every protein, but placement varies. Here's how it works in practice.
Steaks (strip, ribeye, sirloin)
Insert the probe from the side of the steak, angling the tip toward the center. On steaks thicker than about an inch, probing from the top works too, but angle the tip toward the middle rather than driving it straight down. You're trying to reach the coldest point inside the cut.
Whole-muscle beef steaks need to reach 145°F followed by a three-minute rest, according to the USDA. Pull a few degrees before that target and let carryover do its work.
Burgers
Insert the probe horizontally through the side of the patty, aiming for the center. Probing from the top on a burger doesn't work well the patty is too thin and the probe reads the hot exterior before reaching the core.
Ground beef must reach 160°F, no rest required, per the USDA. Color, texture, and juice color are all unreliable indicators for burgers. Probe it.
Chicken breasts
Probe the thickest part of the breast, typically toward the back of the cut where it's widest. Keep the tip away from any bone on the underside. The target is 165°F for all poultry regardless of cut or form, per the USDA.
Chicken thighs (bone-in)
Probe into the thickest section of the thigh, but keep the tip well clear of the bone itself, which can throw off your reading. Same 165°F target as the breast, per FoodSafety.gov. On a whole bird, probe both the thigh and the thickest part of the breast and use whichever reading is lower both zones need to hit 165°F before the bird comes off the grill.
Pork chops
Insert from the side toward the center, same approach as a steak. On bone-in chops, keep the probe tip clear of the bone. Pork chops need 145°F with a three-minute rest, per FoodSafety.gov.
Fish fillets
Fish is the partial exception to the strict temperature rule. The target is 145°F, or cook until the flesh is no longer translucent and separates cleanly with a fork, per FoodSafety.gov. On thicker fillets like salmon or halibut, probe horizontally into the thickest section. On thin fillets, the visual check for opacity is often the more practical call.
The four temperatures that cover almost everything on the grill
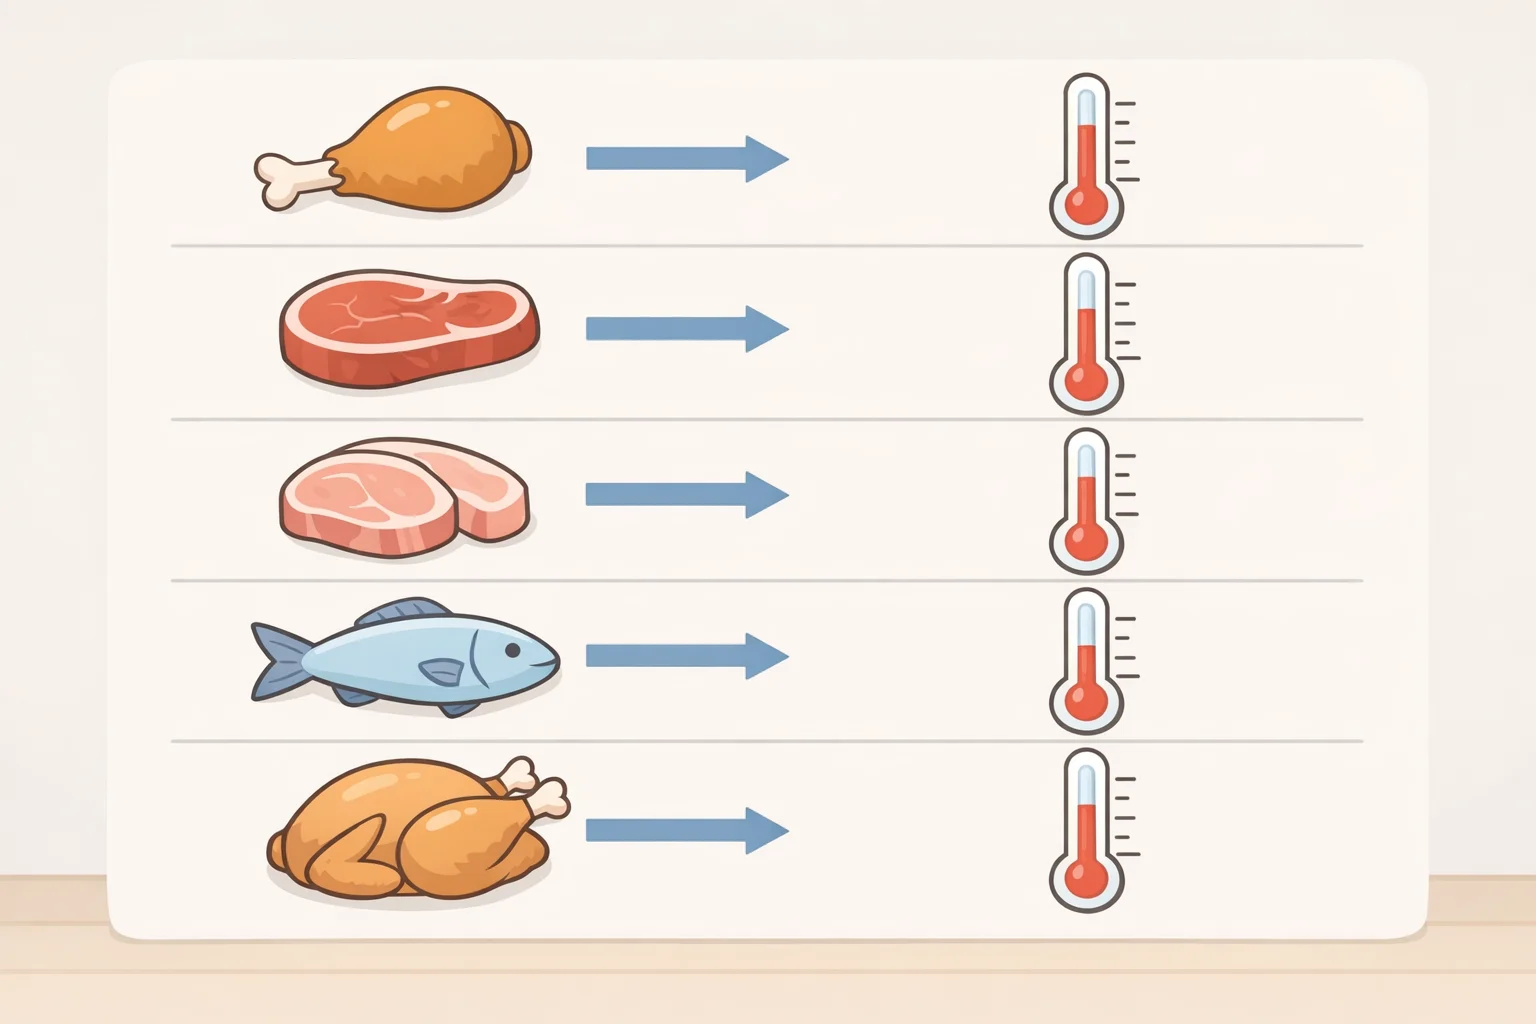
The USDA's guidance reduces to a short list for the cuts home grillers cook most often. Whole-muscle beef, pork, lamb, and veal steaks, chops, and roasts need to reach 145°F followed by a three-minute rest. Ground versions of those same meats, including burgers and sausage, need 160°F with no rest required. All poultry, in any form, needs 165°F. Fish fillets need 145°F, or should be cooked until the flesh is no longer translucent and separates cleanly.
Quick reference, per FoodSafety.gov:
- Steaks, chops, roasts (beef, pork, lamb, veal): 145°F + 3-minute rest
- Burgers and ground meat: 160°F, no rest required
- All poultry: 165°F
- Fish fillets: 145°F or opaque and separating cleanly
A note on steaks and safety minimums. The USDA's 145°F minimum for whole-muscle steaks is the established safe threshold, and cooks who prefer medium-rare are working below it. That's a personal decision and a common one. The more important distinction is between whole-muscle cuts and ground meat: the 160°F requirement for burgers reflects a genuinely different safety situation, because surface bacteria get mixed throughout during grinding. That's why visual checks don't substitute for a thermometer reading on a patty the way some cooks assume they can on a steak. Knowing that distinction lets you apply the guidance accurately rather than uniformly.
What changes once you stop guessing
Prieto has spent 30 years at the grill relying on a thermometer to check doneness rather than cutting, Food & Wine reported last month. Shannon Snell, head pitmaster at Sonny's BBQ, has used the same approach for over eight years, citing consistency, accuracy, and safety as his reasons, per Food & Wine. The thermometer doesn't have to be expensive. The habit does have to be consistent.
Once probing becomes the default, the decisions at the grill get concrete: pull this steak now, give that chicken two more minutes, let the pork chop rest. You stop reading smoke rings and juice color for clues and start working from actual numbers.
Next step: Moving beyond quick-cook proteins to larger cuts brisket, pork shoulder, whole spatchcocked chicken calls for a leave-in probe thermometer, which lets you monitor a long cook without lifting the lid. The same placement rules apply: thickest part, away from bone.