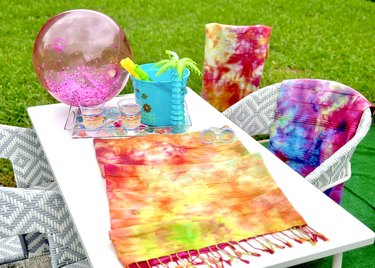
Imagine stepping out of the ocean and onto a vibrantly colored, uniquely patterned beach towel that you've dyed yourself. Ice dyeing isn't just fun — it transforms an ordinary beach towel into a work of art. With a few simple supplies and a bit of patience, you can create these eye-catching towels.
Ready to get started? Here's how to make your very own ice-dyed beach towels.
Video of the Day
Video: Ice-Dye Beach Towels
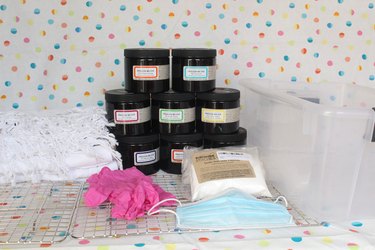
Things You'll Need
Turkish 100% cotton beach towel(s)
Mild laundry detergent
Dust mask
Plastic gloves
Soda ash
Large plastic bin(s)
Large aluminum pan(s)
Steel baking rack(s) (should fit into aluminum pan)
Ice cubes
Cold-water dye powder
Plastic spoons
Plastic sheeting or plastic bag(s)
Tip
You can use any dye that is made for cold-water dyeing. We used Procion MX Dye for our beach towels. These dyes are sold individually so you can buy just the colors you want. The colors are vibrant and the dye is permanent and washable when used with natural-fiber fabrics.
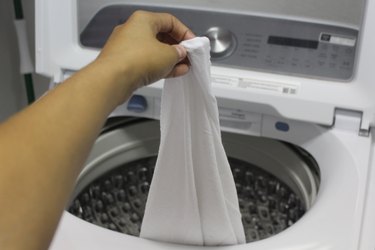
1. Wash the towels
Prewash the beach towels in the washing machine, using a mild detergent. This step is crucial to remove any impurities and prepare the fabric for dyeing.
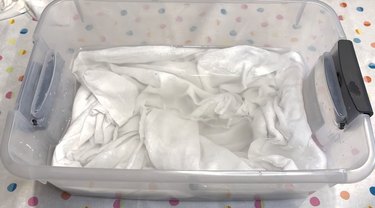
2. Treat the towels with soda ash
Put on a dust mask and gloves to protect yourself from the dye powder and soda ash, which can be harmful if inhaled.
Mix the soda ash in warm water according to the package instructions. Soak your towels in this solution in a plastic bin or a sink for at least 30 minutes. This ensures that the vibrancy of the powdered dye takes to the fabric effectively.
3. Get ready to color
Set up your workspace by placing each steel baking rack into an aluminum pan (you can also use a plastic bin or basin) to catch the dye and water from the melting ice.

4. Arrange the towels
After the soda ash treatment, wring out the towels but keep them damp. You can now begin arranging them for dyeing.
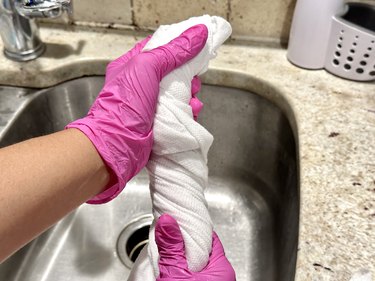
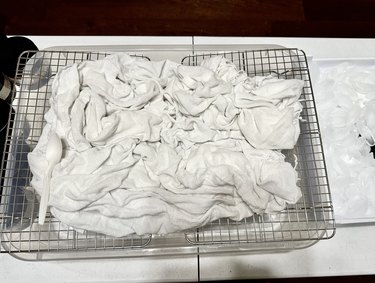
Lay out each damp towel onto a baking rack. Then, fold, twist, and scrunch the towels as desired to create different patterns. The more folds and creases, the more interesting the dye patterns will be.
Using the rack is essential, as it allows the water from the melted ice to drain away, preventing the dye colors from pooling under the fabric and bleeding into one another, which helps maintain distinct and vibrant patterns.
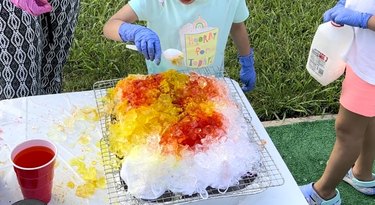
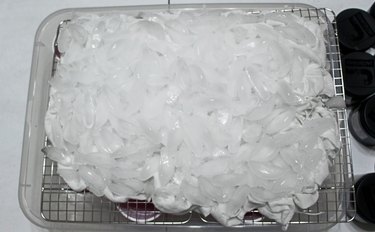
5. Cover with ice
Completely cover the arranged towels with ice cubes. Given the large size of the beach towels, you should ensure that you have plenty of ice on hand. You will need a few bags from the store, or make sure that you have enough prepared in your freezer. The ice acts as a barrier that controls how the dye interacts with the fabric, creating unique effects as it melts.
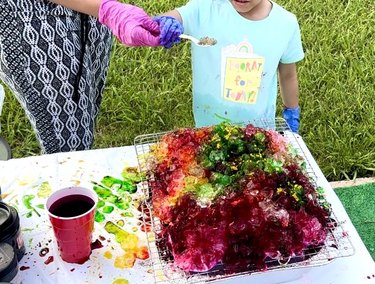
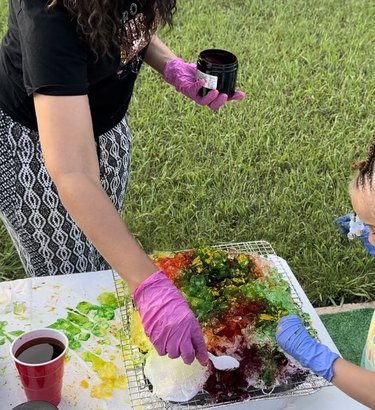
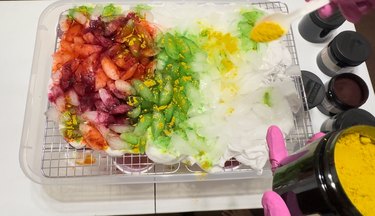
6. Apply the dye and let it set
Pick your favorite colors and sprinkle the dye powder directly over the ice, using a plastic spoon. You can use one color for a monochromatic look or multiple colors for a rainbow effect. As the ice melts, it will slowly absorb the dye into the towels, creating beautiful patterns.
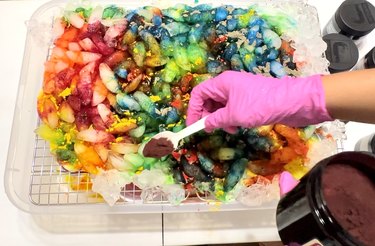
Patience is key here. Allow the ice to melt completely, which can take several hours depending on the temperature. Once the ice has melted, cover the towels with plastic sheeting or a plastic bag and let them set for 24 hours to ensure that the dye fully bonds with the fabric. Don't rush the process; your patience will pay off!
Tip
Working on the project outdoors on a sunny day helps to melt the ice quicker.
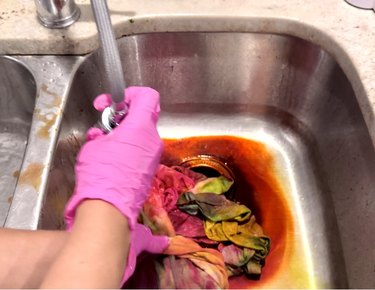
5. Rinse, wash, and dry the towels
After the dye has set, rinse the towels in warm water until the runoff is clear. This might take a while, but it's essential for removing excess dye. Finally, wash the towels in warm water with a mild detergent and hang them to dry.
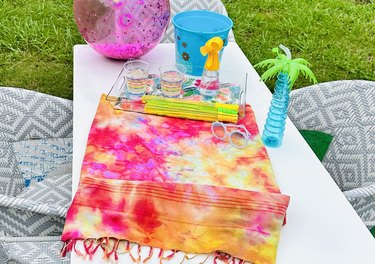
Congratulations! You've just created your own custom ice-dyed beach towels. Whether you're lounging by the pool, heading to the beach, or just enjoying a sunny day in the park, these towels are sure to make a statement.

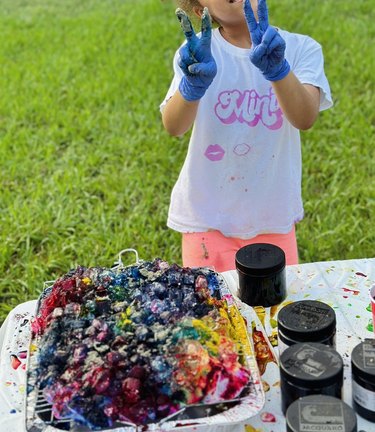
This project is ideal for a family activity, as kids love seeing how their designs emerge through the ice-dyeing process. Look at how much fun my kids had creating their own towels! It's a perfect blend of creativity, science, and summer fun!