eHow may earn compensation through affiliate links in this tutorial.
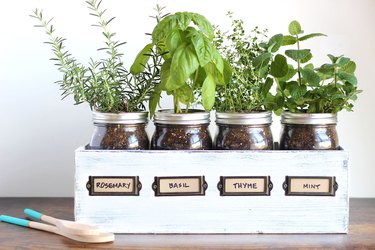
Fresh herbs are great to have on hand for cooking, but buying them from the market can get expensive, especially when you don't need a whole bunch for a recipe and the rest of it goes to waste. With your own herb garden, you can snip what you want when you need it. Don't have a yard? No problem. This herb garden in mason jars is a stylish alternative, and it takes up very little room in your kitchen. Now your favorite herbs can be just an arm's length away from the pot, ready to add fragrance and flavor to your dishes.
Video of the Day
Video of the Day
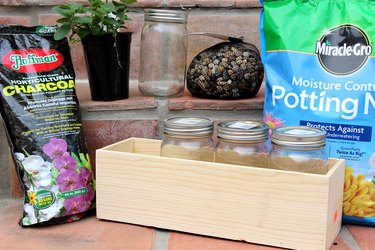
Things You'll Need
Small rocks or pebbles
Herb plants
Wood planter box
White and black paint
Paintbrush
Cardstock
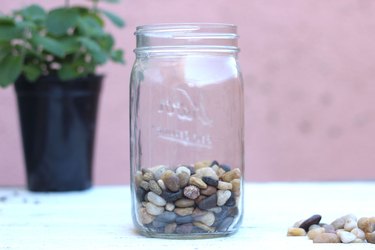
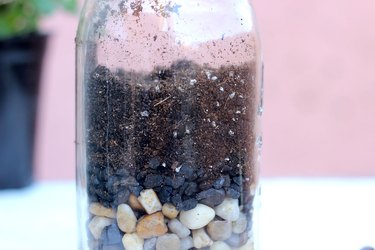
Step 1: Add Pebbles to Jars
For this herb garden, you'll need mason jars that are one quart in size. Also, make sure the jars have a wide mouth, which will help the soil breath, not to mention make it easier to add materials inside. The problem with using mason jars for plants is that there is no drainage, so there is a danger of the roots rotting in water. To create a drainage system, add about two inches of pebbles to the bottom of each mason jar. Glass marbles will also work. This way, any excess water will drain into the pebbles, away from the soil.
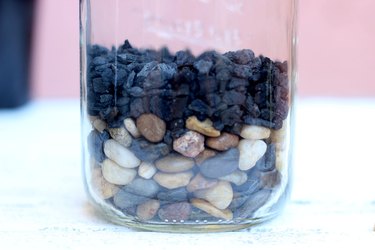
Step 2: Add Charcoal
Another important material for your drainage system is horticultural charcoal, which you can find at garden centers. It absorbs excess moisture and helps protect against over-watering. Place about an inch of the charcoal in the jar on top of the pebbles.
Step 3: Add Potting Soil
Place potting soil in the jar on top of the charcoal, but don't fill it up to the rim. Leave about four inches from the top for the actual herb plant. I used moisture control potting mix, which absorbs more water than ordinary potting soil.
Step 4: Add the Herb Plant
While you can grow your herbs from seeds, I recommend starting with a plant, as one that is pre-grown will give you better — and immediate — results. Remove the herb plant from its plastic container, and spread out the roots to give them some wiggle room to grow.

Place the plant in the jar, with the soil line being about a quarter inch below the rim of the jar. Add more potting soil if needed.
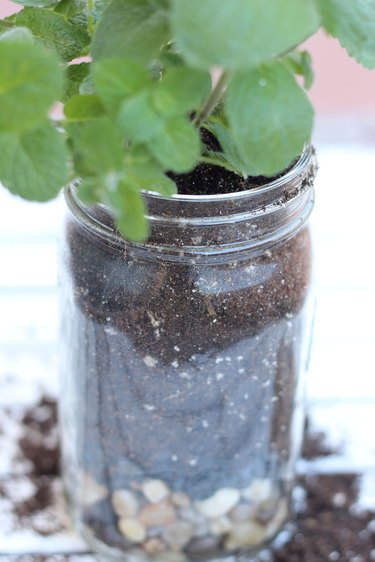
Repeat these steps to create an entire set of herbs in mason jars. The clear glass helps you see the moisture level of the soil and if any excess water has accumulated in the pebbles. As you can see, I decided to screw the metal band of the lids on the mason jars. They do not obstruct the opening at all and add a nice decorative touch.
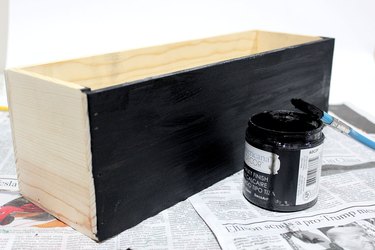
Step 5: Paint the Wood Container
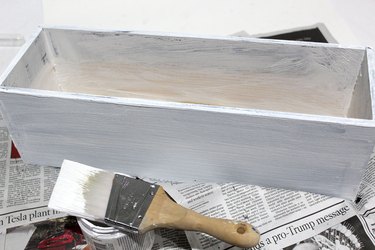
While you can display the mason jars as is, placing them in a container pulls the set together and makes them easy to transport. Look for a rectangular wood planter box or crate. The one I used was 17 inches long, 5 inches high and 5 inches deep. It held four quart-sized mason jars perfectly. If your wood container is unfinished, you'll want to paint it. I gave mine a distressed paint look by first applying a coat of black paint. Chalk finish paint is perfect for this project because it does not need a primer and dries very quickly.
Then apply two coats of white paint on top of the black one. Make your paint strokes go in the same direction as the wood grain.
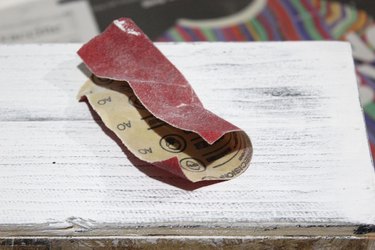
Now take a piece of 120-grit sandpaper and sand down anywhere on the container that you want black to show through. You will typically see paint distressed at the edges and corners. Also, by sanding in the direction of the wood grain, you will expose the black in a wood grain pattern.
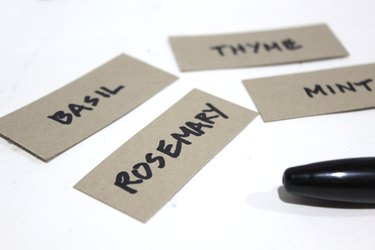
Step 6: Create the Labels
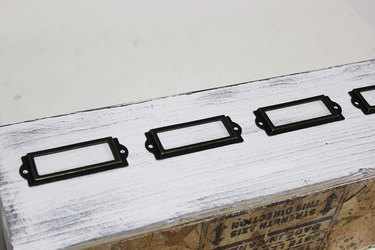
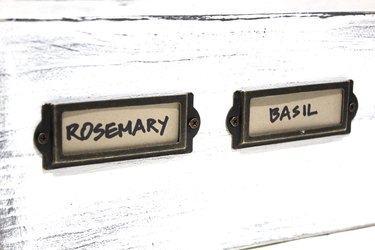
Labeling the herbs may seem unnecessary because we know what herbs like rosemary and basil look like. But some herbs like marjoram and oregano are not so readily identifiable. Besides, labels give our herb garden container a beautiful look, especially when we use metal label holders — the kind used in vintage cabinets and drawers. Line the holders along the container, spacing them out evenly. Mark the screw holes with a pencil.
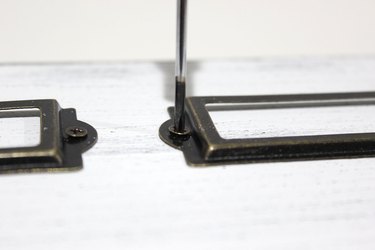
Then screw them in place.
Cut pieces of cardstock that will fit in the holders, and write the names of the herbs on the cards.
Insert the labels in the holders.
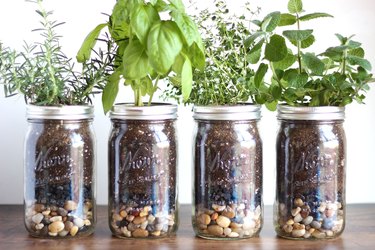
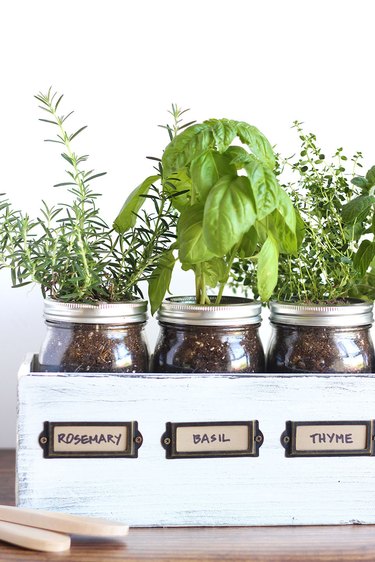
Step 7: Place the Jars in the Container
And here's the moment you've been waiting for. Place the mason jars in the container, matching up the herbs with the appropriate labels. Your herb garden is ready to sit on your kitchen window sill or in a sunny spot in your home. This would also make a thoughtful housewarming gift.
Tip
To keep the soil moist without overwatering, hydrate the soil daily with a spray bottle. You can also place a few ice cubes on top of the soil as long as they're not touching the plants. The ice will slowly melt and moisten the soil. By adding a little bit of water daily, you can avoid having to drench the soil.