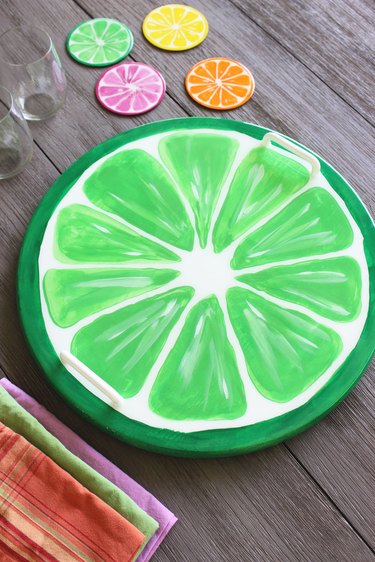
Who wants a lime with their drink? For warm-weather entertaining, this serving tray in the shape of a giant fruit slice is a cheerful, yet practical way to showcase your refreshments. You can even make matching coasters of different colors to help everyone identify their drinks. The fruit slice design is painted freehand (the more imperfect the better), and the surface is sealed in resin for a smooth, glass-like finish. It's the perfect accessory for this season's entertaining—no matter how you slice it.
Video of the Day
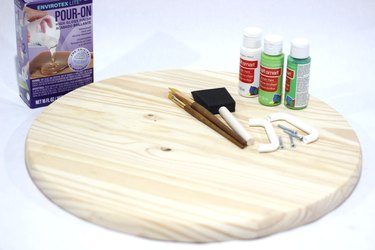
Things You'll Need
18-inch wood round
White acrylic paint
Paint brushes
Dark green acrylic paint
Light green acrylic paint
Two cabinet handles and screws
Masking tape
Pour-on resin kit
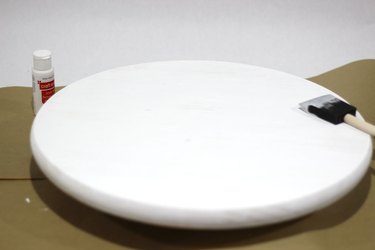
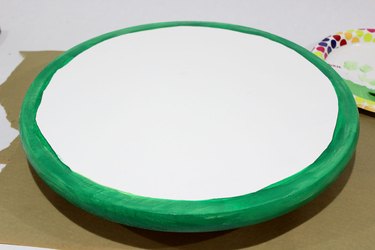
Step 1: Paint Wood Round White
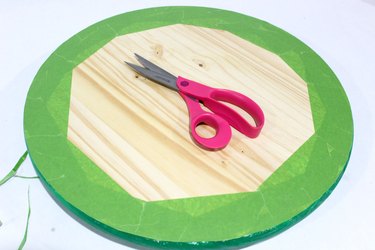
Start with a wood round, which you can find precut and pre-sanded at home improvement warehouses. They are typically about 18 inches in diameter, but your local store can carry both smaller and larger sizes. Then apply white acrylic paint on the top and sides with a paint brush. You will need four to five coats to hide the wood grain.
Video of the Day
Note: You can cut the wood round in half to create smaller semi-circular trays, but I find a round tray is more practical, with less chance of objects falling off.
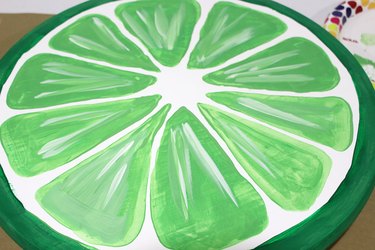
Step 2: Paint the Fruit Slice
Let's start with the rind. Using dark green acrylic paint (or dark orange or yellow if making an orange or lemon slice tray), paint a one-inch border around the perimeter of the wood, as well as the sides.
Next, paint six to eight triangular segments around the center with the lighter green acrylic paint. You can trace your design first with a pencil, but I have problems painting between lines, so I just eyeballed it and painted freehand. The fruit slice actually looks better with irregularly-shaped segments because that's how they are in nature. To make sure I didn't extend the segments too far into the center of the circle, I placed a glass in the middle as a guide.

Once all the segments are painted, paint random white lines within each segment. They make the fruit slice look more "juicy."
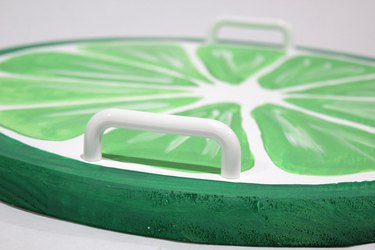
Step 3: Attach Handles
Attach two cabinet handles on opposite ends of the tray, screwing from underneath the tray up to the threads of the handles. Keep in mind that the screws that come with the handles may not be long enough to go through the thickness of the tray. A visit to the hardware store will help you find screws in the correct size.
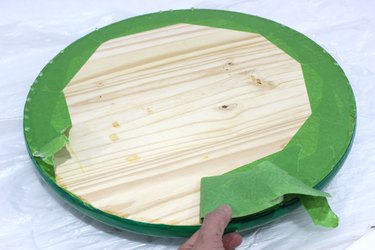
Step 4: Mask Off the Bottom
Before sealing the top surface with resin, we'll need to mask off the bottom of the tray with tape, as drips will collect there. Overlap masking tape all around the circumference of the bottom, going in around three inches from the edge.
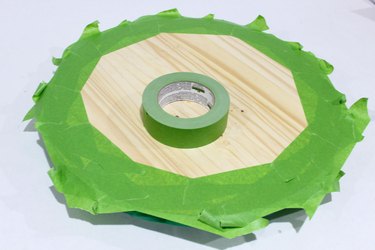
Then trim off the excess tape with scissors so the tape goes right to the edge of the wood.
Step 5: Pour the Resin
While you can seal the tray with varnish or shellac, I prefer resin because it provides a super-smooth, glass-like finish that looks professional. Resin comes in kits that include a bottle of resin and a bottle of hardener. Resin used to be difficult (and smelly) to work with, but it's now formulated for casual crafters so anyone can use it.
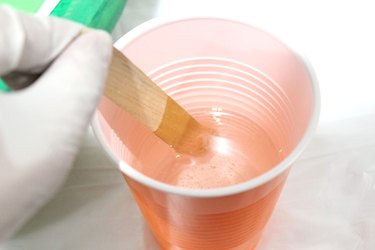
Follow the specific instructions that come with the brand of resin you choose, but basically, you start by mixing one part resin with one part hardener in a cup for two minutes. Pour the contents into a fresh cup and mix for one more minute. Be sure to wear gloves and eye protection.
Cover your work surface with plastic tarp, and elevate the tray so drips fall off onto the tarp. I placed the tray on top of a roll of duct tape to elevate it. Then pour the resin all over the surface of the tray. No need to paint it on, meaning no brush strokes.

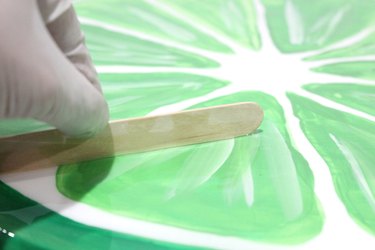
Resin is self-leveling, so it eventually evens out into a flat layer. However, you can help it along by using the flat side of a craft stick to spread out the resin. As you spread it, push it off the edge of the tray so it cascades over the sides. You can also hold the tray by the handles and tilt it to allow the resin to spread.
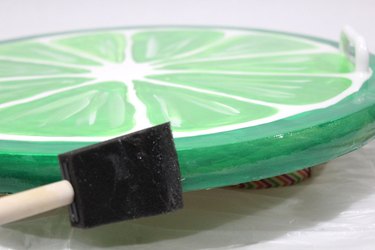
Use a foam brush to even out the resin that has dripped over the sides. You can also use the brush to wipe up any excess drips that collect underneath the edge of the tray. Then let the resin cure undisturbed for a full 24 hours. Step away from the resin! Do not be tempted to touch the resin after a few hours to see if it's drying. You will put fingerprints on it.
Step 6: Remove the Masking Tape
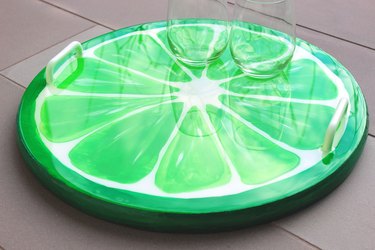
After the resin has cured for 24 hours, you can touch it. Flip the tray over and remove the masking tape. Any drips that have collected on the masking tape will come right off when you remove the tape.
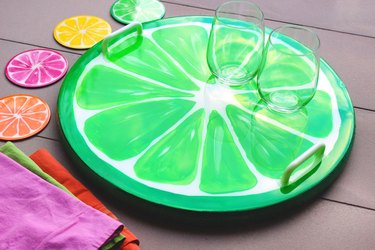
You can't help but admire your handiwork, as the smooth, reflective resin accentuates the colors underneath. Now the only thing better than this tray would be a matching set of coasters.
How to Make Fruit Slice Coasters
Step 1: Paint Designs on Wood Disks
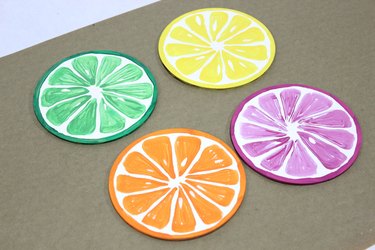
Look for four-inch wood disks at your local crafts store or online. They are the perfect size for coasters. Then paint them as you did the tray, starting with the white base coat, followed by the rind and the segments. Switch up the colors. I'm not sure what kind of fruit is deep pink like my fourth fruit slice, but I'm loving it.
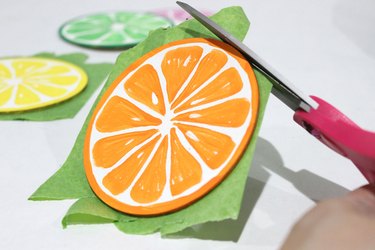
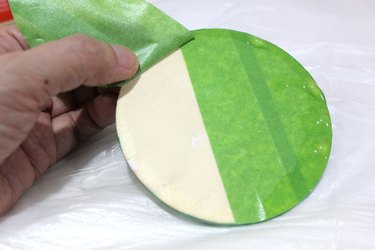
Step 2: Mask the Backs
Apply masking tape to the backs of the coasters, and trim off the excess tape.
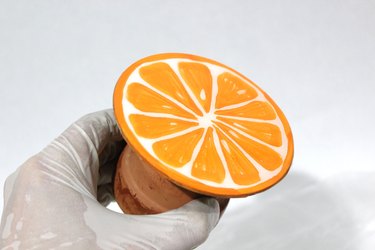
Step 3: Pour the Resin
Pour the mixed resin on the coaster, and swirl it around to spread the resin evenly over the surface and letting it drip down the edges. I actually taped the coaster to a small clay pot so I could move the coaster around without touching it. Then allow the resin to cure for 24 hours.
Step 4: Remove the Tape
When the resin is cured, remove the masking tape from the back.
The finished coasters are the perfect complement to the serving tray.
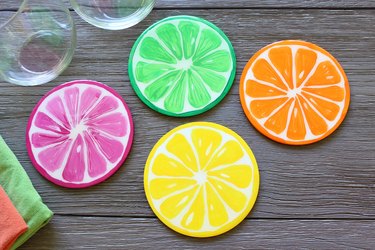
What a colorfully whimsical way to dress up your spring and summertime table.