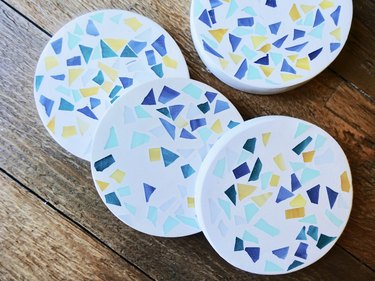
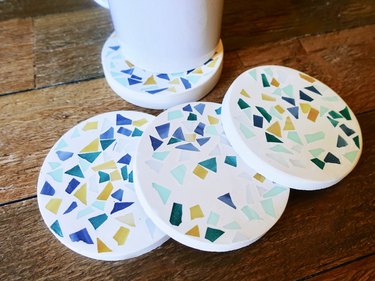
Looking for an easy, affordable way to jump on the current terrazzo trend? Yep, so were we. That's why we couldn't wait to try out this easy method for making "terrazzo" that looks more like the real thing than a faux terrazzo print, but is way easier than actual terrazzo which requires creating your own concrete aggregate mix and waiting days for it to set. Instead, these beauties are made with glass mosaic tiles that you can find at any craft store and simple-to-use plaster of Paris. Best of all, you can whip these up in about an hour or so!
Video of the Day
Things You'll Need
Small glass mosaic tiles in coordinating colors
Mosaic tile cutter
Protective gloves
Bowl
Sieve (for sifting)
Plaster of Paris
Disposable mixing tool (we used a plastic spoon)
Medium grit sandpaper
Fine grit sandpaper
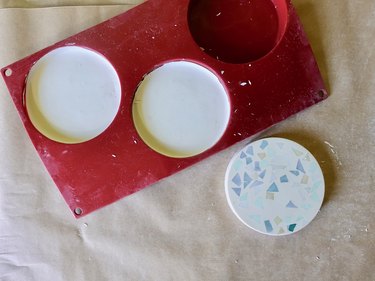
Silicone coaster mold (we used 4" diameter round molds)
Any craft paint brush
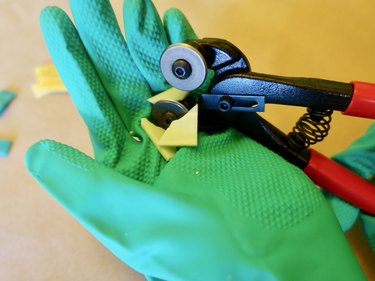
Step 1: Cut Tiles
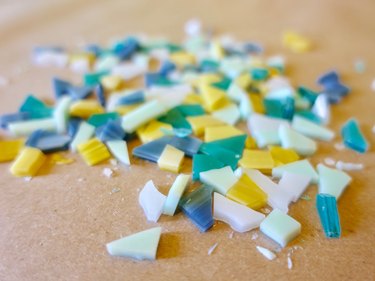
Wearing protective gloves, use the mosaic tile cutter to cut glass tiles into pieces of random shapes and sizes. The size and quantity of the pieces depend on what type of look you're going for. Our pieces were between 1/2 to 2 centimeters at their widest points.
Video of the Day
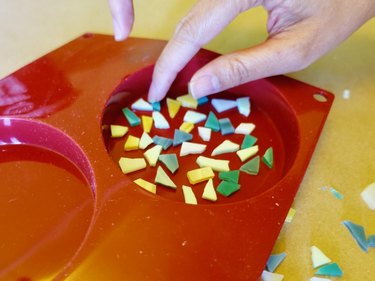
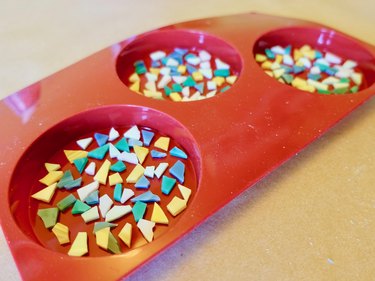
Step 2: Arrange Glass in Silicone Mold
Place an even layer of glass pieces at the bottom of each cavity of a silicone coaster mold. You can space them wide apart, or close together -- depending on the look you're going for. Visit this article for some inspiration.
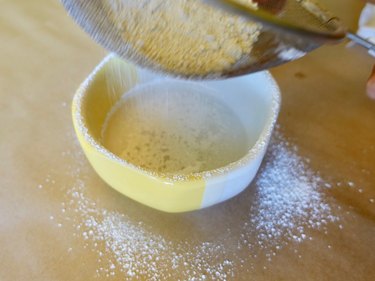
Step 3: Mix Plaster of Paris
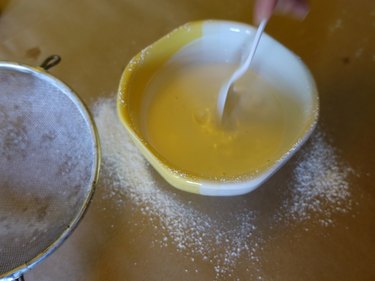
For each coaster you're making, you'll use about 1/6 cup of water to 1/3 cup plaster of Paris (1:2 ratio). To mix, pour the needed amount of water into a bowl, and gradually sift the plaster of paris into the water. Sifting helps prevent clumps from forming.
Allow it to absorb the water before mixing into a smooth, pourable consistency.
Step 4: Pour Plaster into Mold
Slowly pour the plaster over the pieces of glass. Make sure not to disturb the arrangement of the pieces underneath.

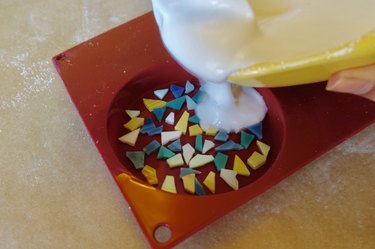
Use the back of the spoon to gently level the layer of plaster.
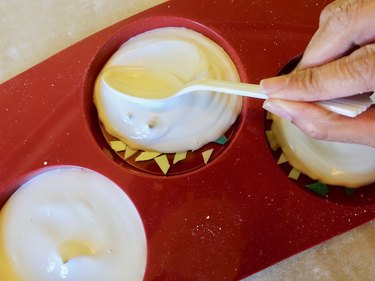
Step 5: Agitate to Remove Bubbles and Let Set
Grasp the edges of the mold and gently agitate to help release trapped air from the plaster. Stop when you no longer see bubbles rising to the surface.
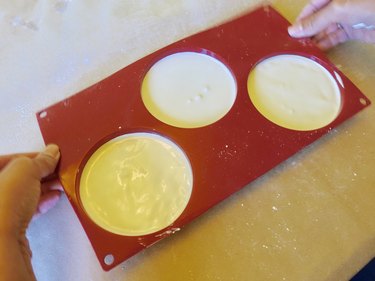
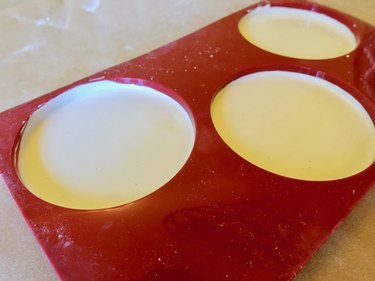
Wait about half an hour or until the plaster of paris is set.
Step 6: Unmold Coasters
Here's the fun part! Remove the coasters from the mold; they should easily pop right out.
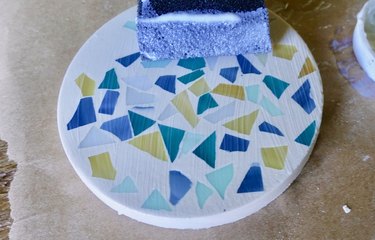
Step 7: Sand
You'll notice a thin layer of plaster over the top of the coaster. Sand the top of the coaster with your medium grit sandpaper, but only enough to reveal the glass underneath. Don't over-sand with the medium grit paper to avoid creating too many deep grooves on the surface.
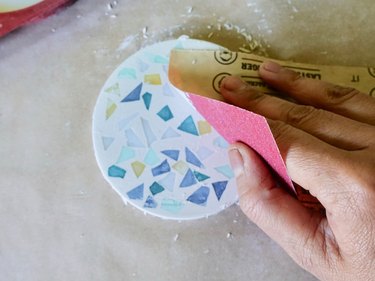
Smooth out any scratches made on the surface with fine grit sandpaper, then wipe the coaster down with a moist paper towel.
Step 8: Seal
Finally, seal and protect your coasters with 2 to 3 coats of Mod Podge. Make sure to follow the manufacturer instructions on the label.
Enjoy your handmade works of art!