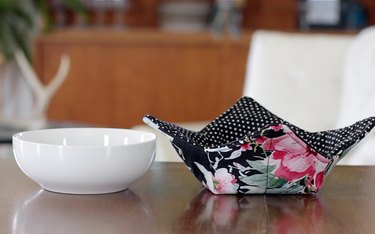
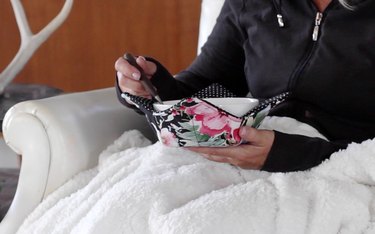
When it comes to getting cozy and relaxing after a long day, there's nothing quite like snuggling down and enjoying a bowl of your favorite homemade soup. Your quiet dinner at home can be a special one with a comfy chair, a thick quilt and a warm sweater. But to bring it up a notch and bring a little more hygge into your life, use a handmade soup bowl hot pad. It'll not only keep your hands cool but it'll be a feast for your eyes as well, when you make one from some colorful fabric.
Video of the Day
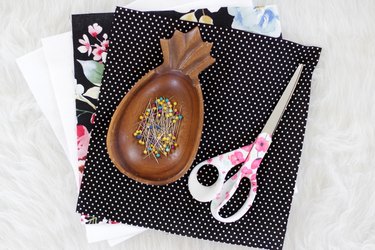
Things You'll Need
Tip
If you're planning on using this soup bowl hot pad in the microwave, be sure to use 100% cotton fabric, thread, and batting. Polyester is NOT microwavable. It could scorch or even start a fire in the microwave and no one wants that!
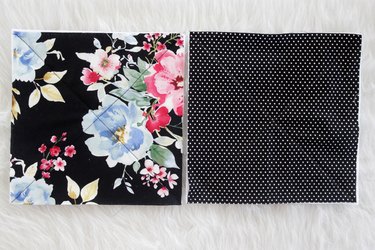
You can tailor your fabric selection depending on your tastes. If you fancy yourself a foodie, you might like the Tossed Peppers on Black cotton fabric on one side and the Black Dot cotton fabric on the other side of your hot pad. If cactus and succulents make you happy, the Flowering Cacti cotton fabric or this Cacti in Pots cotton fabric would be a nice choice. Both of the cactus fabrics would look nice on your hot pad with the Greenery Aspirin Dot cotton fabric on the other side. To bring a little summer into your kitchen, make your soup bowl hot pad from this Packed Daisy cotton fabric. Whatever cotton fabric you decide to use, remember that the batting and the thread needs to be 100% cotton, too. Personally, I recommend the Pellon Wrap and Zap cotton batting and the Gutermann 100% cotton thread for you to use on this project.
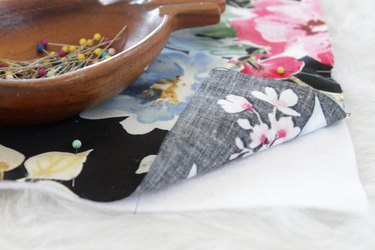
Step 1
Layer each 10-inch square of fabric on top of each 10-inch square of batting. Pin around all four sides to hold it in place.
Step 2
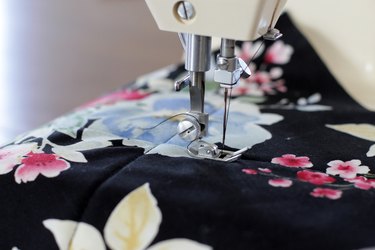
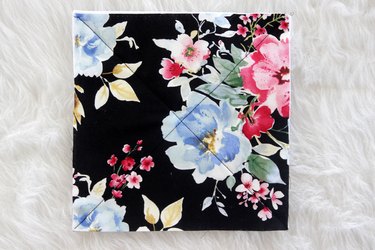
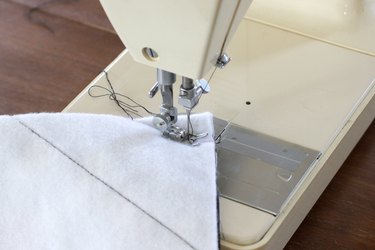
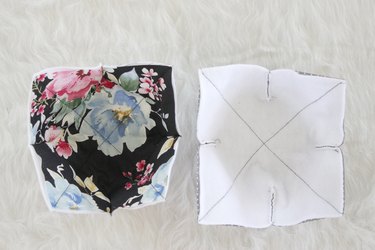
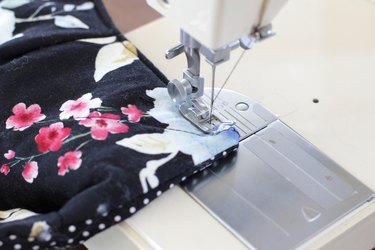
Start at one corner of the square and sew through both layers across to the opposite corner. Repeat this on the other corner so when you're finished you will have an X sewn onto your square. Sew an X onto both squares of fabric and batting.
Step 3
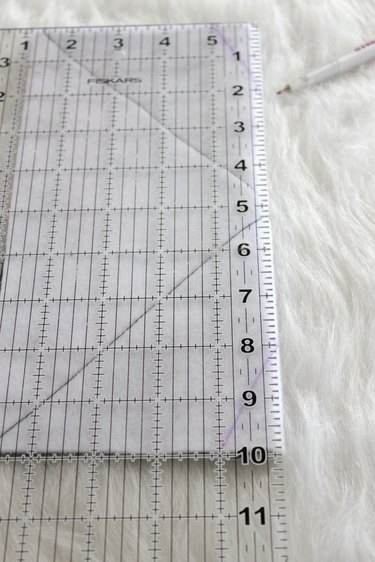
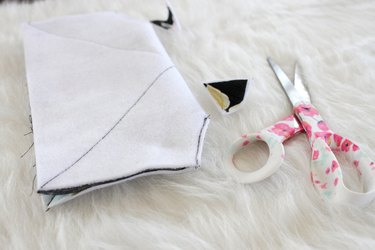
Fold the square in half so the batting is showing. Make marks 2 inches from the top and 1 inch over from the fold. Use a straight edge to draw a diagonal line from dot to dot. Repeat this on the bottom corner of the folded edge.

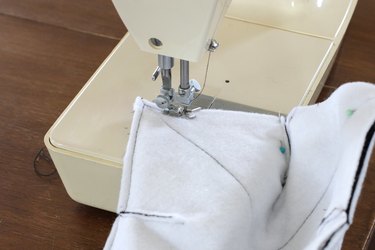
Step 4
Sew along the marks. Be sure to backstitch a few stitches on each end to keep the stitches intact.
Step 5
Trim 1/8 inches away from the seams with a sharp pair of scissors.
Step 6
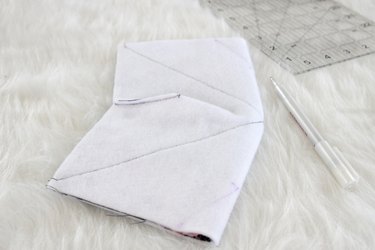
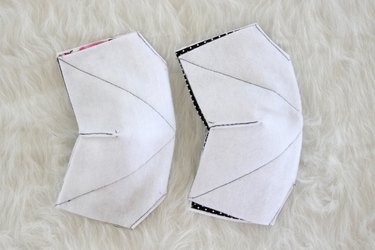
Fold the square in the opposite direction and make marks 2 inches from the top and 1 inch over from the fold. Use a straight edge to draw a diagonal line from dot to dot. Repeat this on the bottom corner of the folded edge.
Step 7
Sew along the marks and trim 1/8-inch away from the seams.
Step 8
Repeat steps 3 through 7 with the other fabric square.
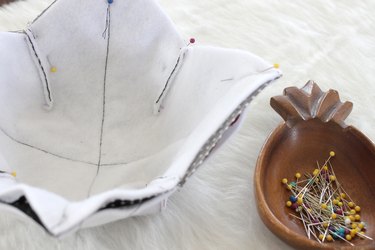
Step 9
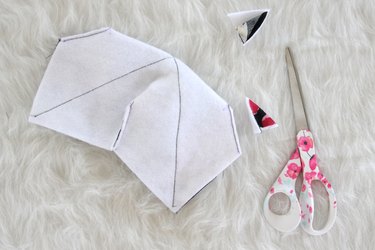
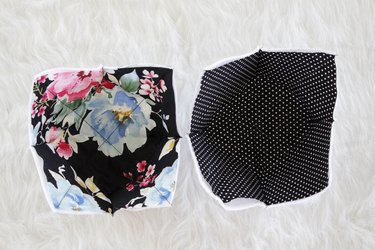
Open up the squares and push in the bottom to form a bowl shape.
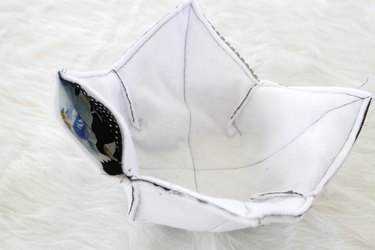
Step 10
Turn one bowl shape inside out.
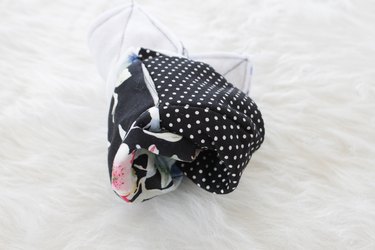
Step 11
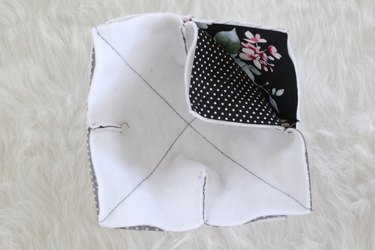
Place one of the bowl shapes inside the other with right sides together. Line up the corners and pin around the upper edge.
Step 12
Sew a 1/4 inch away from the edge and leave a 3-inch opening.
Step 13
Pull the fabric through the opening to turn the hot pad right side out. Use a chopstick or a pencil to push out all of the corners.
Step 14
Tuck in the raw edges and pin the opening closed.

Step 15
Topstitch 1/4 inch away from the edges to close the opening and create a nice finished edge.
Place your bowl inside the hot pad to keep your hands cool when enjoying your next steaming hot bowl of soup.