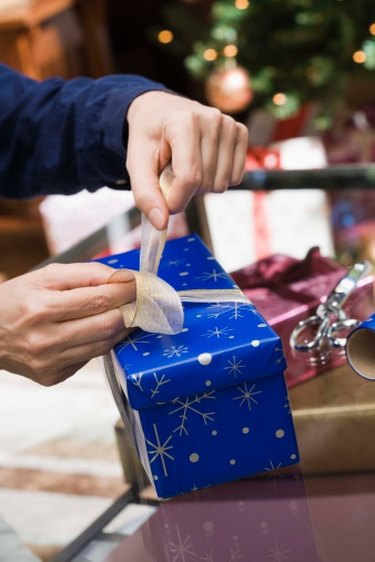
Decorative ribbon on a gift makes even brown paper wrapping look festive. Plastic bags full of pre-formed ribbons seem an efficient way to decorate a package, but simple techniques of tying ribbon give a gift a unique, professional look that says something personal. Twist, tie or layer any type of ribbon, from fluffy or flat to tulle or paper, to give a plain box an elegant flair. All you need is ribbon, scissors and, for some techniques, a stapler or tape.
Diagonal Ribbon Wrapping
Video of the Day
Using ribbon on the diagonal to decorate a box is simple but looks special enough to set your gift apart. Lay the ribbon diagonally across the bottom left side of the box. Hold the ribbon on that corner and lift the box to draw the ends of the ribbon under the box and to the corresponding corners on the top right side. The two ends of the ribbon are now visible on the top right side of the box. Tie the ends in a bow over the top right corner. Slide the bow back and forth until it is in the position you desire.
Video of the Day
Using Tulle
Ribbon wrapping with tulle is an effortless way to give a package a distinctive look. Lay a square or rectangular length of tulle flat on your work surface. Fold one end in to the middle, then fold the other side in. Squish the open ends tightly together in the middle, and tie the middle with string, ribbon or thin wire to create a bow shape. Tie another small piece of tulle or wire around the middle to hide the wire. To create a tulle flower instead, simply spread and fluff both ends of the bow to create a circle of fabric resembling a flower.
Flat Bow Technique
The flat bow technique creates a neat, classic look. Cut a length of ribbon in any width from narrow to wide. Take one end and make a small circle of ribbon. Pinch the ribbon tightly in the center to make the loop flat. Fold the remaining length of ribbon back and forth to form increasingly larger, flat layers. Make at least three more layers, holding each tightly in place until all are formed. Staple the layers together in the center.Tie the stack of ribbon together in the middle with an additional small piece of ribbon. Affix the middle of the tied ribbon to your card or package with glue.
Say it with Roses
For something extra special, add a rose made of ribbon to your package. Lay a length of ribbon vertically on the table. Take the bottom tail of the ribbon and fold it in a right angle perpendicular to the top half of the ribbon, creating an "L" shape. Fold the top half of the ribbon down tightly over the corner of the "L." Hold the corner in place with your left hand. With your right hand, flip the other half of ribbon from the right side to the left. Still holding the corner in place, take the ribbon at the bottom and flip it to the top, then take the ribbon at the left and flip it to the right. Repeat flipping the ribbon top-to-bottom and right-to-left until all ribbon has been folded. Hold onto the ends of the ribbon and let the rest stretch out in a twist. Hold onto both ends of ribbon at the base of the twist. Choose one to pull through the other. A bloom will form.Tie the base of the bloom tightly with string or thin wire. Add green ribbon loops or fabric leaves.