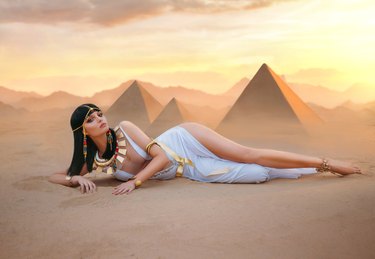
You might know the song "Walk Like an Egyptian," but what about dressing up as one for Halloween? You can make a homemade simple Egyptian costume using a sheet, but you will then need to dress it up the right way. It is important to have the right hairstyle, shoes and makeup. Egyptians are known for wearing a lot of gold, so that's worth taking into account, as well.
Egyptian Costume DIY
Video of the Day
The easiest way to do an Egyptian dress up DIY is to start with a sheet. It can be white, but other colors can work, as well, as long as there are no patterns (these wouldn't be authentic). The only supplies you need for this are a clean, flat (not fitted) sheet, a measuring tape and scissors. Fold the sheet in half lengthwise and trim it as needed at the bottom so it won't drag on the floor when you put it on. Cut out a quarter shape on the folder corner; this will be the neck hole. Try it on and if it is too tight, make it wider.
Video of the Day
You don't even need to cut out armholes; instead, wrap the sheet around your body and secure it with a scarf, gold belt or just knot it into place. You can also pin it securely with a brooch or sew in a few stitches to hold it in place. Or if you like, use the strips that you cut from the sheet into three narrow ones and braid them together into a belt.
Adding an Egyptian Collar
You can make an elaborate Egyptian collar to embellish your outfit. These were commonly worn by Egyptian royals, including pharaohs. Get a large piece of gold card or gold-painted cardboard, and draw a large oval on it. It should be the same width as the distance measured between your shoulders, and should come down to the top of your chest. Draw a smaller circle inside of it that is big enough to fit over your head, cut that and make sure that it fits.
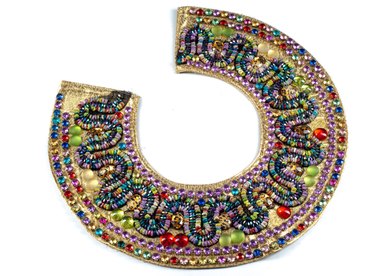
Now you can decorate the collar with paint and glue on jewels, if you like. Use metallic colors like shimmery red, sparkly green and vibrant turquoise blue. You can search for a pattern online to replicate, but draw it in before you paint. Another option is to wear a heavy collar-like necklace instead of making a cardboard one. The more elaborate it is, the better.
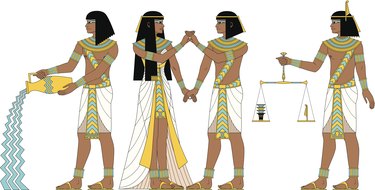
Accessorizing the Egyptian Costume
You will also want to wear wide gold bracelets or bangles on your wrists and ankles. A short or long, dark black wig will also add authenticity to the look. Top that with a headband or even a golden tiara.
Wear a pair of brown sandals on your feet. If you can find gladiator-style or other strappy sandals, those are best. As for makeup, both men and women wore it in ancient Egypt. The eyes have to stand out, so make your eyebrows good and dark with a brow liner. You can make your eyelids blue, and add a little bit of gold to enhance them.
The most important and stereotypically Egyptian makeup, though, is eyeliner. Use a deep black one, and draw in a thick line extending from the tear duct all away around the eye. Then, extend a line out from the bottom outside edge of your eye and thicken it.