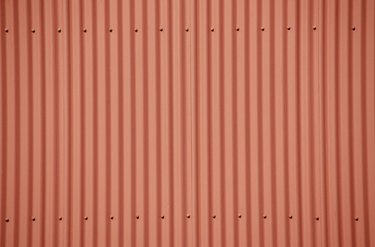
Corrugated metal is a lightweight, tough, practical, weather-resistant material. It is used primarily for roofs and sides of buildings such as barns or sheds. It can be obtained in a variety of metals—galvanized steel, stainless steel, painted steel, aluminum—and in a variety of weights (thickness of metal). There also are many styles, denoted by differences in the "bumps" of ridge tops and the overall height of the material. The most common is 2 1/2 inch by 1/2 inch, used on barns, sheds and other structures. Some manufacturers offer perforated or lattice styles, with holes in the metal.
Video of the Day
Things You'll Need
Corrugated Panels
Ladders
Tin Snips Or Metal Saw
Tape Measure
Screws Or Nails
Step 1
Measure the ceiling where you want to install corrugated metal and calculate the square footage: width times length. Most corrugated panels are 27 1/2 inches wide. The standard length is 8 feet, but you can buy panels 10, 12 or even 20 feet long. Panels are light but flexible and unwieldy, and longer lengths can be especially hard to handle although they can reduce the number of seams in the ceiling. When you calculate how many panels to buy, allow for overlap, generally one full ridge or about 2 1/2 inches. Some panels have tabs—one panel slides into the tab of the next—which eliminates overlaps.
Video of the Day
Step 2
Decide how you will fasten your corrugated ceiling panels. If your roof has internal braces, you can screw your panels to those. If there are none, you will have to install some: Corrugated panels need to be fastened about every 6 inches. If your porch frame is wood, nail or screw two-by-two boards (or even one-by-two if your span is not long) across the porch where your panels will meet. Measure panels and lay out those dimensions exactly. Test this by putting panels on the porch floor to see how they match.
Step 3
Screw your corrugated ceiling panels in place. This will require help and ladders. Support panels on both ends and screw one end into the framing, then move halfway down the panel and add screws, then screw in the other end. Then go back and add screws until the panel is secure and tight. Leave room for any overlap as you install screws. Then add another panel and another until your ceiling is covered. Panels should fit tightly at the sides and ends. Cut panels with tin snips or a metal saw to fit as needed. If there is a light fixture in the ceiling, cut around that. Remove the fixture if possible, then re-install it after the ceiling is in place.
Warning
Be careful cutting corrugated panels. The metal will be sharp and can cut fingers and hands. Use care in handling panels on ladders. They are unwieldy and can cause falls.