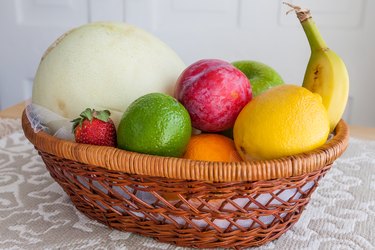
Fresh fruit in a basket brightens anyone's day, especially when it's tied with bright ribbon with a few added treats. Ripe, seasonal fruits work best if you can hand-deliver the basket; otherwise choose fruits that won't get damaged or age too rapidly in the mail, such as citrus fruits and apples. The U.S. Postal Service cautions that mailing perishable items such as fruit is at your own risk; use overnight delivery when sending the basket to help reduce the risk of the fruit spoiling.
Wintertime Baskets
Video of the Day

Because winter is prime citrus season in Florida and California, tangerines, grapefruit and oranges make a holiday gift basket that is bright in color and flavor. Choose unusual or exotic orange varieties, such as blood oranges and honeybells, if you can find them. Include a non-fruit item to make the basket look interesting, such as a jar of orange marmalade, gingerbread cookies, a bag of nuts and some recipe cards for food made with citrus fruits.
Video of the Day
Spring Baskets
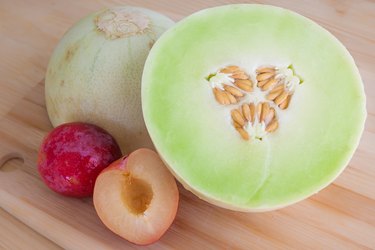
Fruit baskets mailed in early spring give folks living in cold climates a taste of the warmth that will eventually reach them. For mailing, include a variety of long-lasting citrus fruits, along with mangoes and honeydew melon. If you hand deliver the basket, add the first strawberries of the year along with apricots if you can find them. A small bouquet of spring tulips or fragrant freesia whispers that spring is here.
Baskets for Children

Even picky eaters love fruit, and a fruit basket with a combination of dried and fresh fruit gives enough sweetness that children won't miss candy. That said, strawberries or dried pineapple dipped in chocolate make a delicious combination. If you deliver the basket for Easter or Passover, include small toys or books in honor of the holiday. For a birthday basket, place the fruit in a fun container such as a dump truck or doll's basket with the doll.
Wrapping and Mailing Baskets

Wrapping a gift basket in brightly colored cellophane paper with an over-sized bow makes the gift stand out. Or, think about your recipient and wrap the gift accordingly, with lacy, tulle fabric for someone who likes that sort of thing, and a dishcloth printed with fruit for someone more interested in practical matters. For mailing, wrap the basket in plastic bag over any decorative wrapping and place it in a large box well cushioned with foam pellets.