Things You'll Need
Mannequin
Soap
Rags
Fine grade sandpaper
Spray paint (2-3 cans) or satin interior brush-on paint (1 quart) in desired skin color
Acrylic brush-on paints
2-3 cans of spray-on sealant, satin finish
Brush-on gloss sealant
Assortment of paintbrushes
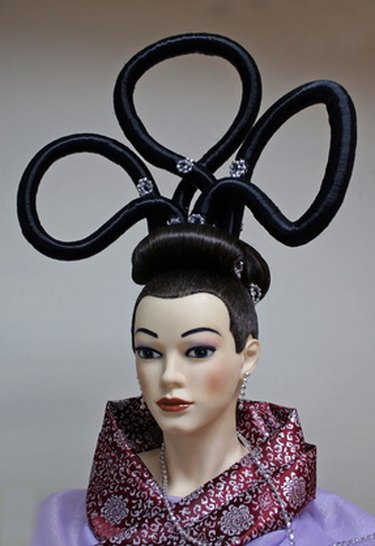
Mannequins are simply large dolls that can be painted and customized however the owner wishes. If you want to make a hyper-realistic-looking woman to stand in your display case and gaze at passers-by it can be done. It’s also possible to create a refugee from a galaxy from far, far away with metallic bronze skin, electric blue highlights on the elbows and contrasting flame-red eyes. For a painter with the proper tools and patience, the only limit is a person's imagination.
Step 1
Disassemble the mannequin.
Video of the Day
Step 2
If matching the mannequin’s current “skin” color is a concern, take a smaller part such as an arm to a hardware store paint department. Employees at the paint counter should be able to provide a matching satin interior paint.
Step 3
Use the sandpaper to smooth imperfections on the mannequin. Wash the mannequin with clean and wet rags, making sure to remove all dust, dirt, grime and anything else you don’t want to cover with paint. Allow the mannequin to dry.
Step 4
Paint the base-coat skin color on the mannequin using spray or brush-on paint. Apply it in light coats and allow to dry in between coats to achieve a smooth, skinlike finish. Spray the satin sealant over the base coat. Let the paint dry thoroughly after the base coat is applied.
Step 5
Use acrylic paints on smaller areas of the mannequin. The areas and colors painted are entirely up to the painter. The paints can serve as toenail polish, lip gloss, bullet wounds, among other possibilities. Thin the paint with water to make blue eye shadow or a brownish grime to rub behind the ears. Use wet rags to wipe off excess paint.
Step 6
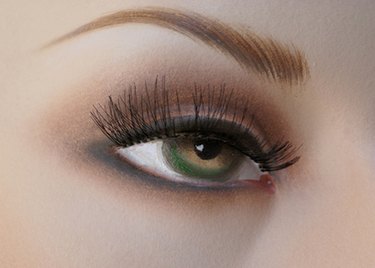
Give the eyes special attention because what you do with them can be the most important part of the overall paint job. For a realistic “human” effect, base coat the eyes with an oyster color. Then base coat the iris with the chosen color. Lighten the color used on the iris with a little white paint or another light color, then paint a smaller circle with that color inside the iris. Paint the pupil in black. Use the oyster color to draw a curved highlight line on the left side of the pupil.
Step 7
Spray satin sealant over the freshly painted areas. When the paint job is finished, go back with the brush-on gloss and apply to the eyes, lips and other areas that should appear shinier than the rest of the mannequin.
Step 8
Allow the parts to dry, then reassemble the mannequin.
Tip
Most craft stores offer a large selection of inexpensive craft acrylic paints. They come in a variety of colors and work well for figure painting.
This how-to is for beginners. Advanced painters may wish to consider using tools such as airbrushes or chalk pastels to create more realistic effects.
Video of the Day