Things You'll Need
12 large squares of fabric for front side of quilt
3 yards of fabric for the sides of the quilt
3 yards of batting from a roll that is 60 inches wide
4 yards of fabric for back of quilt that is 60 inches wide
Cardboard
Chalk
Needle
Safety pins
All-purpose thread
Quilters thread or yarn
Scissors
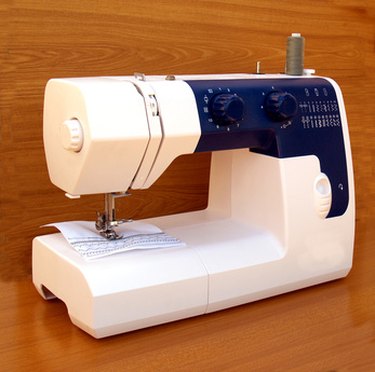
Sewing machine (optional)
A yellow brick road style quilt is a simple beginner's pattern and is easy to make. The name of the quilt conjures up images of the Wizard of Oz, and the quilt itself looks like it belongs on the very road that Dorothy followed. While the traditional choice of colors includes yellow-colored squares in the design, feel free to choose patterns and colors that complement each other. The only rule for this design is that the quilt pattern has classic brick-shaped squares where no two corners of any quilt square meet. With a little creativity and some basic sewing skills, you can create a beautiful work of art.
Step 1
Wash, dry and iron the fabric you will be using for both the front and back of your quilt. Laundering the fabric preshrinks it and prevents the colors from bleeding after the quilt is assembled.
Video of the Day
Step 2
Use the 12 squares of different colored fabric to make the bricks. Make a cardboard template of your desired brick size in order to measure your fabric pieces to a uniform size, and trace each shape onto the fabric with chalk. Cut out the brick shapes of fabric. For example, if you want 3-inch by 5-inch squares, make a pattern for 3-1/2-inch by 5-1/2-inch squares to allow extra material for seams.
Step 3
Arrange the squares of fabric on a flat surface to determine your pattern. To keep true to the yellow brick pattern style, no two corners of any fabric square meet and corners of each square should be touching the middle of the squares that border it. This step can be very time consuming in order to work out the position of each brick.
Step 4
Sew all squares together with a basic sewing stitch about 1/4 inch from the edge of each square of fabric, to make one large piece of fabric for the front of your quilt.
Step 5
Lay the fabric for the back of the quilt out on the floor face down and lay the batting on top. Spread the front side of the fabric face up on top of the batting.
Step 6
Pin all three layers of the quilt together with safety pins every 6 inches over the entire surface and trim all edges of the three layers of fabric so that each one is the same size as the other. The outer dimensions of the quilt will be approximately 60 inches by 108 inches.
Step 7
Cut all side fabric into 6-inch strips down the full length of the fabric. Stitch these strips into one long continuous strip and fold in half lengthwise. Iron this entire seam. Fold each long edge of the fabric insides together so that an inch of fabric is hidden on both edges. Iron these folds and wrap the long fabric around the edge of of the quilt so it overlaps the edge and pin it in place. This gives you a 2-inch border around the whole quilt.
Step 8
Sew the edge seams closed and using a needle and thread or yarn, sew single stitches every 4 to 6 inches to tie all three layers of fabric together. Remove all pins and the quilt is complete.
Tip
Take your time cutting out the squares because accurate cuts make sewing the squares easier. Stitches on all seams should be smaller than 1/8 inch. Simply increase yardage of fabric to enlarge the size of your quilt. A sheet is an easy choice for the fabric on the back of your quilt.
Video of the Day