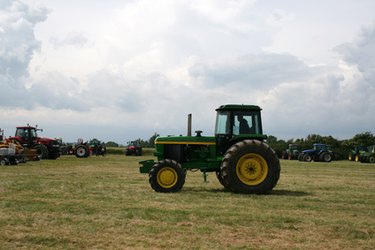
Safety is a fundamental aspect of operating a John Deere tractor. Routine inspections prior to use, as well as scheduled maintenance, not only ensure the tractor's long-term performance but also keep you safe. Don't put the machine in operation until first satisfying all of recommended safety checks. Safety becomes even more critical when you install large implements or attachments, such as bucket loaders and wide-brush cutters.
Step 1
Perform a pre-use inspection each time the John Deere tractor is put in service. The operator's manual provides the most specific points and criteria for inspection. You should:
Check the oil level for proper fill Ensure the transmission fluid is at its proper level Observe air filter indicator for signs it has tripped--indicating the filter is ready for replacement Check the engine coolant for proper level Drain moisture from engine fuel filter bowl Check the tires for proper air pressure and signs of damage
Video of the Day
Correct any abnormalities you observe before operating the tractor.
Step 2
Enter the operator's seat and adjust it to enable easy access to all controls and pedals. Two adjustments--both just under the seat--will reposition the seat forward or back, as well as up and down. Keep the operator controls within easy access at all times.
Step 3
Fasten and adjust the seat belt. Even a low speeds, slight jarring from rough roads or obstacles is capable of ejecting you from the driver's seat. Many newer models of John Deere tractors require the seat belt to be fastened before the engine will start.
Step 4
Place any suspended loads on the ground before starting the engine. While best practices dictate that front-end loaders and rear-mounted implements be set on the ground when the tractor is parked, double check that attachments are setting on the ground before start-up. Lowering the attachments minimizes the chance of damage or injury In the event the tractor jumps into gear or lunges when started.
Step 5
Start the engine. Check the parking brake that it is in the set position. Depress the clutch fully and turn the ignition key to the run position. Observe the warning lights on the instrument panel. The engine oil light and the alternator light will illuminate until the engine starts. Once the indicator lights come on, turn the ignition full right and start the engine. When the engine cranks, release the key and allow it to return to the run position.
Step 6
Adjust the throttle by pushing forward on the throttle lever to the desired RPM. The RPM setting will depend on the type of work to perform or the size of the load being towed.
Step 7
Raise any attachments connected to the tractor. Lifting the attached equipment just enough to clear the ground is normally adequate. The higher loads are hoisted while operating the tractor, the greater the possibility of tipping the tractor.
Step 8
Select the appropriate forward or reverse gear and slowly release the clutch, allowing the tractor to move in the desired direction. Be observant of surrounding obstacles during operation.
Warning
Never allow riders on the tractor while it is in operation.
Do not drive along inclines great enough to allow the tractor to tip over.
Video of the Day