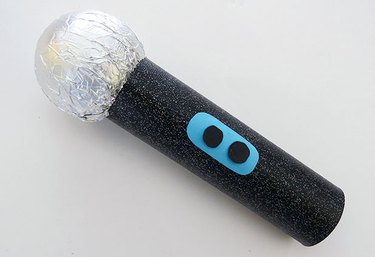
Kids of all ages love to sing and dance to their favorite songs. With a few craft supplies, you can make a play microphone that will give them hours of fun. It's great for slumber parties, karaoke, and talent shows.
Supplies
Video of the Day
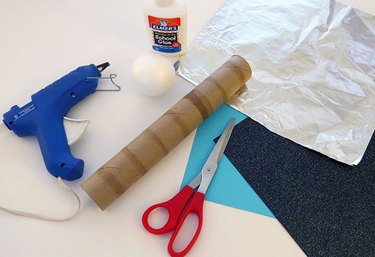
- Paper towel or toilet paper tube
- Styrofoam ball
- Tin foil
- Scrap book paper or colored construction paper
- Scissors
- White glue
- Hot glue gun
Video of the Day
Cut Tube
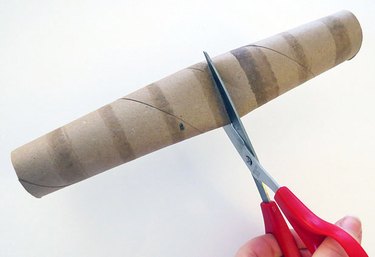
Decide on the length of your microphone handle. For younger children, a toilet paper tube will be the perfect size. For older children, you may want a longer handle made with a paper towel tube. Cut it to the length that fits best.
Cover Tube with Paper
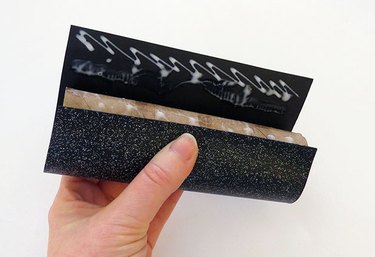
Cover the tube with paper. You can use plain black construction paper or a piece of scrap book paper with a pattern or sparkle. Cut the paper to size and attach with white glue.
Cover Ball with Tin Foil
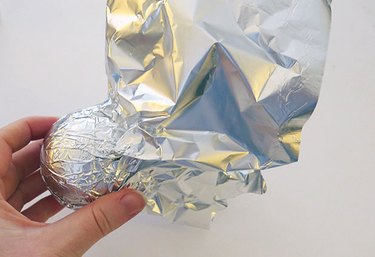
The easiest way to make the ball of your microphone is to to cover it with tin foil. Wrap the foil tightly around and cut off any extra. Smooth it out with your fingers. If you would like the ball to be a different color, you can brush it with a water based acrylic paint instead.
Decorate Handle
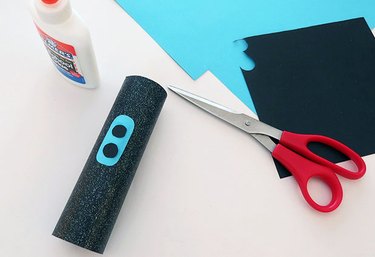
Use extra pieces of paper to decorate the handle. You can create buttons to make it look more realistic, or just have fun with patterns and shapes.
Glue Ball on Handle
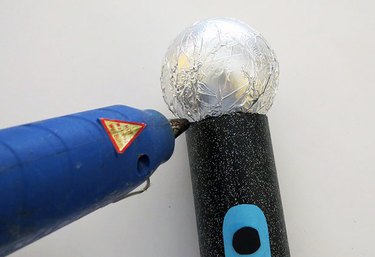
The final step is attaching the ball to the handle. Apply hot glue around the rim of the tube, lay the ball on top and hold until secure.