Things You'll Need
Newspaper
Cardboard box (such as a gift box or shoebox)
Ruler
Pencil
White paper
White glue
Cotton swab
Construction paper
Poster paints
Paint brushes
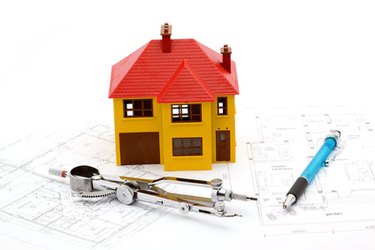
Making a cardboard box house, whether for marketing, decorations, toys or some other purpose, is a creative, engaging activity for all ages. Kids—and adults—learn how to design a house and practice three-dimensional construction, color selection and ways to make a cardboard house look realistic. Cardboard box house making provides the advantages of being inexpensive and requiring only basic materials and skills.
Step 1
Cover your work surface with newspaper and set out the supplies for making the cardboard box house.
Video of the Day
Step 2
Choose a cardboard box in the desired size for the cardboard box house. If possible, select a box with flaps or a lid that's attached to the box rather than a lid that comes all the way off.
Step 3
Ball up newspaper pages and fill the box with them. Avoid overfilling so the box sides stay square and don't bulge out.
Step 4
Close the box flaps or lid. Apply tape where the flaps meet or along the place where the lid meets the box.
Step 5
Place the cardboard box on your work surface with the taped side down.
Step 6
Mark the windows and doors on the cardboard box house. For example, for a shoebox house, draw a door in the center of one end of the box, 3 to 4 inches wide, depending on how big the shoebox is. Make the lengthwise lines for the door from the base of the box to 2 inches from the top of the box. Draw a window 2 to 3 inches square on each side of the door.
Step 7
Fold a piece of colored construction paper into a peaked roof. Place it on the top of the box and check that the height is how you want it. Make a pencil mark for where to cut the paper if the roof is too long for the box. If the roof is too tall, push it down to fit the way you want, and make pencil marks on each side of the paper for where to cut it.
Step 8
Place a ruler even with each pencil mark and draw straight cutting lines on the roof paper for the cardboard house.
Step 9
Cut along the lines to make the roof. Apply glue on the inside bottom edges of the roof. Place the roof on the cardboard box house and press down on the glue lines gently to help the glue adhere. Allow the glue to dry for at least 20 minutes.
Step 10
Turn the cardboard box house on its end, with the triangle shape of the roof on a piece of colored construction paper. Use white paper if you want to paint the triangle-shaped part of the wall that shows at the ends of the roof.
Step 11
Trace the roof in pencil onto the paper. Start the line where the roof meets the cardboard box house and extend it to the roof point. Continue the line on the other side from the roof point to where the roof meets the cardboard box house.
Step 12
Place a ruler on the paper and draw a straight line to make a triangle. Cut the triangles.
Step 13
Apply glue to all sides of one triangle with a cotton swab. Place the triangle under the roof at one end of the cardboard house. Press down on the roof. Hold for a slow count of 30. Repeat this process with the second triangle on the other end of the house.
Step 14
Paint the cardboard box house the desired color. Allow the paint to dry.
Step 15
Add a contrasting trim to help the house appear realistic; for example, paint the door and window trim brown on a tan house.
Tip
Leave the box empty if you want to cut out the windows and have the inside show.
Video of the Day