Things You'll Need
4 pine boards, 4-inch-by-4-inch-by-72-inch
4 pine boards, 2-inch-by-4-inch-by-35-inch
2 plywood sheets, 35-by-54-inch-by-3/4-inch
2 pine boards, 2-inch-by-6-inch-by-71-inch
Drill/screw gun
40 wood screws, 3-inch

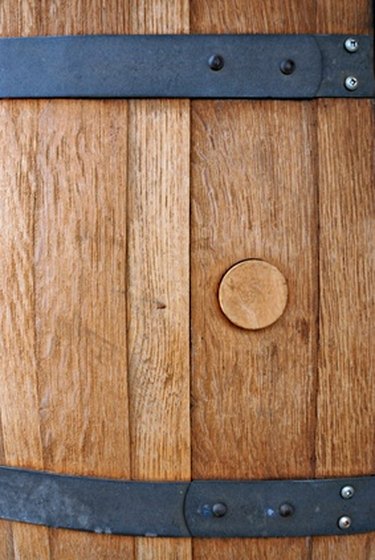
Storing wine in barrels, oak barrels specifically, affect the aging process of wine, resulting in an oak flavor to the wine. Storing the wine barrels can be a daunting task for those who are just entering the world of making wines. Thankfully there are a few methods for building wine barrel racks which require very little carpentry talent. A common set-up for racking barrels requires construction lumber, and holds four 30-gallon barrels.
Step 1
Lay two 4-inch-by-4-inch boards flat, parallel and 28 inches apart. Screw a 2-by-4 board at the ends of these two boards perpendicularly. The 35-inch edge of the 2-by-4 should be flush with the ends of the 4-by-4 boards. Screw another 2-by-4 board so it is 26 1/2 inches away from, and parallel with, the first 2-by-4 board. Repeat this process with the other two 4-by-4, and 2-by-4 boards.
Video of the Day
Step 2
Stand both sets of 4-by-4s on end so the edge of the bottom two 2-by-4 boards are laying on edge on the floor. The 2-by-4 boards must be between the two sets of 4-by-4s. Space the two sets of 4-by-4s 51-inches apart. Screw one 35-inch side of the plywood to one 2-by-4 board that is closest to the floor, and the other 35-inch side to the other 2-by-4 board that is closest to the floor. The barrels will lay on their side next to each other on the plywood. Screw your last sheet of plywood to the 2-by-4 boards that are above the first to complete the shelves.
Step 3
Screw your 71-inch boards perpendicularly to the top of the rack to provide support. One board should be on the front, and one should be on the back. The 71-inch edge should be flush with the top of the 4-by-4 boards, and the sides of the 4-by-4 boards should be flush with the ends of the 71-inch board.
Tip
It helps to drill pilot holes, slightly smaller than screw width, before attaching boards with screws. This job will go faster and more easily with two people.
Video of the Day