Door closers are hardware devices that are mounted at the top of a door and frame. When the door is opened, the closer will automatically close and latch the door. While this device may appear fairly simplistic, it is actually one of the most difficult pieces of hardware to work with. If you choose a closer that is too powerful for your door, it will slam the door shut too fast. If you select a closer that is not powerful enough, the door may not close and latch correctly. When choosing a closer, consider factors such as sizing, mounting, application and appearance so you can find the right unit for your door.
Step 1
Determine what size door closer you'll need. Closers may be sized from 1 to 6, which higher numbers used for more powerful units. Each closer manufacturer has their own selection chart that will help you select the right size based on the height and weight of your door. If you are unsure about sizing, choose a unit that can be adjusted during installation.The most widely used setting is size 3, and the standard adjustable closer will be set at size 3 when it is shipped.
Video of the Day
Step 2
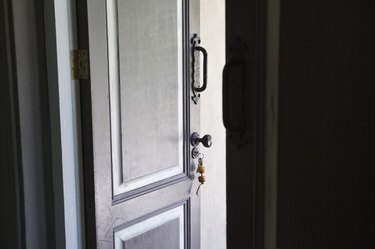
Decide whether you need a surface-mounted or concealed unit. Surface mounted closers are installed on the surface of the door and frame, and are highly visible. They are the more economical of the two options and also the easiest to install. Concealed closers are mounted within the door and are not visible when the door is closed. They are much more expensive and difficult to install than surface-mounted units.
Step 3
Review mounting requirements. You can mount your closer on either side of the door, but you must select a unit that is designed for that type of mounting. Standard closers are designed to be mounted on the pull side of the door (where you pull the door toward you to open it). If you want to mount on the push side, look for a closer with a parallel arm-mounting option.
Step 4
Select the right grade. Hardware is typically listed as Grade 1, 2 or 3. Choose Grade 1 hardware for commercial applications or for doors subject to high levels of abuse. Grade 2 hardware can be used for light commercial and standard residential doors. Grade 3 hardware should be used on very light residential applications, such as guest rooms or storage rooms.
Step 5
Look for fire rating. If the closer will be installed on a fire-rated door (typically only in commercial buildings), the closer must be fire-rated. Look for a metal label fixed to the unit that certifies the fire rating.
Step 6
Compare finish options. You can choose from standard chrome or stainless steel, or more traditional brass and bronze options. Look for a closer that matches or complements the rest of your hardware.
Step 7
Evaluate whether backcheck is needed. Backcheck is a feature that is supplied only on certain closer models. It limits the swing of the door, much like a doorstop. All closers on exterior doors should have backcheck as well as doors that may swing into a nearby cabinet or wall.
Step 8
Decide if your closer should have delayed action. A delayed action closer offers a period of delay from when the door is opened to when it begins to close. This is helpful for doors that are used by wheelchair users or people pushing strollers or chopping carts. It is also required for many entrance doors that are subject to Americans with Disabilities Act standards. Check the ADA website or consult with your local building inspector to determine if delayed action is needed.
Video of the Day