Things You'll Need
Four 36-inch lengths of 1-inch PVC pipe
Four 12-inch lengths of 1-inch PVC pipe
Two 4-way connectors
Six PVC elbow joints
PVC pipe glue
Hacksaw
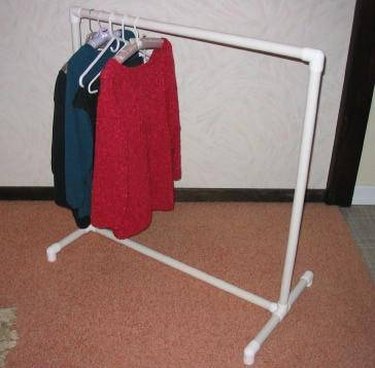
Need more space to hang up freshly washed clothes? An easy way to accomplish this is to make a clothes rack to hang the clothes on as you take them out of the dryer. This simple project can be completed in as little as an hour.
Step 1
Have the hardware store cut the pipe for you. Dry fit all the pieces together first. In other words, assemble the pieces together to make sure the rack has been assembled properly because once the rack pieces are glued together, it is permanent.
Video of the Day
Step 2

Attach two 12-inch sections of pipe together with one 4-way connector. This is one leg for the rack. Add an elbow to each end. Repeat this step with the other two sections of 12-inch pipe to make the other leg.
Step 3
Attach a 36-inch section of pipe into the side holes of the 4-way connectors to attach the legs.
Step 4

Attach a 36-inch section of pipe into the top holes of each of the 4-way connectors. This makes the sides of the rack. Attach an elbow to the top of these sections, facing inward, toward each other.
Step 5
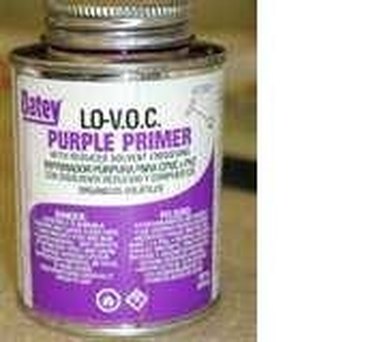
Attach the last 36-inch section of pipe into each elbow, connecting the entire rack. If it fits correctly, you can now reconstruct it using the glue. PVC pipe glue comes with an applicator. Use this applicator and make one swipe around the pipe with the glue and reattach the sections. Let dry according to manufacturer's directions, usually about 20 minutes per application.
Video of the Day