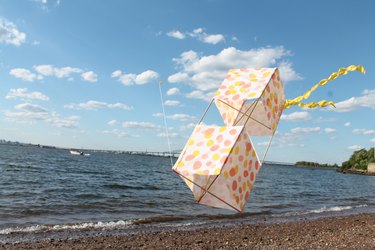
Although the shape is a bit unconventional, a box kite is easy to make with a few inexpensive materials. Making one is an ideal project for intermediate-level kite-making enthusiasts.
Things You'll Need
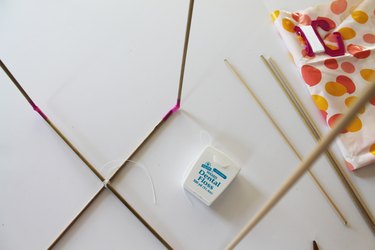
Four 3/8-by-48-inch wood dowels
Dental floss
Hot glue gun and glue sticks
Lightweight vinyl fabric or plastic tablecloth
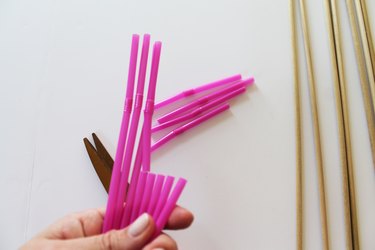
Bendy straws
Shop scissors
Pencil
Kite line
Measuring tape
Straight edge
Crepe paper streamers
Video of the Day

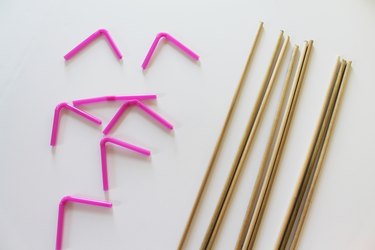
Step 1: Cut the Dowels
Using shop scissors, cut the dowel rods into four 2-foot sections and eight 1-foot sections.
Video of the Day

Step 2: Construct the Kite Frame
Cut the bendy straws an inch from the bend to serve as corner joints. Be sure your straws fit over the dowels before moving on.
Join together a 2-foot section with a 1-foot section by twisting the ends into the straw joint.
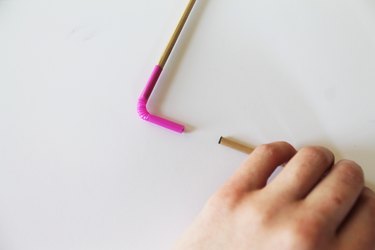
Repeat Steps 1 and 2 to complete two rectangle frames. If the straw joints feel loose, or the dowels are slipping out, secure them by adding a dot of hot glue to the end of each dowel before twisting them into the straw.

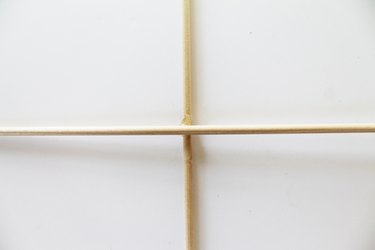
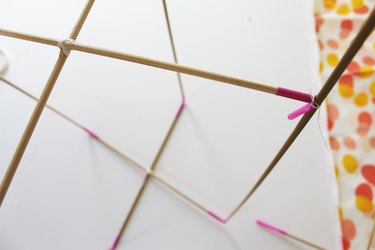
Interlock the two rectangle frames by creating right angles. You may want to mark the center of both dowels to help you find the intersection; use the corner of a scrap piece of paper to help you create precise square angles. Using dental floss, bind the two pieces together by winding the floss over and under the dowels. If you're struggling to keep the pieces square, apply a dot of hot glue between the dowels before binding them together.
On all the remaining 1-foot segments, use the pencil to make a mark at the midpoint.

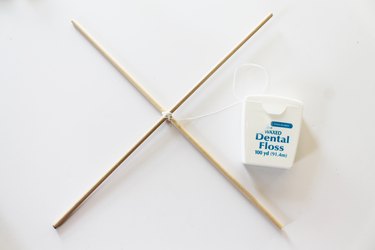
Secure the midpoints with a dot of hot glue, taking care to maintain the precise right angles.
Bind the dowels with dental floss, creating two dowel cross shapes.
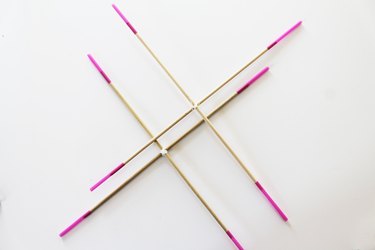
Cut eight straight pieces of the remaining straws and add them to the ends of cross sections.
On the box kite frame, measure in 8 inches from each corner and make a mark.

Line up the two crosses with the marks on the frame. Folding the straw ends downward, bind them to the vertical dowels to secure them to the kite frame.
The crosses stabilize the interior of the kite frame without weighing it down.

Step 3: Cut the Kite Material
Using scissors, cut the lightweight vinyl or printed tablecloth into 9-by-50-inch strips.

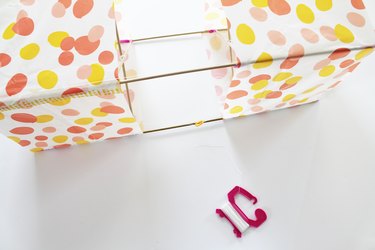
Step 4: Attach the Material to the Kite Frame
Using a thin strip of hot glue, press the kite material onto the edge of a dowel rod. Repeat on each rod, pulling the material taut and the edges flush with the ends of the frame. The middle third of the kite will remain uncovered.

Step 5: Attach the Kite Line and Streamers
Tie a kite line to two consecutive corners along the length of the kite and attach two or more crepe paper steamer tails, each about 3 or 4 feet long -- or make them longer if desired.
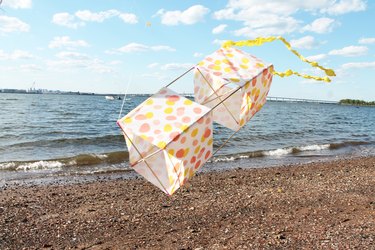
Wait for a perfect windy day and take your kite out for its first flight. You'll be amazed at how the structure picks up in the wind and climbs into the sky!
Have suggestions as to where to find fun printed materials for this project? Have questions about construction? Leave them for us in the Comments section below.