Glass etching is a technique used to create a frosted surface over glass and is often used on window panes and glass doors. Professional glass etching uses different techniques such as carving, shading and surface etching with various tools and abrasives used to achieve intricate and sophisticated designs. However, you can achieve similar results with surface etching by using special etching creams and stencils.

Video of the Day
Things You'll Need
Desired glass vessel
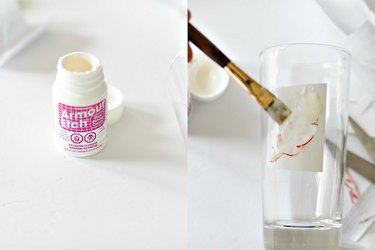
Etching cream (available at most craft stores)
Utility knife
Clear adhesive vinyl
Desired silhouette prints, or letter prints (like these)
Old brush
Water to rinse etching cream off surface
Step 1
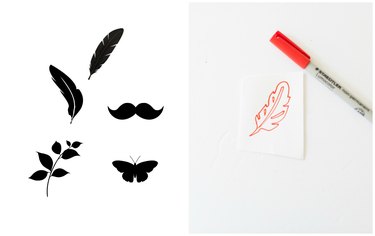
Select your desired figure to be etched. (Here are some simple shapes you can start with.)
If you're comfortable with your drawing skills, you can also hand draw a simple shape.
Video of the Day
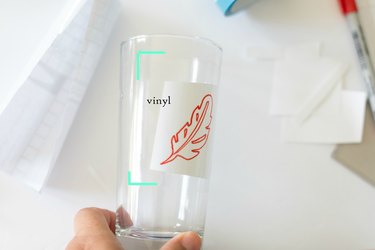
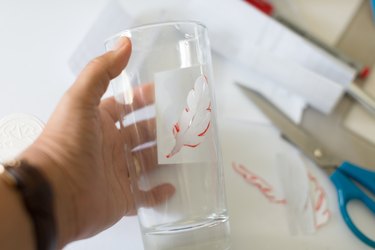
Step 2
Thoroughly clean the glass vessel with rubbing alcohol and wipe dry. Place the vinyl over the print (or drawing) and firmly press against the glass, ensuring you push out/remove any air bubbles.
Tip
Use a credit card or popsicle stick to press vinyl against glass.
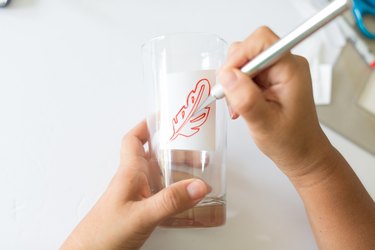
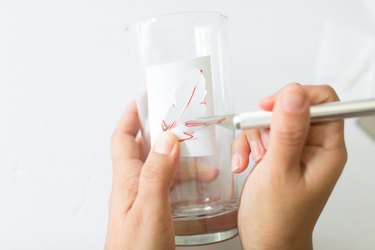
Step 3
Carefully cut out the areas you want to be etched with a sharp utility knife.
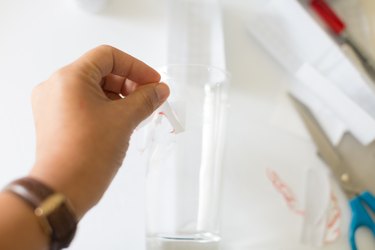
Step 4
Gently peel off the cut out and press the edges of the remaining vinyl firmly against the glass.
Step 5
Using an old brush, apply a generous amount of etching cream and allow it to sit for 5 to 10 minutes. The longer you allow the etching cream to sit, the more the acid will penetrate the glass, making the etching more noticeable.
Step 6
Wash away etching cream with running water.
Step 7
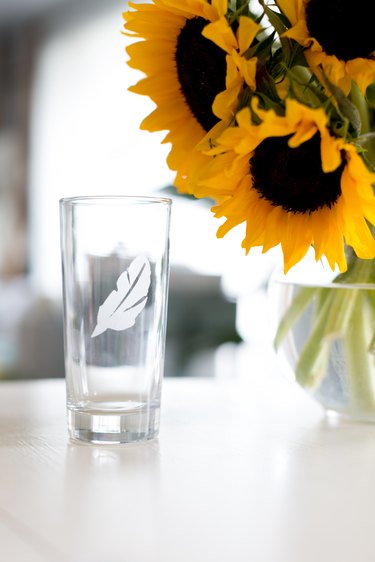
Peel off the stencil to reveal the etching.
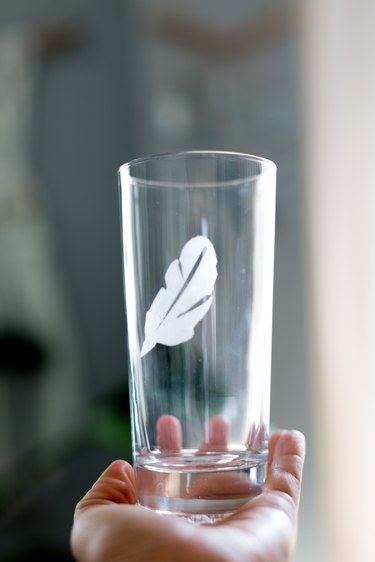
This fun and simple technique can be completed on a larger scale, such as window panes or a large vase, and can be as simple or as intricate as you wish.