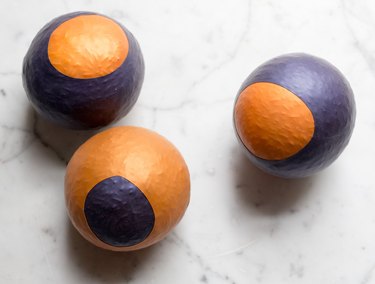
Stress balls are typically palm-sized and used to relieve tension, focus energy and even act as a form of exercise for the muscles in your hands and fingers. While the name indicates a more tense picture, these activity balls can be fun to make in variations of bright colors and are quite addicting to roll along your palms once complete.
Video of the Day
Use the materials below to make a single palm-sized stress ball ready for regular use in just about 5 minutes. Make a few to keep in convenient places like a handbag, desk or car glove compartment for easy access — or as a brightly colored stocking stuffer, Secret Santa or small gift for those during the busy holiday season ahead.
Things You'll Need
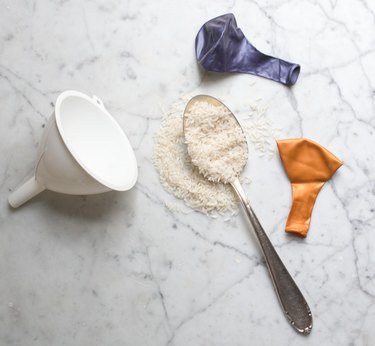
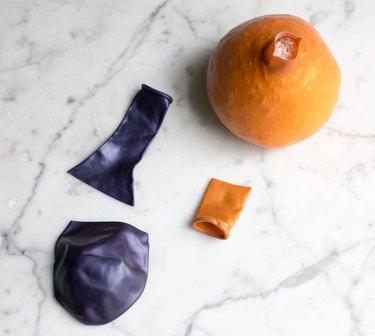
2 standard sized balloons in varying colors
Funnel
Spoon
3/4 cup dry rice
Scissors
Tip
If you don't have rice on hand or prefer the texture of a softer stress ball, try alternate types of balloon fillings using the same method below. For example, flour, cornstarch and even fine sand make great substitutions.
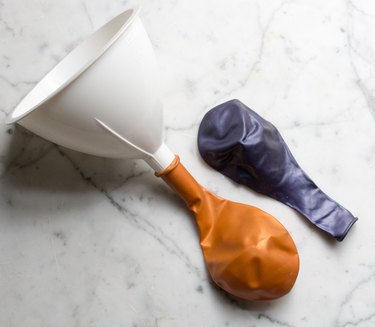
Step 1
Slide the mouth of one balloon over the base of the funnel. Make sure to choose the color balloon you'd like as the accent, as this one will later be covered with the alternate color. We couldn't help but choose variations in purple and gold as an reference to JMU, our kids' alma mater.
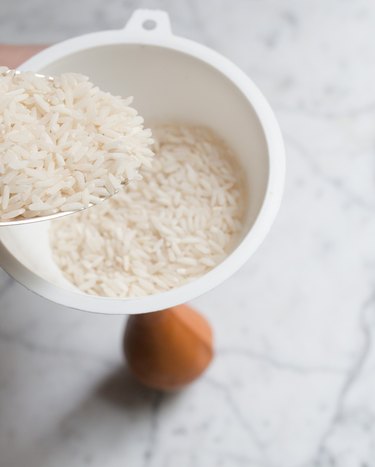
Step 2
While holding the mouth of the balloon around the funnel neck, spoon 3/4 cups of rice inside the balloon. To fill the balloon beyond it's immediate volume, use the base of the funnel to press the rice gently down, which will expand the walls of the balloon to hold more filling.

Step 3
Snip the rice-filled balloon just below the mouth, leaving a bit of length as not to spill the filling. Next, snip the second balloon just beyond the mouth, creating a workable opening.
Step 4
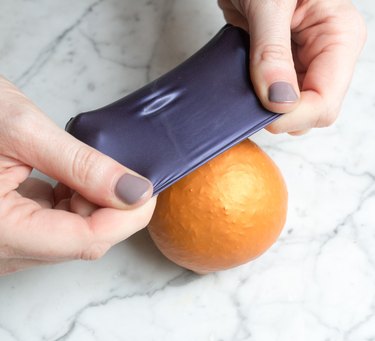
Gathering the sides of this balloon's opening, stretch the second balloon tightly over the rice-filled balloon, covering to secure the snipped mouth in the original balloon.
Step 5
Roll the covered balloons between your hands until the stress ball forms a round shape.
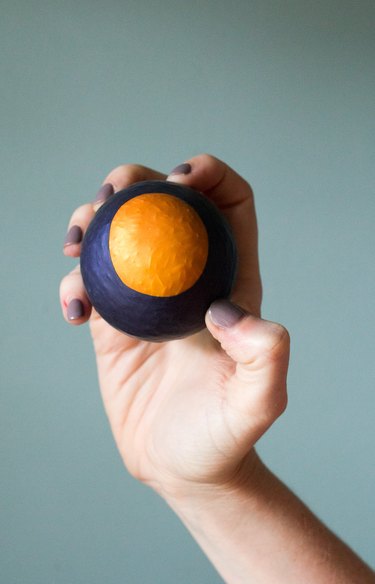
Now your stress ball is complete and ready for regular use, or a handy gift during busy times like school exams, a new job or the lively holiday season!