Things You'll Need
Ribbon
Bow
Scissors
Tissue stuffed randomly into a gift bag reduces the positive impact of the gift. A creative or artful use of tissue paper, on the other hand, actually enhances the significance of the gift overall and strengthens your emotional bond with the person receiving your gift. When using tissue paper in a gift bag, think about using an abundance of paper and just the right colors to make your gift presentation as special as the gift itself.
Step 1
Place several wads of loosely crushed tissue paper sheets in the bottom of the bag if it's deep enough to hold your gift with more than 6 or 7 inches remaining above after you place the gift in the bag. If the bag is short and your gift will sit at the bottom of the bag, place only a small amount of paper underneath it. The paper provides a snug nest for the gift.
Video of the Day
Step 2
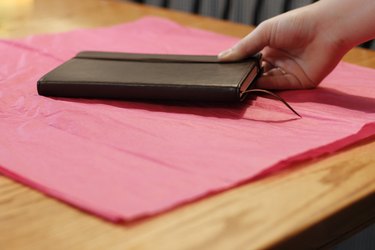
Lay single or double sheets of tissue paper on a flat surface at a perpendicular angle to one another, with your gift in the middle of the paper. For bags with two or more colors of tissue paper, lay the sheets of different colored tissue at diagonal angles on top of each other.
Step 3
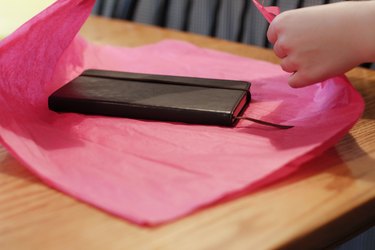
Lift the tissue sheets at their corners up and over your gift, gathering them and holding them one by one at the top of the gift until it's surrounded. The tissue should rise at least 7 or 8 inches above the gift so the gift appears hidden once it goes into the bag.
Step 4
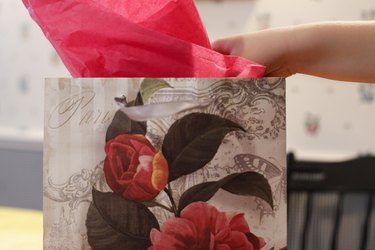
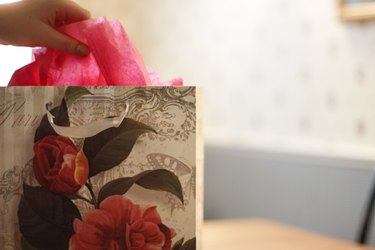
Hold your gift around the middle and place it into the bag. Gently pull apart and smooth the sheets of tissue paper so they stand up inside the bag.
Step 5
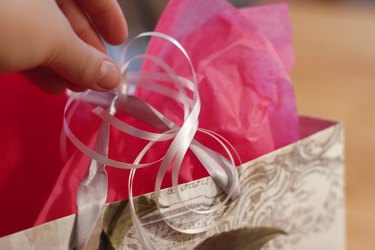
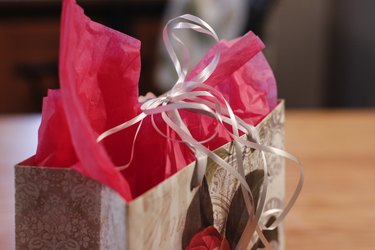
Tie the handles of the bag together with ribbon and tie a bow around the top or bottom edge of the handles. If your bag didn't come with a gift card, slide a full size card in the center of the tissue paper or attach a small gift tag to the handlesusing ribbon.
Tip
Use metallic paper, paper with sparkles or paper printed with seasonal designs to give your gift bag a special effect.
It's your choice whether or not to wrap the gift itself, but you should use enough layers of tissue so the gift remains hidden in the bag until the paper is pulled apart.
For very large bags, use more layers of tissue paper, placing them in overlapping layers on the flat surface.
Warning
Wrap breakable gifts in plastic bubble wrap before placing them in the bag so they don't break when the bag is placed on a table or counter.
Don't be tempted into reusing and recycling tissue paper in a gift bag -- its wrinkles and frayed edges detract from the appeal of the gift. Save the old paper for another use, such as craft projects with children or lining your dresser drawers.
Video of the Day