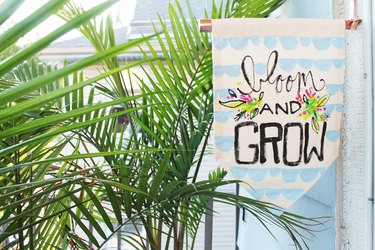
Dress your patio for any season or special occasion with a hand-painted garden flag. Whip up a birthday banner to mark the location of a party or monogrammed flag for a personalized housewarming gift.
Things You'll Need
Several colors of fabric paint
Paint brushes
Painter's tape
Stamps
Cotton canvas or duck cloth
Sewing machine
Thread
Scissors
Ruler or straight edge
Iron and ironing board
Optional: Waterproofing spray
Optional: Iron-on fusible tape or fabric glue
Video of the Day
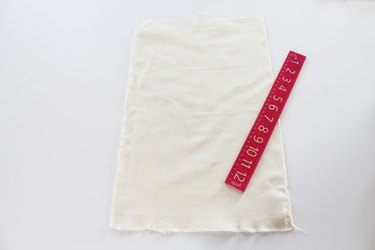
Step 1: Measure and Cut Canvas
You can customize your flag to fit any size flag pole by measuring the length of the pole and adding an inch for seam allowance. Measure, cut out and press your canvas before pinning and sewing any edges.
Video of the Day
Tip
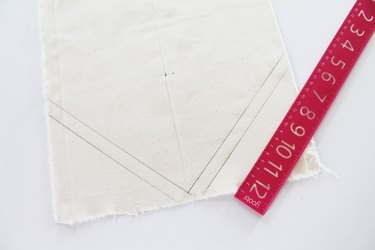
Use a straight edge to stylize the bottom of your flag. Trace your desired edge and mark a half inch of seam allowance to fold and pin down before sewing.
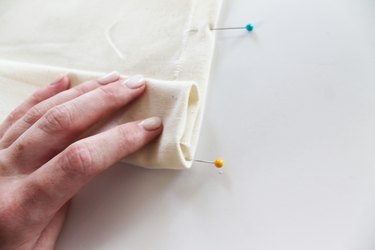
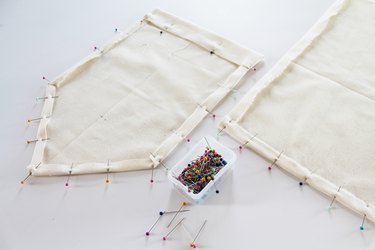
Step 2: Fold and Pin Edges
Fold and pin down half-inch seams along the bottom and side edges of the flag. Fold under the top edge of the flag creating a tunnel large enough for the flag pole to pass through. Pin along the bottom edge of the fold before sewing to keep seams straight and prevent fabric from slipping.
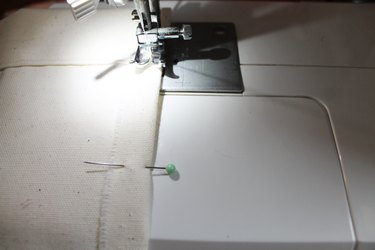
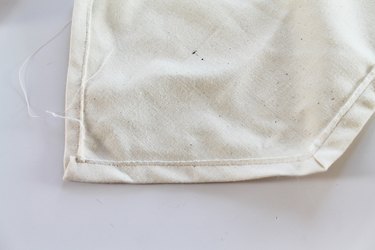
Step 3: Sew Edges
Start sewing at the bottom-right corner of the channel you created for the flag pole, keeping the presser foot aligned with the edge of the fabric fold. Continue sewing around all sides of the flag using a straight or decorative stitch.
Warning
Be sure to avoid accidentally sealing off the opening for the flag pole when you sew down the seams of the flag. If you do, re-open the tunnel with a seam ripper and try again.
Tip
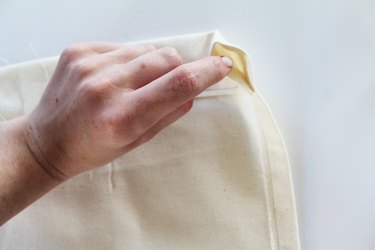
Don't have a sewing machine? Achieve clean edges by securing seam allowance with an iron-on fusible tape or fabric glue.
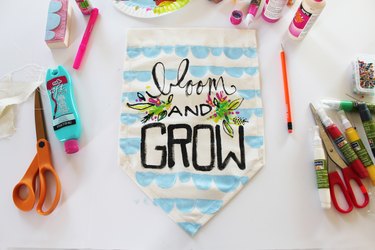
Step 4: Paint Flag Design
Use a pencil to lightly sketch lettering or designs on your flag before using fabric paint.
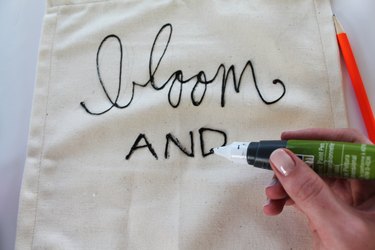
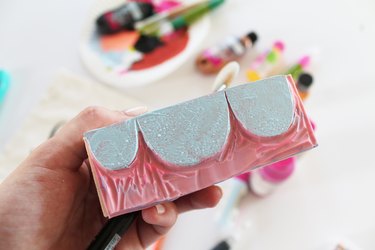
Use painters tape or pattern stamps to add borders or backgrounds to your flag. Find instructions on how to make your own stamps here.
If you plan on hanging your flag outdoors you may want to spray it with a waterproofing spray to protect it from the elements. Allow your flag to dry flat before hanging outdoors.
Create an assortment of handmade flags for different holidays or seasons and store on pants hangers in a closet or laundry room for quick and easy changes.
Have a question about sewing canvas on a machine? Have an idea you'd like to share? Leave them for us in the comments section below.