Your bedroom should be a place that inspires and calms you after a long day. But if your space is cluttered and unorganized, then those uplifting feelings can get lost in the chaos. Now is as good a time as any to get it all under control. From a fun way to display your colorful scarves to an option for showcasing your page-turners on a vertical bookshelf, you can DIY your way to an organized — and even luxurious — oasis in no time. Here are 12 simple projects to get you started.
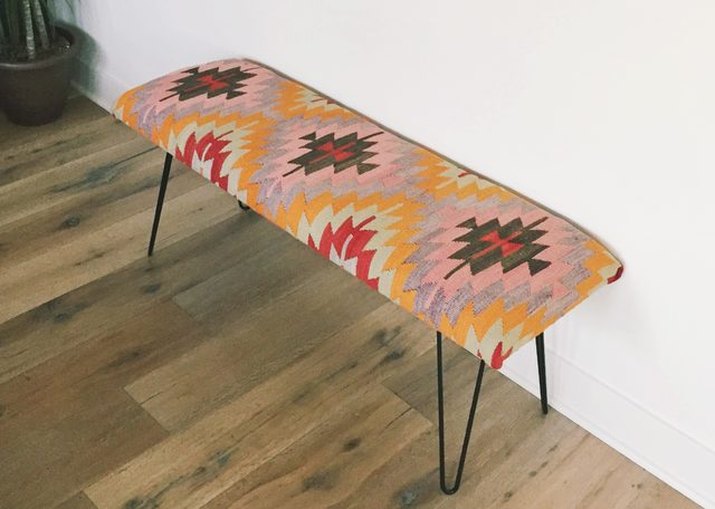
Kilim Rug Bench
Transform an inexpensive kilim-style runner into a chic padded bench that will look good anywhere in your room. Use spray adhesive to add a foam topper to a piece of particle board and a staple gun to secure the rug. Hairpin legs add the perfect finishing touch to your new favorite piece of furniture.
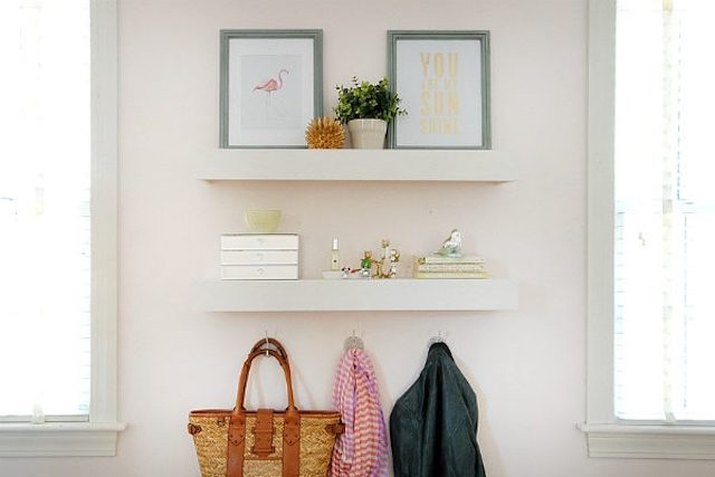
Floating Shelves
If you're tight on square footage and need options for storage, adding shelves is a great solution. These floating shelves will give you the additional surface space you crave while still keeping in line with your simple, minimalist style.
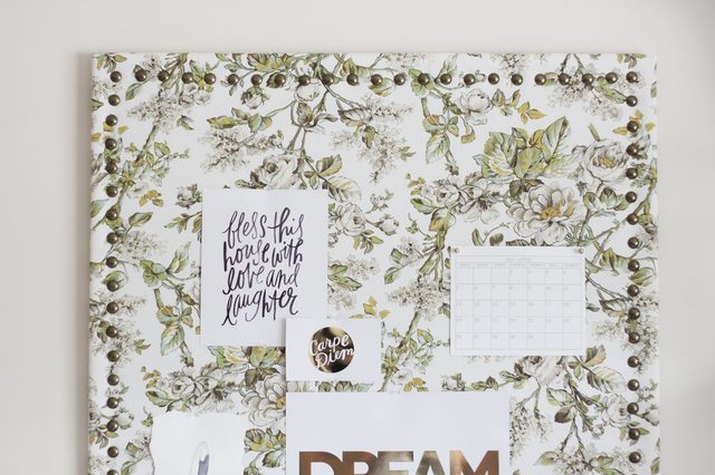
Fabric Memo Board
Stay fashionably organized, and keep heartfelt notes and images in sight, with an eye-catching memo board that coordinates perfectly with the rest of your room. Add a nailhead trim around the board to create a piece that is both stylish and functional.
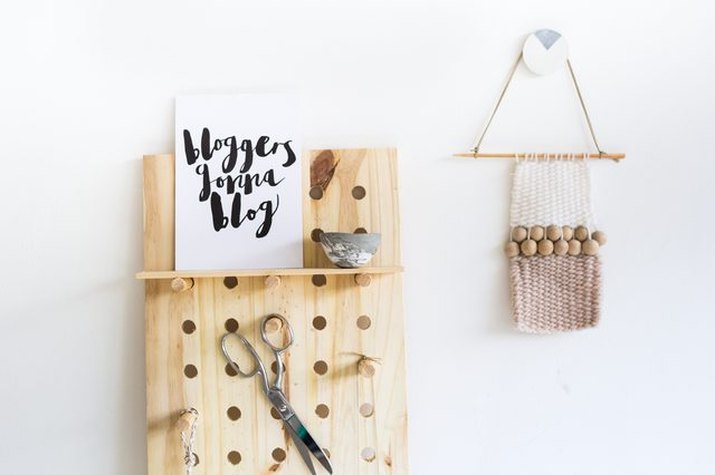
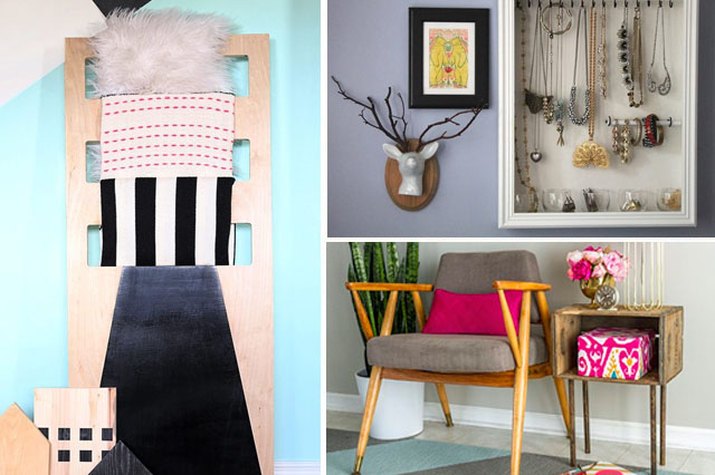
Wooden Peg Board
Organize your craft supplies, or just keep miscellaneous stuff off your desk, with this easy-to-make peg board. All you need is a piece of pine board, wooden dowels, a few power tools and a couple of hours. Your room will be neat and tidy in no time.
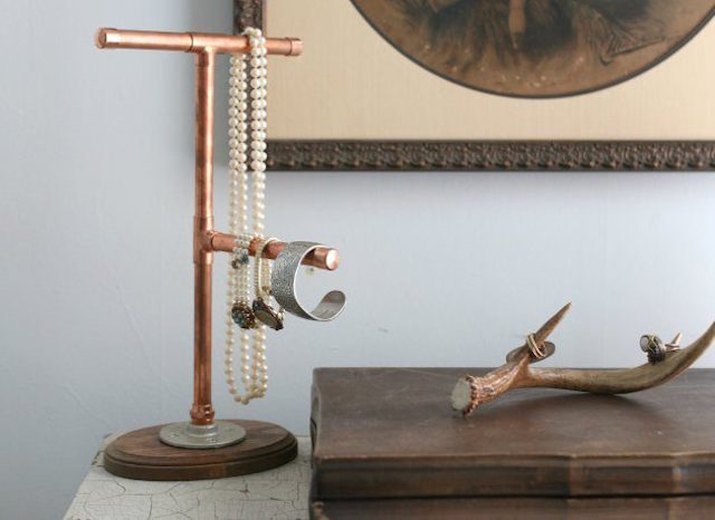
Jewelry Display
There's nothing worse than tangled jewelry, and thanks to this beautiful DIY, you won't have to worry about that ever again. Transform ordinary copper pluming pipes into a simple jewelry display you'll love to look at every day. Attach the stem to a wooden plaque and use clear adhesive to keep the pipes in place.
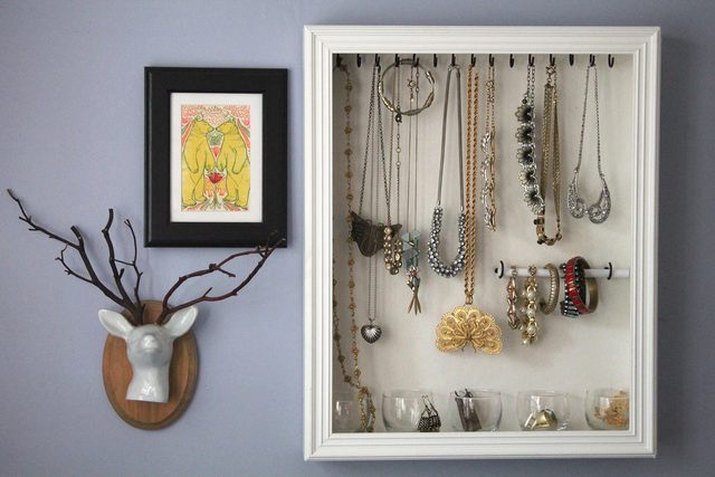
Jewelry Holder (For The More Extensive Collection)
If you have more than a few accessories and need something a bit more substantial to keep it all tidy, this shadow box turned jewelry holder is an easy solution. A row of small hooks along the top are great for hanging necklaces, and small votive holders glued to the bottom edge are the just the right size to corral your earrings.
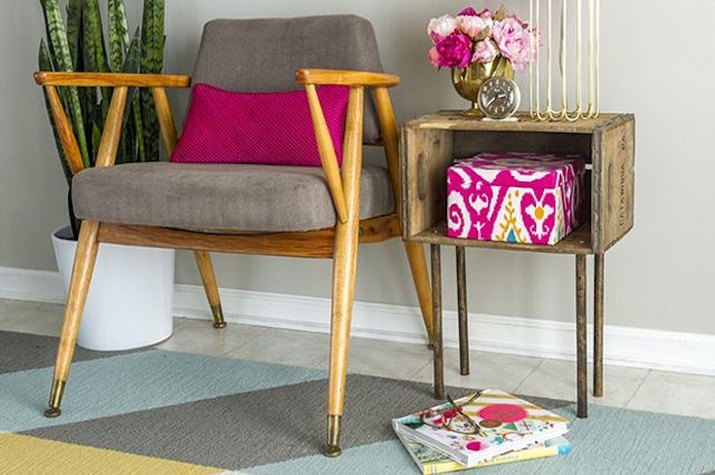
Side Table
Can't find a side table you absolutely love? Make one yourself instead! Using a wooden crate for the top and dowels for the legs, you can make a simple side table for a corner of your room. Just make sure you inspect the crate for any weak spots before attaching the legs, and you're good to go.
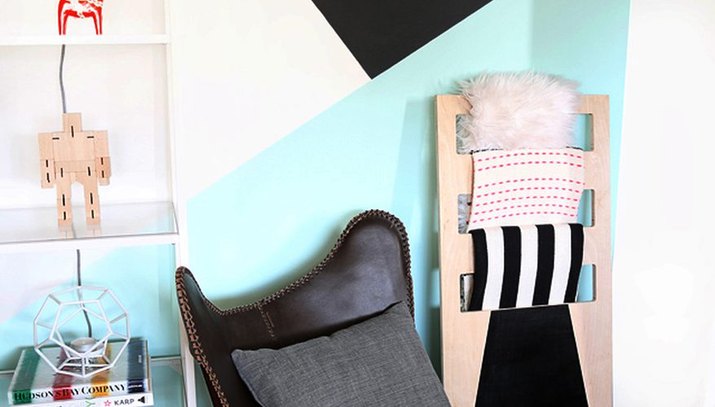
Modern Blanket Ladder
Don't just shove your blankets in a drawer: put those beauties on display with a cool blanket ladder instead. Break out the power tools (or bribe someone to help you) and get to work cutting notches out of your plywood. Use painters tape and craft paint to add a modern design to the bottom half for the perfect finishing touch.
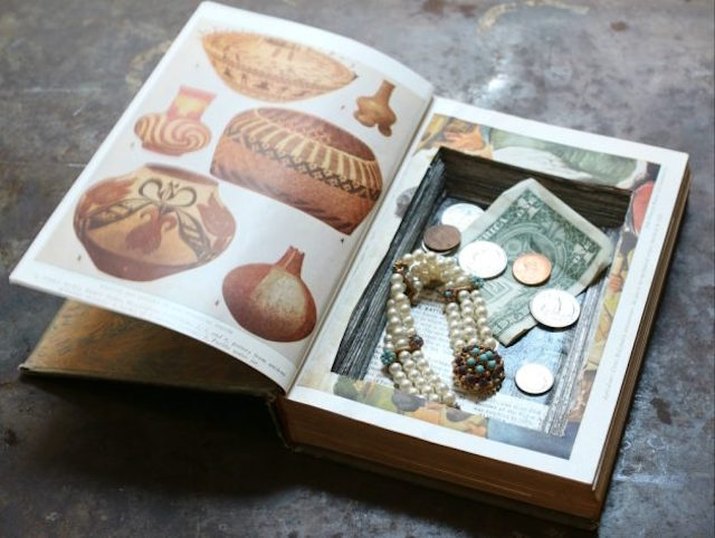
Hardcover Book Safe
Keep your valuables hidden in plain sight by repurposing an old hardcover book into a discreet safe that will seamlessly blend with the rest of your decor. Use a sharp craft knife to cut through the middle pages, and apply a thick layer of Mod Podge to keep the cutout together.
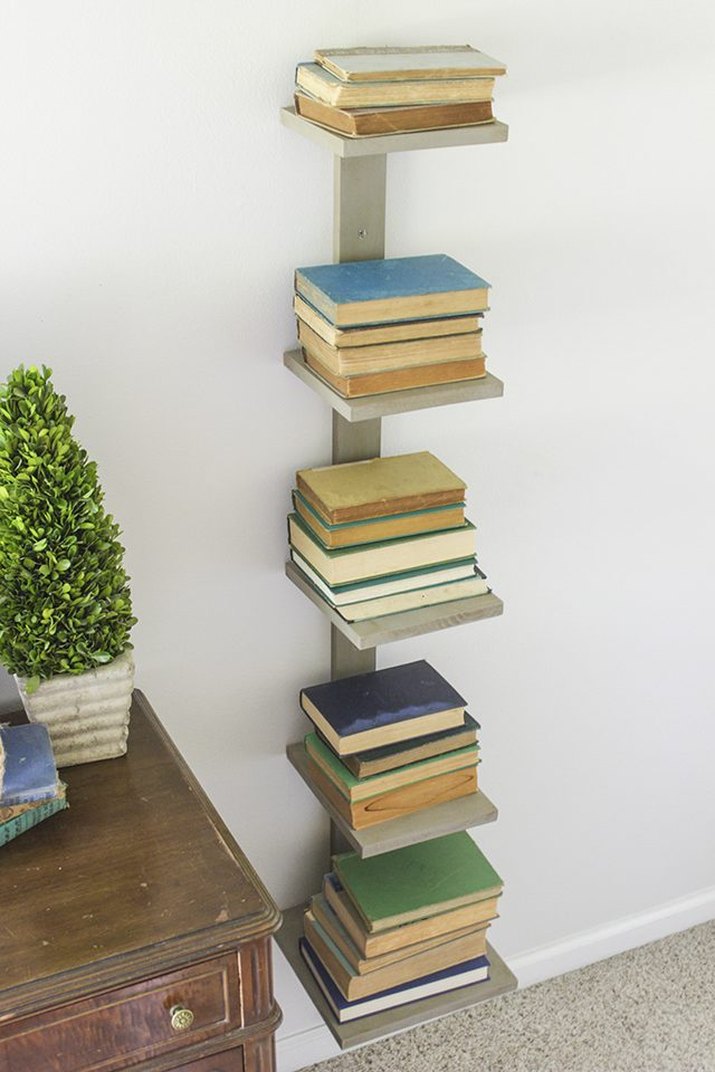
Vertical Book Shelf
Going vertical with your storage will make the most of even the smallest space, and this book shelf <ahref="http: www.ehow.com="" how_2087584_make-book-safe.html"=""> </ahref="http:>is an ideal example. Now you can keep your favorite books within reach while adding a fun, decorative element to your room.
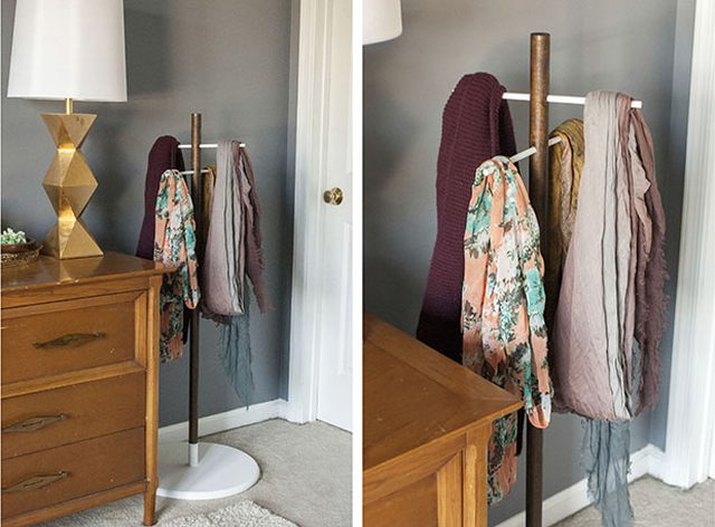
Scarf Stand
Your gorgeous scarves deserve to be seen. Create a stand for them with a wooden table top for the base, dowels and some paint. Give everything an ample amount of time to dry before hanging your scarves so you don't accidentally get paint on them. This would also be great for lightweight handbags!
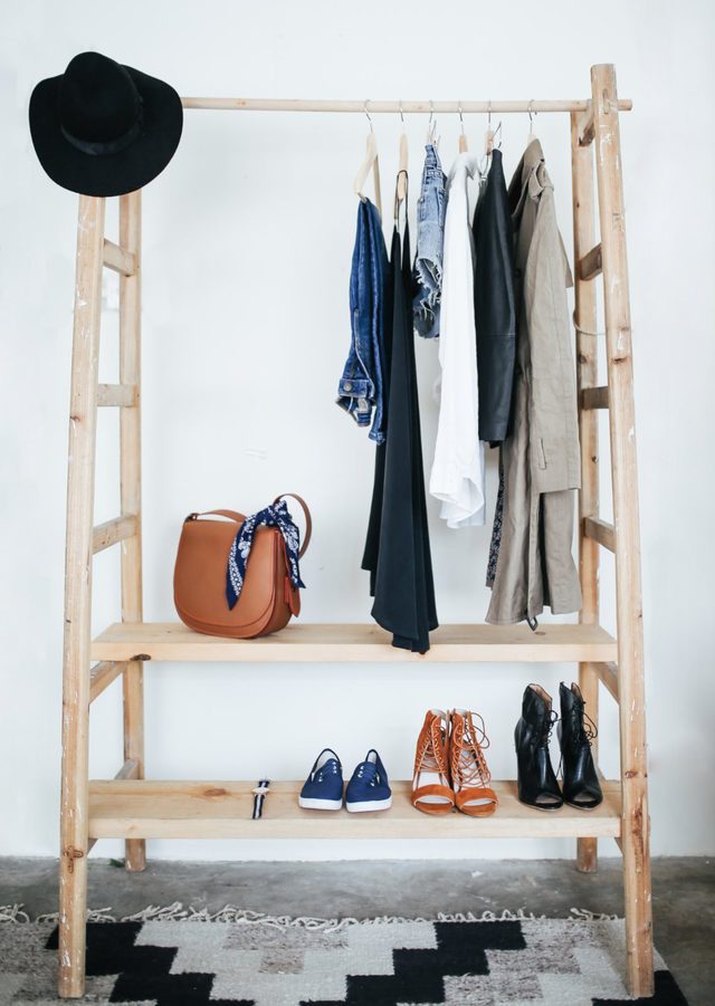
Create a Minimalist Wardrobe
Pairing down your wardrobe can make getting dressed in the morning easier than ever and will ensure you love every piece in your closet. When deciding what to keep and what to donate, consider things like how often you wear it, how versatile it is and an overall color palette for your wardrobe.
Advertisement
Video of the Day