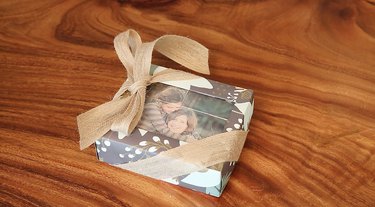
Are you a mom? A dad? A sentient being with a heart? Then you're going to love this DIY picture puzzle. Made with wooden blocks, temporary tattoo paper, and a treasured photo, this easy-but-impressive craft is kid-friendly (with a little grown-up help) and highly giftable.
Things You'll Need
Tip
You may also use the photo-transferring method outlined in How to Transfer Ink to Wood, which uses gel medium and glue. Please consult that article to find materials and steps.
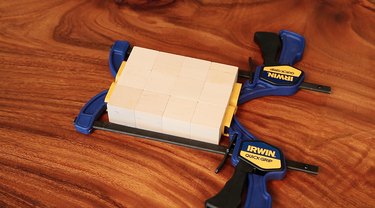
Step 1: Assemble and Clamp the Blocks
Arrange 12 blocks into a 3 x 4 block rectangle, then clamp them tightly as shown to hold them together as you work. Be sure they are aligned so the surface is smooth.
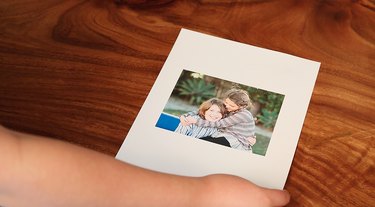
Step 2: Prepare and Print the Image
Using Photoshop or other photo-editing software, resize and, if necessary, crop your desired image to be exactly 6" x 4 ½" so it will fit perfectly on the assembled blocks. Then reverse the image horizontally so that when transferred (which flips it again), it will be oriented correctly. Finally, print the image onto the shiny side of the temporary tattoo paper. (It helps, at this stage, to read the directions carefully on the tattoo paper packaging.) Let the ink dry for a few minutes.
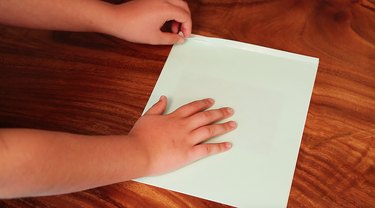
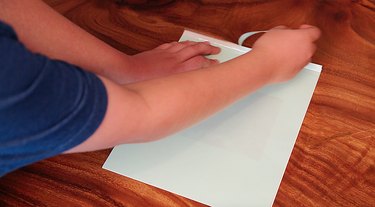
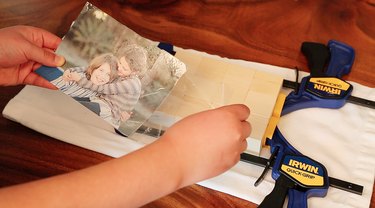
Step 3: Position the Transparent Layer With Backing
Place the second, transparent layer (along with the backing) onto the printout, with the backing directly against the image and the shiny side up.
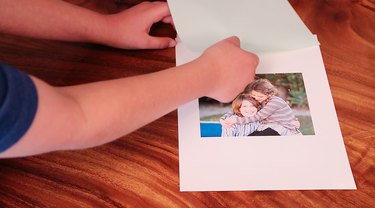
Step 4: Remove the Top Strip of Backing and Adhere
Remove the thin strip of backing at the top and carefully lay the exposed sticky strip of transparent plastic directly onto the image.
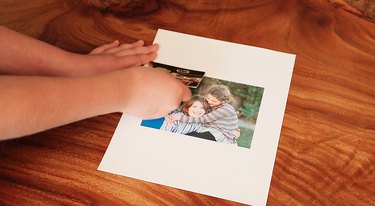
Step 5: Apply Entire Transparent Layer Over Image
Starting at the top, right below where you've adhered the top strip, slowly peel off the rest of the backing, allowing the sticky side of the clear layer to lay directly onto the image.
Step 6: Press Down to Adhere the Two Layers
Applying some pressure, use a credit card or scraper to adhere the transparent layer to the image.
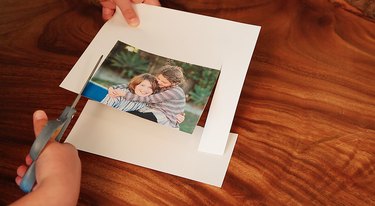
Step 7: Cut Out the Image
Using your scissors, carefully cut out the image. Try to cut as close to the edge as possible.
Step 8: Remove the Plastic from Image
Carefully peel the transparent plastic layer off the image.
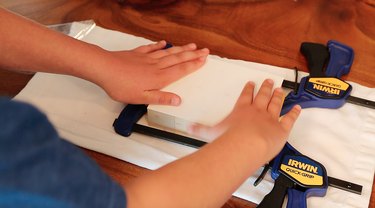
Step 9: Place the Image Onto Block Surface
Place the image face-down onto the blocks, making sure the edges align on all four sides.
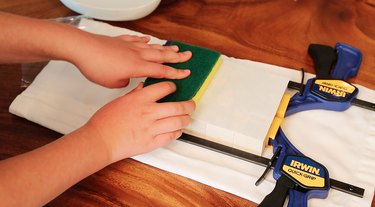
Step 10: Wet the Paper Backing
Wet a sponge and saturate the back of the paper for 10 to 15 seconds.
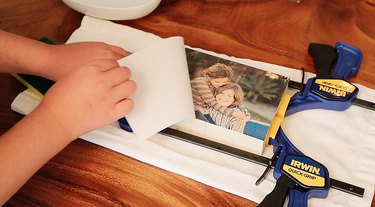
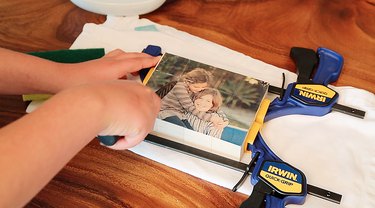
Step 11: Peel Off Backing to Reveal the Image
Slowly peel of the paper backing to reveal the transferred image on the blocks.
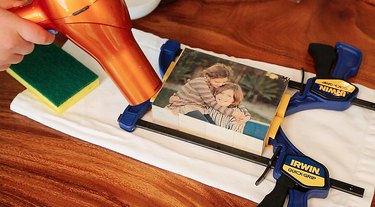
Step 12: Dry Image and Blocks Surface
Use a hairdryer to dry the image completely (or you can let it dry naturally, but make sure the image and blocks are dry before advancing to the next step).
Step 13: Cut to Separate the Blocks
Because the tattoo paper can stick together, it helps to cut through along all the borders of the blocks. Use an Xacto or other knife to do this.
Warning
With younger kids, make sure an adult does Step 13.
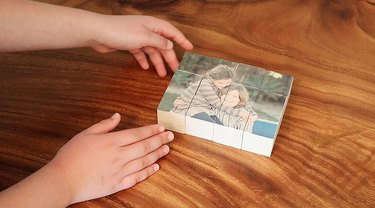
Step 14: Remove Clamps and You're Done!
Voila!
Video of the Day