Things You'll Need
1 yard fabric for the top
1 yard fabric for the back
1 yard batting
thread
scissors
long pins
sewing machine or hand-sewing needle
Quilts are a great gift for a new baby, and they can be intricate or simple. When there is not a lot of time to prepare for a shower or new baby visit, but you would like to bring a personalized gift, a quick quilt will fill the bill.
How to Make an Easy Baby Quilt in a Day
Step 1
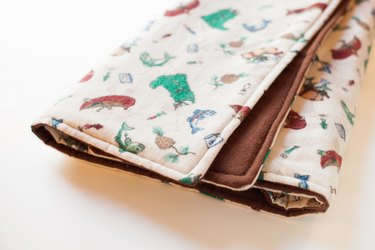
Select a fabric for the top of the quilt that has some visual interest so the eye won't expect to see fancy quilting. Choose a coordinating or contrasting fabric for the back.
Video of the Day
Step 2
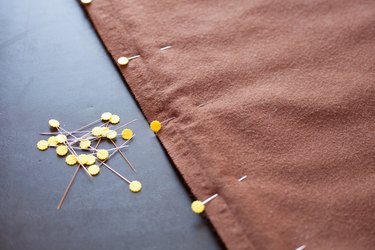
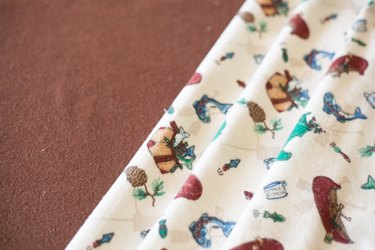
Lay the batting down flat on the floor or a protected table. Place the backing fabric, right side up, on top of the batting. Make sure there are no wrinkles. Lay the top fabric down on top with the wrong side up. Use the long pins to pin around the outside, making sure there are no wrinkles. (These layers are now called the quilt sandwich.)
Step 3
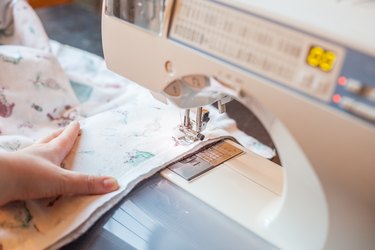
Sew around the edge of the quilt sandwich by hand or with a machine, leaving about six inches open for turning the quilt sandwich right side out. Slip-stitch the opening closed after turning.
Step 4
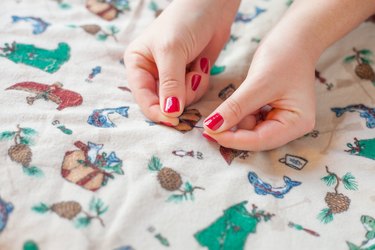
To finish the quilt, stitch through all layers with straight lines in a cross-hatch pattern, follow the outlines of the designs on the fabric, or use meandering freeform designs. Alternatively, take one stitch every few inches in rows with embroidery floss, yarn or narrow ribbon, cut the ends and tie them in square knots or small bows.
Tip
When sewing through all layers of the quilt sandwich, use a walking foot attachment so that the bottom and top are fed in at the same rate. Look for fabric panels made especially for baby quilts: they are about a yard long and feature a large picture. Frequently there will be coordinating fabric to use for the quilt back or other accessories. A pieced quilt top will also work with these instructions, but will not be as quick to put together. (See the links below for more description.)
Video of the Day