Things You'll Need
Pillowcase
Thread
Pins
Ribbon (two lengths, each approximately twice as long as the width of your pillowcase)
Pencil
Paper
Tape measure
Scissors
Needle or sewing machine
Iron
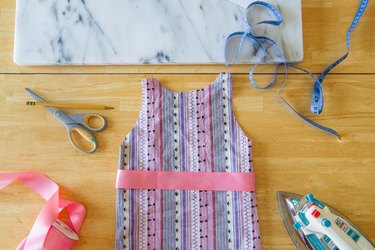
Pillowcase dresses are a quick and easy sewing project for even the most novice sewer. Supplies are minimal -- you can pull off a simple version with nothing more than a pillowcase and thread -- and the project can be done with or without a sewing machine. This fun dress can keep a little girl cool and comfortable on the hottest of summer days, and can be adjusted to fit her through several growth spurts.
Step 1
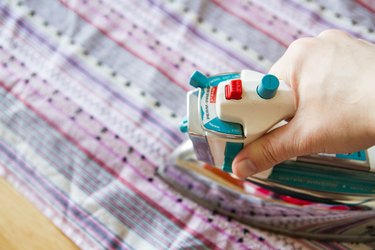
Wash, dry and iron the pillowcase. Turn it inside out and lay the pillowcase down on a large flat surface with the open end facing away from you.
Video of the Day
Step 2
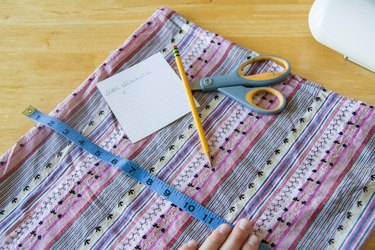
Determine dress-length and armhole measurements. Use the measuring tape to determine your preferred dress length, from the collarbone down. For the armholes, measure from the collarbone to the armpit.
Add the width of your ribbon plus an additional half inch -- for seam allowance -- to each measurement. Write down these figures.
Step 3
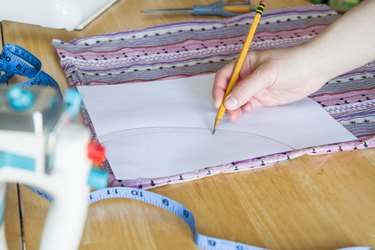
Create an armhole template with the pencil and paper. Beginning approximately 2 1/2 inches inward from the top-left corner of the paper, draw a curved, J-like shape that is as tall as your armhole measurement plus ribbon and seam allowance. It should touch the top and left side of the paper. Cut out your template.
Step 4
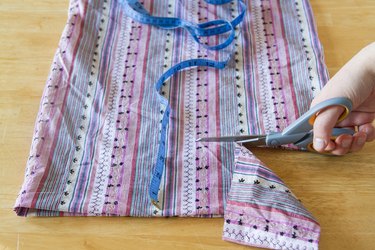
Measure upwards from the pillowcase opening and cut a straight line horizontally across the fabric at your desired dress length. Be sure you've also added the ribbon and seam allowance.
Step 5
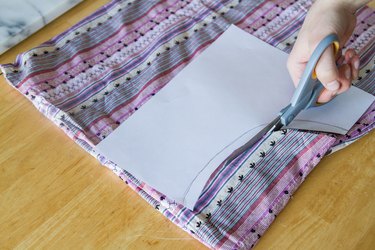
Place the J-shaped template at the top left of your pillowcase -- so both 90-degree edges match -- and cut out the left armhole. Flip the template over and make the same cut on the opposite edge of the pillowcase.
Step 6
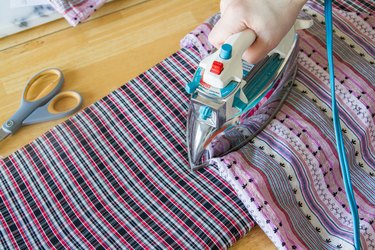
Fold over the raw edge of the armhole and iron a crease. Fold and iron it a second time to hide the cut end and create a clean edge. Take your time and use the iron to help you around the curve. Sew the fold down once you've completed the second crease.
Step 7
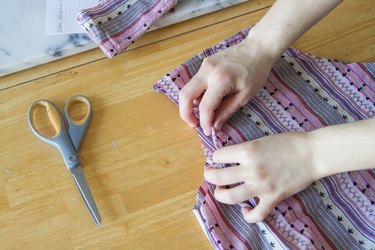
Begin making the casing for your ribbon by folding the top (neck) edge of the pillowcase down by 1/4 inch. Iron to secure the crease. Fold each side of the fabric downward a second time, ensuring the fold is the width of your ribbon plus 1/4 inch, and then iron the second crease as well.
Step 8
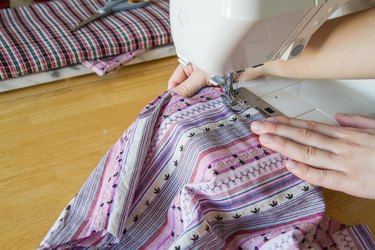
Sew both hems as close to the bottom edge of the fold as you can manage with your sewing machine or with a needle and thread.
Step 9
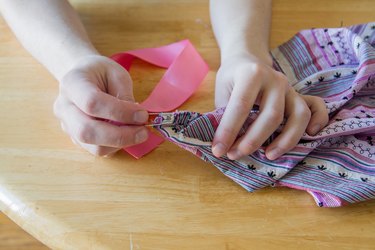
Attach a safety pin to the end of one of the ribbons and feed it through the new casing. Do the same with the second length of ribbon on the other side of the pillowcase. To prevent slipping during wash or wear, make a simple basted stitch that attaches the center of the ribbon to the inside of the dress.
Step 10

Turn the fabric right-side-out and iron it to smooth the new dress.
Tip
A bias binding can make the armhole seams even easier to manage since you won't have to fold and crease the curved edge yourself.
A standard-sized pillowcase should provide adequate length for a small girl, but you may need a King-sized pillowcase for a taller child. Adult-sized dresses may require lengths of flat fabric instead of pillowcases.
If you are hesitant about making your own armhole template, use one of the child's tank tops or T-shirts to trace the appropriate shape.
Add additional decorative accents -- a pocket, rick-rack or a band of fabric in a contrasting color, for example -- for more embellishment.
Video of the Day