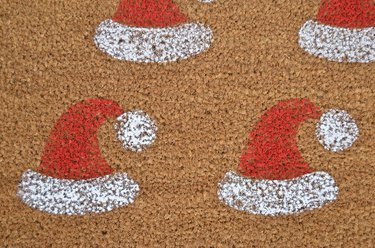
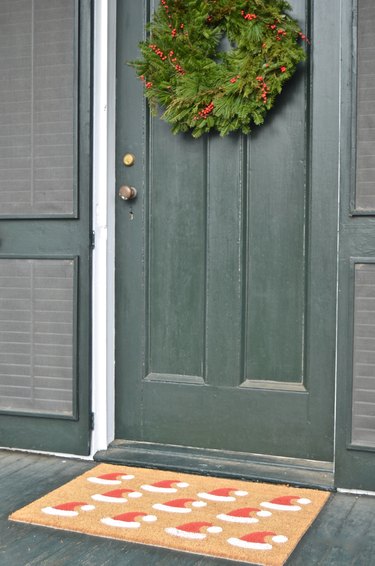
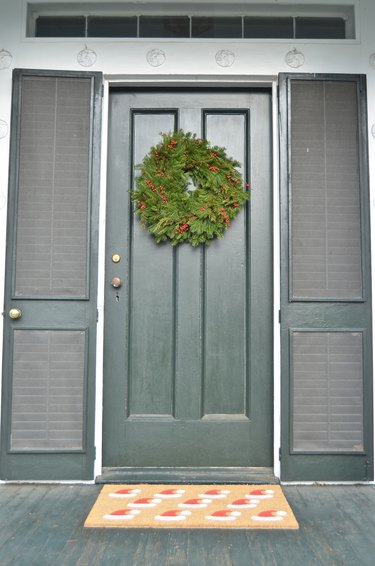
Is there anything better than Christmas decor? When decking the halls with holiday cheer this year, don't let your front door go neglected. Your entryway can be just as festive as the rest of your home when you add a welcome mat that's stenciled with adorable Santa hats! Bring whimsical red and white flare to a caroler's stage this season with nothing but cardboard, paint and tape. The hardest part about completing this stenciled doormat is knowing that Santa will be coming down the chimney and not knocking at your door.

Video of the Day
Things You'll Need
Natural-fiber doormat
Painter's tape
Cardboard
Permanent marker
X-ACTO knife
Exterior acrylic craft paint (red and white)
Foam pouncer/stencil brush
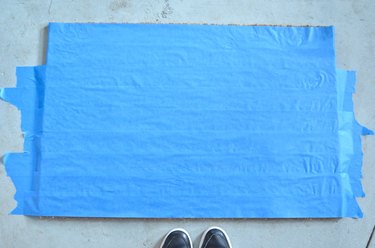
Step 1: Cover With Painter's Tape
Cover the doormat completely with painter's tape, and cut off the edges to fit the mat.
Video of the Day
Step 2: Create the Red Portion of the Hat
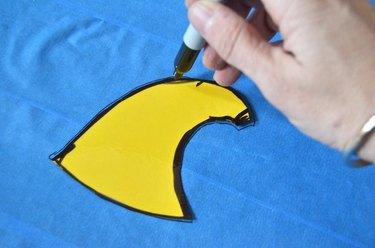
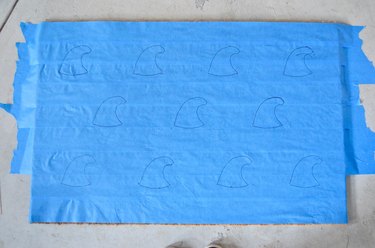
Cut out the shape of the hat from cardboard — it should be a triangle with a curved top. Using a permanent marker, trace the hat onto the painter's tape. For this doormat, the hats were measured to have regular spacing, but a random layout would work as well.
Step 3: Cut Out Each Santa Hat
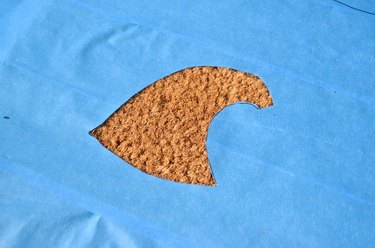
With a sharp X-ACTO knife, cut out each Santa hat along the traced line.
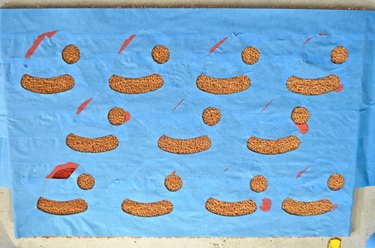
Step 4: Paint the Hat
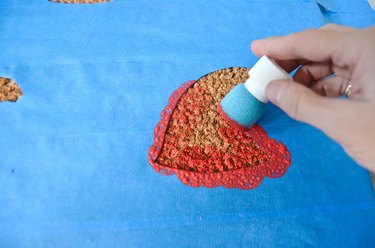
Using a foam brush or stencil pouncer, load up on red paint. Start in the middle of the hat and then move toward the edges. Dab the brush straight down onto the mat to avoid paint bleeding under the tape.
Tip
Typically when stenciling, you do not want to overload your brush. But because the natural-fiber mat soaks up so much paint, it works to apply a heavier amount of paint in the middle of your stencil and then move to the edges when the brush is less saturated.
Step 5: Finish the Hat's Details
Once the red paint is thoroughly dry, cover it with painter's tape. Cut out the fur trim and pom pom topper of the Santa hat from the cardboard. Trace these two pieces onto the painter's tape, and then cut them out with the X-ACTO knife.

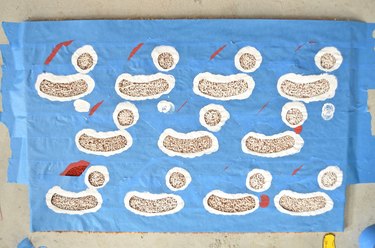
Step 6: Paint the White Trim
Repeat Step 4 with the white craft paint. Saturate the middle of each shape with paint, and then move toward the edges once the brush is less saturated.
Step 7: Allow the Paint to Dry and Display
Allow the paint to dry, and then remove the painter's tape. If you want a slightly darker stencil, then go back over each Santa hat with a smaller paint brush. Then, place the mat at your doorway's entrance.