Things You'll Need
Measuring tape
Stick of wood, approx. 1 inch x 1/2 inch x 30 inches
Drill
Finishing nails
Hammer
Pencil
Piece of 3/4 inch plywood
2-by-4s, approx. 40 inches, 2
Jigsaw
Straightedge
Screws, 1 1/2 inches long
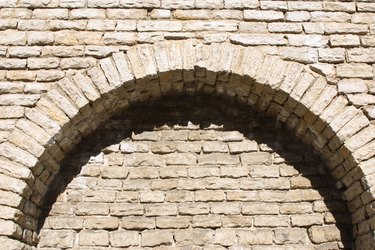
The arch is an architectural innovation that was created and used extensively by the Romans. In addition to being aesthetically pleasing, arches enable builders to create wide spans by transferring the force of gravity from the center of the opening to the sides. This enables an arch to support far more weight than a flat lintel. A brick arch is easy to build because bricks are made in a uniform size and shape.
Step 1
Measure the width of the space over which you want to build your brick arch. This is the diameter of the arch that you want to create. Divide this number in half to get the radius.
Video of the Day
Step 2
Cut a stick of wood to a length several inches longer than the radius. Drill a hole in each end of the stick, with the distance between the centers of the two holes matching the length of the radius.
Step 3
Lay the stick on top of a piece of 3/4 inch plywood. Tap a nail into the center hole to hold it in place. Put the point of a pencil through the other hole and draw a circle by pushing the stick all the way around the plywood with the pencil.
Step 4
Cut the circle out using a jigsaw. Draw a line across the center of the circle using a straightedge and a pencil. Cut the circle in half. You now have two identically sized half circles.
Step 5
Create a shape that looks like an arch on legs using the two half circles and two 2-by-4s. Sandwich the ends of the 2-by-4s between the two half circles and screw the assembly together. The distance between the bottom edge of the half circles and the bottom of the legs should be the same as the height of the walls on top of which you are building the brick arch.
Step 6
Position the template so it is standing up in between the two walls, with the half circles facing up. You can now use it to support your bricks as you build your brick arch.
Video of the Day