Things You'll Need
Cane
Knife
Sandpaper
Horsehair
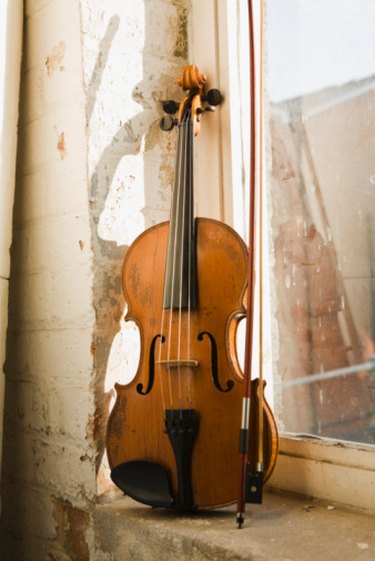
Many bows in early artistic renderings of stringed instruments appear to have followed a basic pattern. The stick had notches at each end. The ends were connected by a length of horsehair made taught and tied to each. Making a bow requires special skills, experience and specialized tools. Still, a homemade violin bow can be simply constructed using a stick of cane and some horsehair.
Turning a Stick into a Violin Bow
Step 1
Measure a violin bow that you use or that has a good fit. Locate and cut a length of cane to the length of the bow that fits your reach or the size of your violin. If you do not have a bow measurement as a reference, simply cut the cane to 29.5 inches.
Video of the Day
Step 2
Remove any rough elements along the length of the cane. Smooth the cane with sandpaper and wipe off the dust with a damp cloth or paper towel.
Step 3
Cut notches into each end of the cane. Take a few strands of horsehair and stretch them across both ends of the stick. Wrap and tie the ends of the hair through the notched tip. Pulling the loose hair toward the bottom end of the stick, wrap the hair through the notch and around the end and tie it.
Tip
Other materials such as silk or fine fishing line can be used in place of horsehair.
Warning
Most professional bows are made of pernambuco, an exotic wood from Brazil. Cane is no match for the quality of pernambuco but has been used with good results.
Bend the cane slowly and carefully when pulling and attaching the horsehair.
Video of the Day