Things You'll Need
Three hole punch
Duct tape
1 1/2 feet 24-gauge wire
Scissors
1.5 feet 1/2 inch ribbon
2 pieces heavyweight cardstock measuring 3/4 inch by 8 3/4 inch (spine)
2 pieces heavyweight cardstock measuring 10 1/4 inch by 8 3/4 inch (covers)
8 1/2 inch by 11 inch paper
Scrapbooking embellishments
Adhesive
Pen
Scrapbooks are a great way to store all the things that a conventional photo album can't-- the movie ticket stub from your first date, a sugar packet from the oh-so-amazing cafe in Place de la Madeleine. When you can't find the perfect album in the craft store, one can easily be created with inexpensive card stock and some items you probably already have in your home. The beauty of this project is the versatility; you can decide how many pages long, how big or small, and adjust easily to create exactly what you want.
How to Make a Scrapbook Cover
Step 1
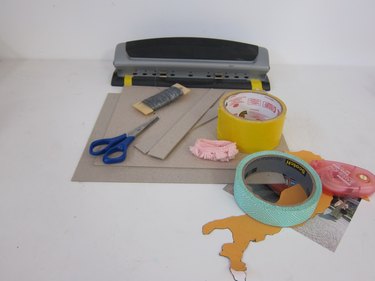
Please see the last slide for an itemized list of tools and materials.
Video of the Day
Step 3
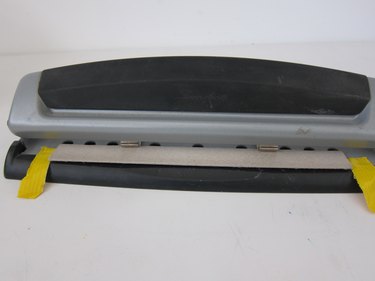
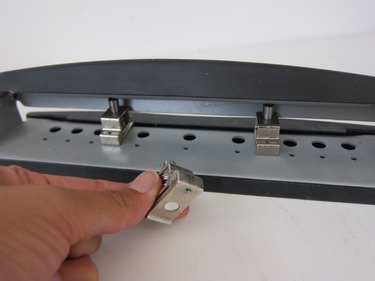
Space the remaining two hole punches so they punch holes 3 1/2 inches from each end of the punch. Center your 8 3/4 inch spine and affix tape to each side of the punch. This acts as guides for the rest of the punching you will be doing, ensuring that all your pages will line up perfectly.
Step 4
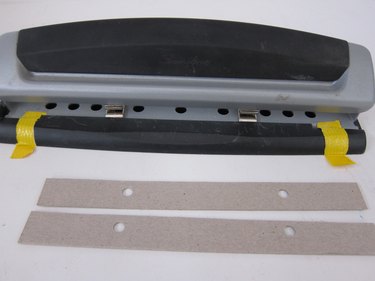
Punch holes in both spines. If your spine is too thick to fit inside the punch, simply peel some layers of paper off of the back to thin it out.
Step 5
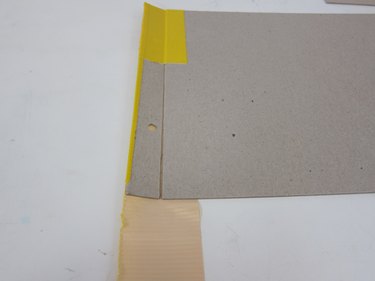
Line-up the cardboard spine and cover. Duct tape the two together, leaving a 1/16 inch gap between them so the covers open without tension on the spine.
Step 6
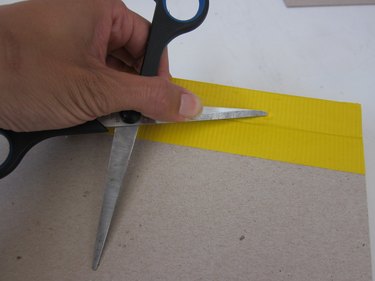
Poke holes through the tape where the punched holes are using a pair of scissors.
Step 7
Trace a piece of decorative paper around the cover starting at the tape-line, and using adhesive, attach the paper to the cover.
Decorating and Binding the Book
Step 1
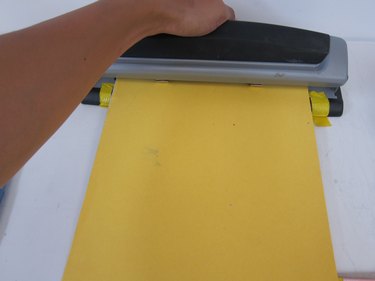
Punch your 8 1/2 inch by 11 inch paper that will be inside the book on the 8 1/2 inch side, lining it up with the tape.
Step 2
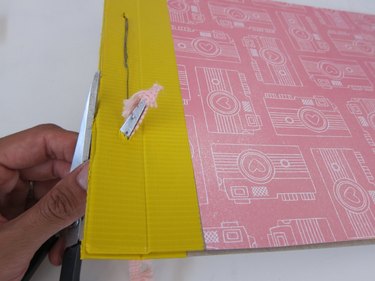
Run a wire through the two holes and twist-tie the wire together. Using scissors, poke ribbon over the wire and tie either in front or back depending on where you want it.
Step 3
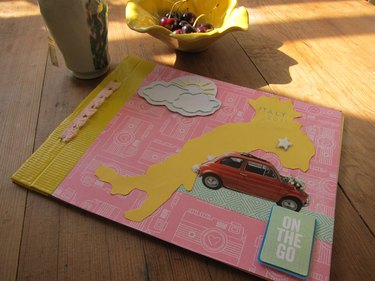
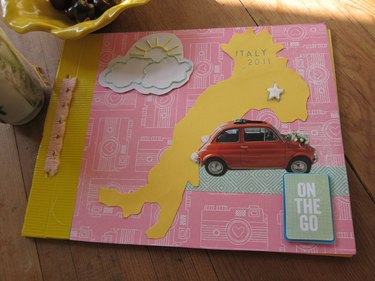
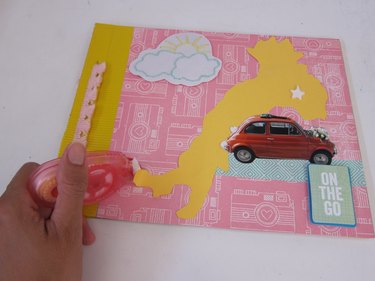
Add your scrapbooking elements to the cover.
Video of the Day