Things You'll Need
44-inch-wide heavy-weight fabric, 3-1/4 yards
Measuring tape
Scissors
1/4 yard heavy-weight iron-on interfacing
Iron
Pins
Sewing machine
Thread
Needle
Heavy-duty hook-and-eye closure
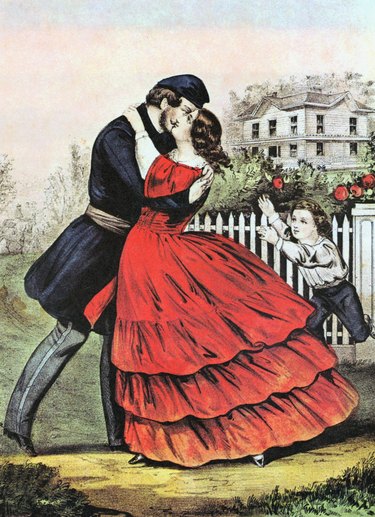
A full bell-shaped skirt and a narrow waist was the typical silhouette in women's fashion during the Civil War era. To create a skirt that is full enough to wear over hoops, many yards of fabric must be gathered into a waistband. It's easier to make pleats than to gather that much fabric, and the waist will look narrower if the skirt is pleated. Create a skirt that can be reused for many shows or other occasions by gathering the skirt onto a generous waistband. Sew hooks on the waistband to adjust the waist to fit each individual who wears it. You will also need to hem the skirt to fit each wearer.
Step 1
Cut a strip of fabric and a strip of interfacing 39 inches long and 7 inches wide.
Video of the Day
Step 2
Iron the interfacing onto the back of the fabric following the manufacturer's instructions. This is the waistband.
Step 3
Lay a 3-yard length of 44-inch-wide fabric out on a flat surface with the right side of the fabric up. Fold the fabric in half by bringing the cut ends of the fabric together.
Step 4
Sew the cut ends of the fabric together by stitching a straight seam 1/2 inch from the cut edge. Stop 12 inches from the end of the edge. This opening will be the placket. Fold down 1/2 inch on the cut edges of the placket and stitch them down to finish the edges.
Step 5
Fold the top edge of the skirt -- the edge with the placket -- into 36 two-inch pleats. Pin the pleats in place.
Step 6
Pin the pleated edge to the waistband starting 2-1/2 inches from the end. Place the right side of the waistband against the right side of the skirt, with the pleated edge even with the edge of the waistband.
Step 7
Sew the waistband to the skirt by sewing a straight seam 1/2 inch from the pleated edge.
Step 8
Iron the waistband up and iron the seam allowance up against the waistband. The seam allowance is the fabric that extends outside of the seam.
Step 9
Fold the waistband in half lengthwise, with the right side of the fabric on the inside.
Step 10
Sew a straight seam 1/2 inch from both short ends of the waistband. Also sew 1/2 inch from the bottom of the portion of the folded waistband that sticks out beyond the placket of the skirt.
Step 11
Clip the corners of the waistband by cutting the seam allowances off at a 45-degree angle. Turn the waistband right-side out.
Step 12
Iron up 1/2 inch on the bottom edge of the loose side of the waistband and sew the fold to the skirt to enclose all the raw edges. Turn the skirt right-side out.
Step 13
Sew a hook on the portion of the waistband that extends beyond the placket. Sew the loop sides of the closure onto the waistband of the skirt as needed to fit each wearer. You may use several loop sides of the closure to make the waist size adjustable. The placket will overlap when smaller people wear the skirt.
Tip
Use heavy fabric so that the hoops do not show through the skirt.
Add a snap halfway down the placket to keep it closed.
Underskirts with hoops are available at costume supply stores and thrift shops.
Video of the Day