Gratitude rocks...literally! Here at eHow, we are thankful for every day we are allowed to help you fix, build, create or learn new things to make your life a little easier and more beautiful. It's what we love to do. And when we include gratefulness in one of our DIY projects, we get excited.
Video of the Day
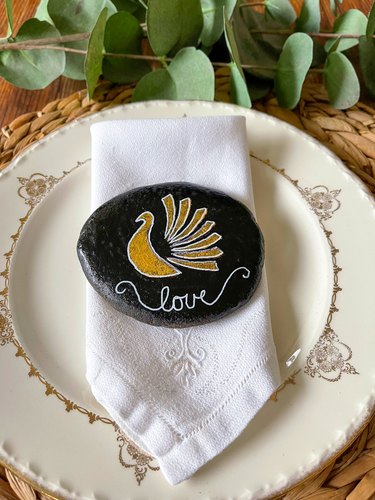
During this season of thankfulness, along with a Thanksgiving turkey, pumpkin pie and cornucopias, dress up your Thanksgiving table with some DIY painted rocks. Even a beginner can use this turkey rock painting tutorial. Add a few words of gratitude to your painted stone, and these kindness rocks can become a gift. When used as a place setting or centerpiece, they become beautiful Thanksgiving decor. You can also use these gratitude turkey rocks to initiate conversations about gratitude and give thanks around the table as you feast.
Video of the Day
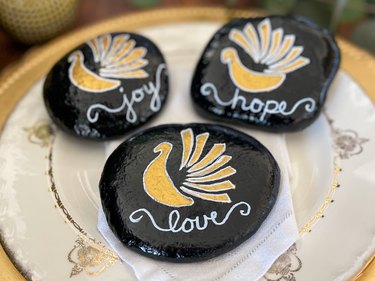
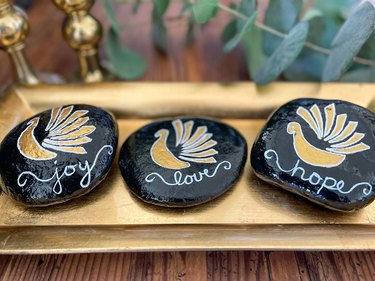
The stones we used for our rock art were found around our neighborhood (with permission, of course), and by using some black spray paint, gold acrylic paint and a white paint pen, we transformed them into unique Thanksgiving-painted rocks.
Here we go with a bit of rock painting 101!
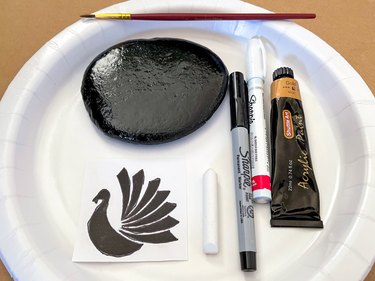
Things You'll Need
Smooth rocks
Black spray paint
Printed turkey design
White chalk
Pen or stylus
Tape
Gold acrylic paint
Small paintbrush
Fine-line white paint pen
How to make painted Gratitude Rocks:
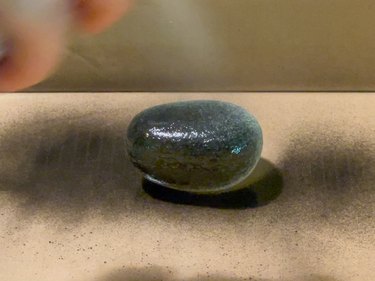
1. Find smooth rocks
Not only is this project a great family DIY craft, but you can also make finding the rocks a fun Thanksgiving adventure. Look for rocks that are smooth and will lie flat when you place them on a table setting or in a centerpiece. Painting on smooth rocks will produce a much more crisp and definite design. (Just make sure it's OK to take the rocks home.)
2. Wash and dry the rocks
Place the rocks in a pan of warm soapy water and scrub off all dirt and grime. Rinse and dry them with a towel, then let dry overnight.
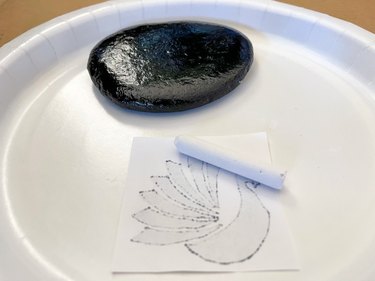
3. Spray-paint the rocks
Find a well-ventilated area and place the rocks at the bottom of a cardboard box. Choose the base color of your stones, and spray with a can of spray paint. Let them dry for at least 24 hours before you paint over the base coat. While waiting for the paint to dry, find a turkey design you'd like to use.
4. Print the design
Find a fun design to print and use on your rocks. Print the design on plain white printer paper at a scale that fits on your chosen rocks. Cut out the design, turn it over and cover the back with white chalk.
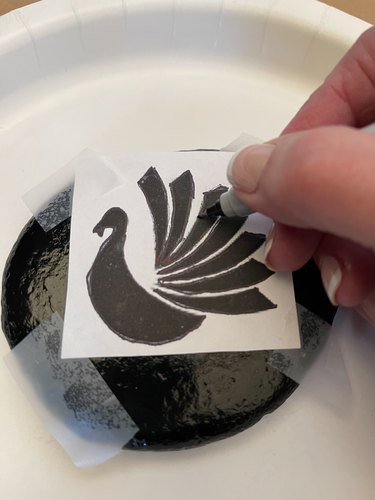
5. Trace the design
Turn the design over again so the picture faces up and the chalk-covered side of the paper is down. Adhere it to the rock with tape. Use a stylus or a pen to trace around the outline of your turkey design. Press down hard enough so the chalk line will transfer onto the rock.
Remove the paper, and the design will be revealed on the rock.
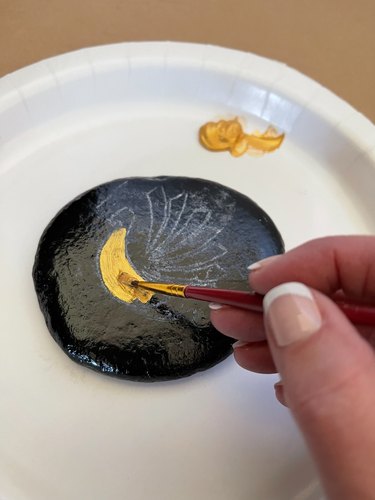
6. Paint the design
Use a small brush and gold acrylic paint to fill the turkey design. It will look rough initially, but don't let that stop you. After it dries, go over it with a second coat of paint. This will look a little better, but you won't have sharp edges yet.
7. Outline design
To get nice crisp edges, use a fine-line white paint pen to outline the design. Then write the word of gratitude with the paint pen.

Happy Thanksgiving!