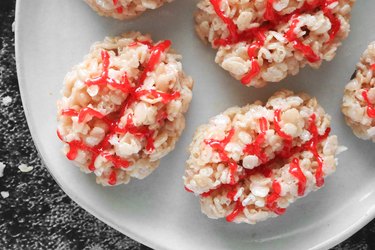
This Halloween, satisfy your sweet tooth with these Rice Krispie treat brains. Made with just seven ingredients, this recipe is a spooky riff on the classic Rice Krispie treat. What's more, the recipe doesn't call for fancy decorating tools or equipment, so they're super easy to make. Kids and adults alike will get a kick out of these DIY no-bake treats! Here's how to make them, just in time for your next spooky Halloween party.
Things You'll Need
5 cups Rice Krispie cereal (or your favorite crispy rice cereal)
10 ounces mini marshmallows
4 tablespoons butter (unsalted butter if you prefer)
1 teaspoon vanilla extract
Red food coloring
Red writing gel
Neutral oil, for greasing (like canola oil)
Video of the Day
Tip
Depending on the brand, the red gel might be labeled as "decorating gel." Make sure the tube has a pointed nozzle.
1. Line your baking sheet
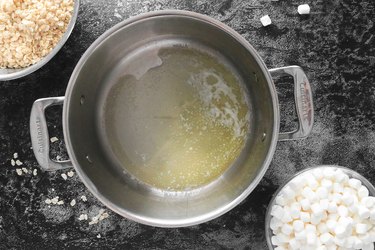
Line a large baking sheet with parchment paper or a silicone baking mat. Alternatively, you can grease the sheet. Set it aside. In a large pot over medium heat, melt the butter.
Video of the Day
2. Add the mini marshmallows
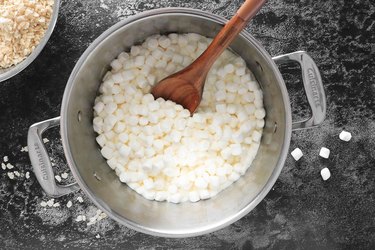
Add the marshmallows and toss to coat them in butter.
3. Stir until completely melted
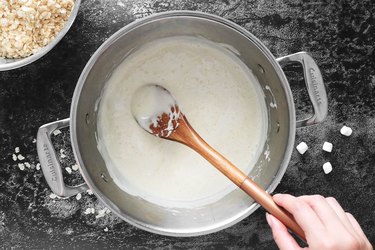
Stir the marshmallows until completely melted and smooth.
4. Add vanilla and color
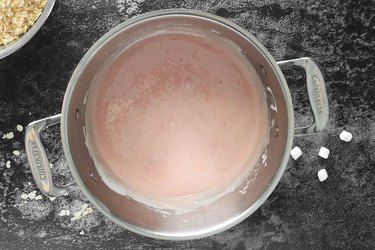
Remove the pot from the heat. Add the vanilla extract and about 10 drops of red food coloring, one by one, while mixing constantly. (You might need more than 10 drops, depending on your specific food coloring and desired hue.) Aim for a color between beige and pink.
Tip
Once you remove the marshmallows from the heat, try to work briskly. The melted marshmallows will get sticky quickly.
5. Add the cereal
Add the Rice Krispie cereal and mix until fully coated.
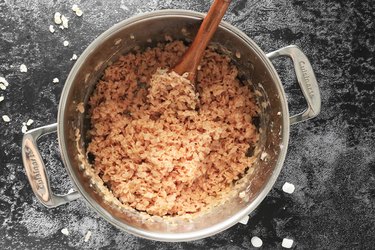
6. Shape your Halloween desserts
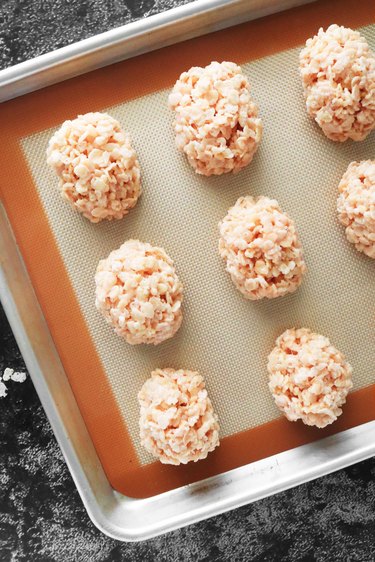
Lightly grease a large spoon and your hands; this will prevent the treats from sticking. Check the Rice Krispie mixture to make sure it's cool enough to touch but still moldable.
Use the spoon to scoop up about 1/3 cup (it's OK if it's not exact). Form the mixture into an oval shape, with one end slightly more narrow than the other, about 3 inches long.
Tip
If the mixture in the pot hardens before you're done, you can re-melt it over low heat.
7. Make your brains
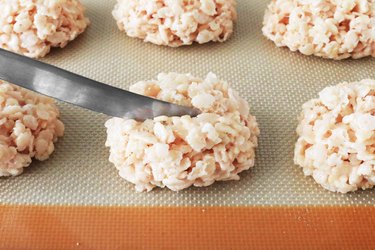
Using a butter knife, make an indent in the center of each oval to create the brain shape. Let the treats harden completely.
8. Add detail to these Halloween Rice Krispies
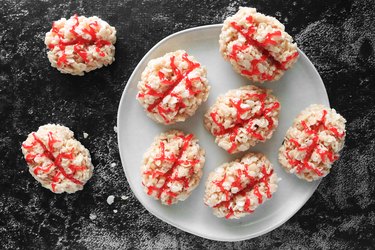
To each Rice Krispie treat, add a line of red gel icing along the indent. Add zig-zag lines branching out from the center.
Tip
Store your leftovers in an air-tight container to pull out as a Halloween treat at your next party.
Happy Halloween!