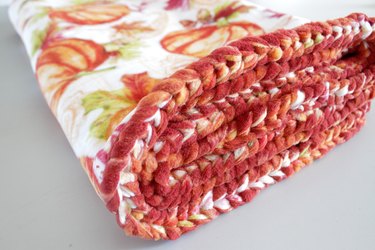
Using an easy looping technique in this DIY project, it's easy to create a braided edge on a fleece blanket. The braided edge adds texture and durability, and the soft fleece makes this the perfect blanket to keep you snug no matter how low the thermostat drops. Make several of them, and give to friends and family during the holidays.
Video: DIY Braided Fleece Blanket
Video of the Day
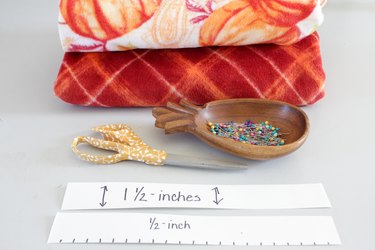
Things You'll Need
1 1/2-yard pieces of coordinating fleece, 2
Sharp scissors
Pins
Measuring tape
Cardboard and marking pen
Sewing machine
Sewing thread and needle (for hand-sewing)
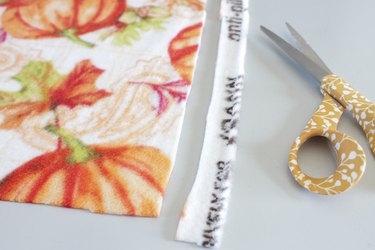
1. Cut the fleece edges
Cut off the selvage edges of the fleece.
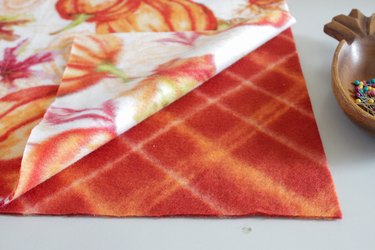
2. Cut the fleece corners
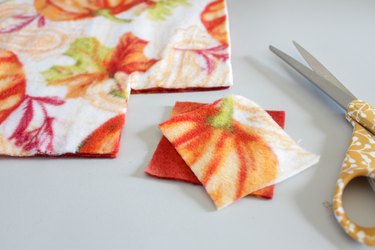
Place the wrong sides of the fleece together and cut out 3-inch squares from each corner.
3. Pin the sides
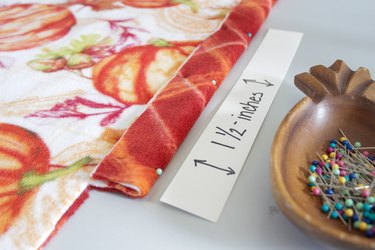
Fold over 1 1/2 inches on all sides and pin in place. Use a measuring tape or create your own cardboard measuring device that is 1 1/2 inches wide to help keep the sides even.
4. Sew the sides
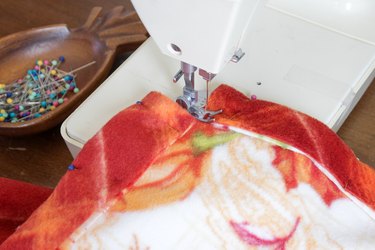
Sew all four sides using a zig-zag stitch.
Tip
For a no-sew alternative, simply skip the stitching step and go straight to the cutting and looping!
5. Cut marks along the edges
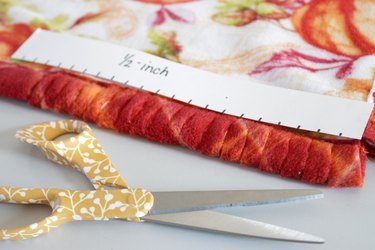
Create a cardboard measuring tool that has marks every 1/2 inch. Place this along the sewn edge to help you cut every 1/2 inch. Be very careful to not cut through the stitching.
6. Start looping the edges
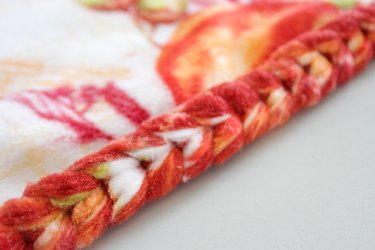
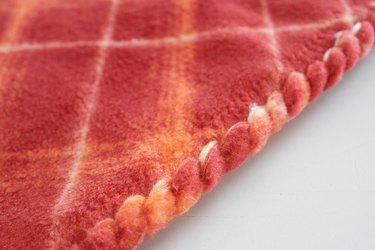
Loop each strip through the one to the right. Continue looping all the way around the blanket.




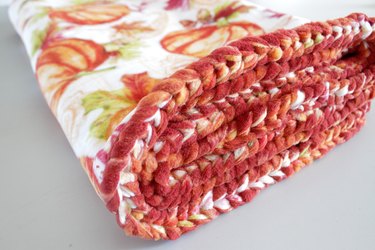
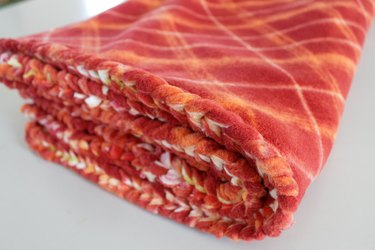
Each side of the blanket will have a different, but nice, look to the braid.
7. Sew together the first and last loops
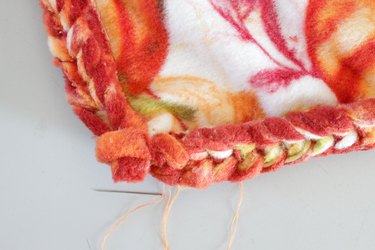
When you get to the end, loop the last loop through the first loop and hand-sew in place.
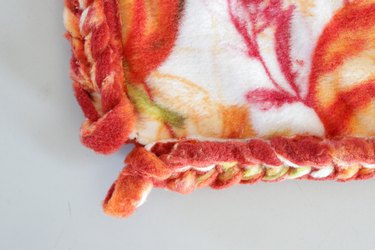
Two different looks for the price of one.
Warm and toasty!
