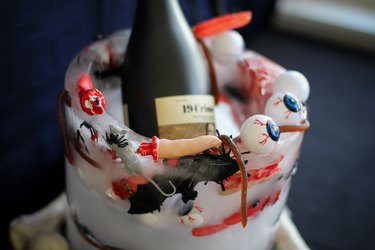
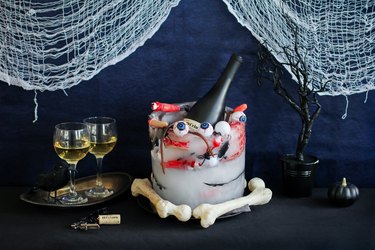
For a bone-chilling centerpiece, make a creepy ice bucket to keep your wine or spirits extra cold this Halloween. Guests will be grossed out (in a good way) when they catch sight of what lurks inside. Have no fear, it's dead-easy to make and sets the scene for a spooky soiree or Halloween party never to be forgotten. You can easily adapt it to your own party theme, such as zombies, vampires or murder mystery (and you can even tailor it for other seasons, too). Display your creepiest bottle of booze, wine bottle, wine cooler or other beverage, and partygoers will stay refreshed all night long.
Video of the Day
Things You'll Need
2-gallon plastic bucket
2-quart plastic bucket
Distilled water (or tap water)
Assorted plastic bugs
Plastic severed fingers
Plastic eyeballs
Fake worms
Plastic organs
Plastic bones
Hand weight, brick or rocks
Since most objects placed in water will float to the top, we'll be building this ice bucket in three layers. This will ensure you can display lots of creepy items throughout the entire bucket.
Video of the Day
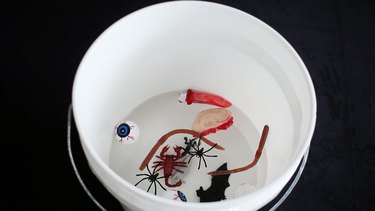
Create the Creepy Items Layer
Fill a 2-gallon plastic bucket with 2 inches of distilled water, and then add an assortment of creepy items to the water. The closer items are to the edge of the bucket, the easier you will be able to see them through the ice. Place the bucket in the freezer for several hours or overnight.
Add the Smaller Bucket with Weights
Remove the bucket from the freezer and place the smaller bucket inside the larger one. Place a hand weight, brick or rocks inside the smaller bucket to weigh it down (we used a 5-pound hand weight).
Tip
While distilled water is not necessary to make this ice bucket, it will result in a clearer ice than regular tap water.
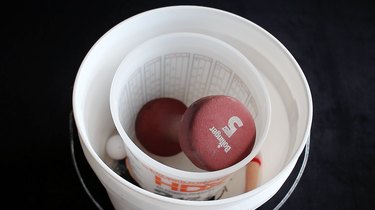
Add More Creepy Items
Fill the empty space in between the two buckets with more creepy items, positioning them so they face outward. Then add more water to the space between the buckets, just enough to fill it up about halfway. Freeze for several hours or overnight.
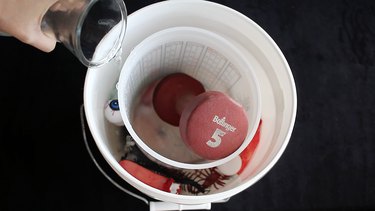
More Water and More Creeps
Remove the bucket from the freezer and fill the remaining empty space between the two buckets with more creepy items. Fill the bucket with water, but leave the water level slightly lower than the very top items, so that some of them will appear to be coming out of the ice when they freeze. Freeze for several hours or overnight.
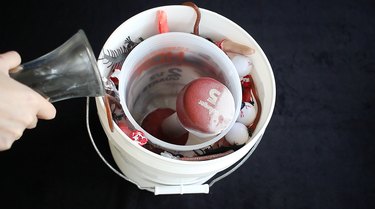
Remove the Smaller Bucket
Once the final layer is frozen, remove the weight/rock and pour cold water into the smaller bucket. Wait a few minutes, and then carefully slide the smaller bucket out of the larger one.
Note: Do not use warm or hot water, as the temperature difference could crack the ice.
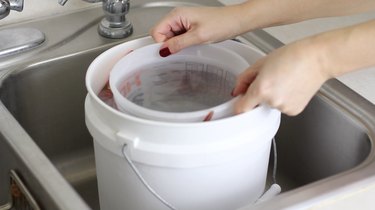
Rinse the Larger Bucket
Place the larger bucket in the sink and run cold water along the sides of it.
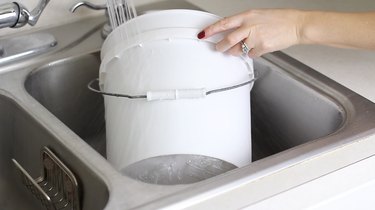
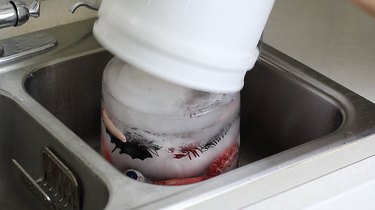
After a few minutes, the ice bucket should slide right out of the plastic bucket. Be careful when removing it, as you don't want it to crack.
Position and Decorate Your DIY Halloween Ice Bucket
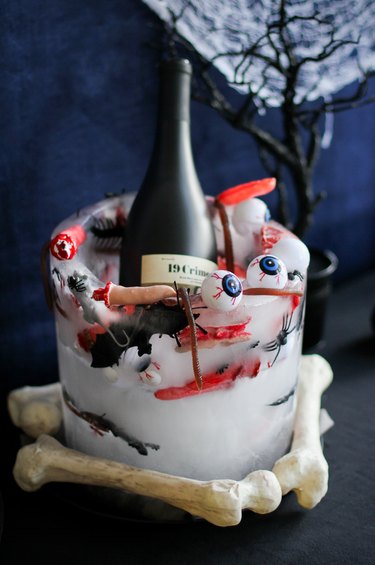
Line a large plate or platter with a towel to absorb the ice as it melts. Place the ice bucket on top of the towel and decorate the base of the plate with fake bones or other creepy items to make it even more special.
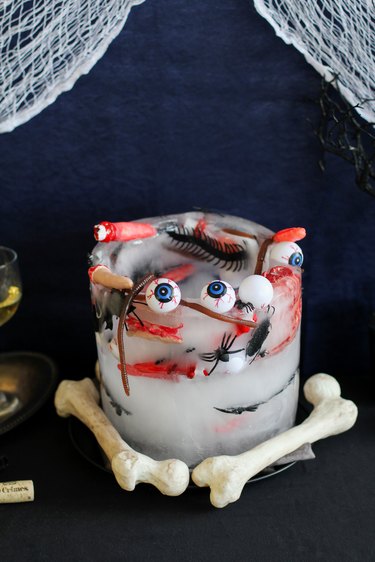
Put your best bottle on ice, don your Halloween costume and prepare for the squeals when you reveal this fabulous Halloween party decor.
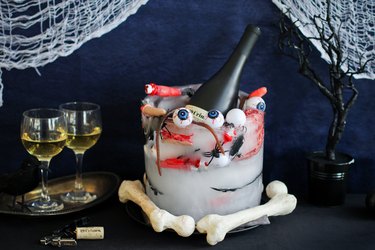
Freeze silicone or plastic bugs in ice cube molds or ice cube trays and cover the bottle in the ice container with the buggy cubes. Add a candy bucket and other fun stuff to the display table or cocktail bar. In addition to ice tongs and typical barware, set a pair of jack-o'-lanterns on the ends.
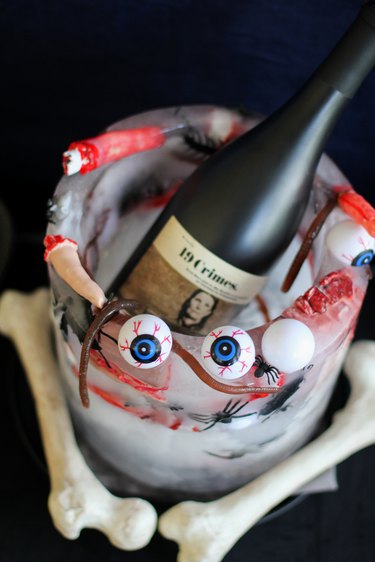
As long as you keep the ice bucket away from direct sunlight or heat, it'll creep out your guests for the entire party.
