Now that the weather is warming up and the days are getting longer, it's time to hit the open road with your family and explore some of the hidden gems in your area. To be sure everyone is as comfortable as possible on your epic road trip this summer, make a few of these simple seatbelt pillows ahead of time. With so many design options available, everyone can have their own personalized pillow to cuddle with when resting up between stops. It just takes a little fleece and cotton, some hook and loop fasteners and stuffing to ensure everyone is relaxing in style.

Video of the Day
Things You'll Need
1/2 yard of fleece
1/2 yard of cotton fabric
1/4 yard medium fusible interfacing
1/4 yard hook and loop fasteners
Measuring tape
Sharp scissors
Pins
Small drinking glass
Washable marker
Small bag of polyester fiber fill stuffing
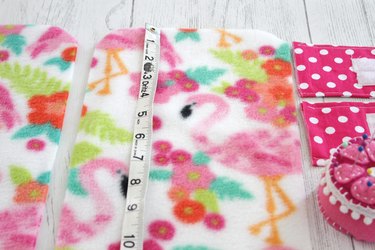
Step 1
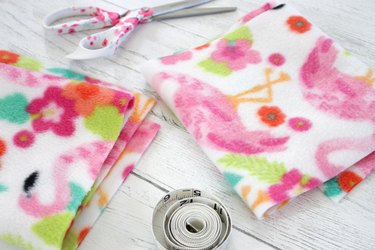
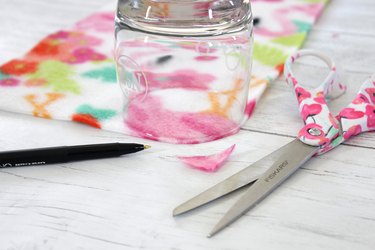
Cut two 7 1/2 x 26-inch rectangles from the fleece. Round the corners by tracing around a drinking glass with a washable marking pen and cutting along the lines.
Step 2
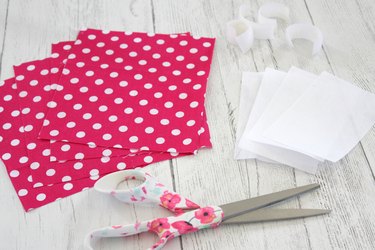
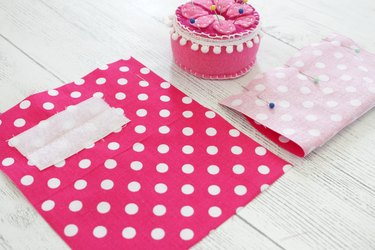
Cut four 6 x 7-inch pieces of cotton for the tabs and four 5 x 3-inch pieces of heavy fusible interfacing.
Cut four 3-inch strips of hook and loop fasteners.
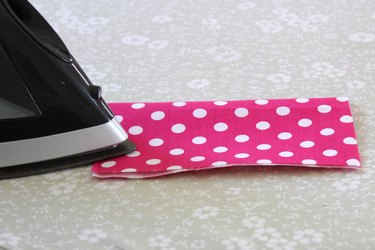
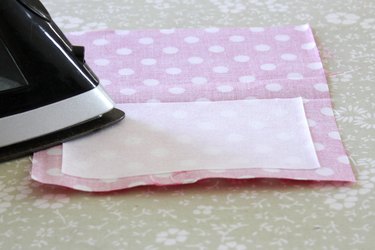
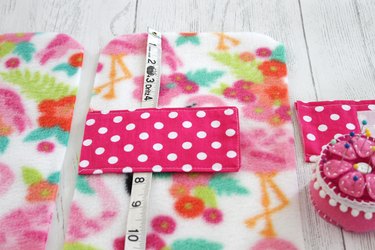
Step 3
Fold each of the cotton rectangles in half with the wrong sides together so you have a 6 x 3 1/2-inch rectangle. Press with a hot iron.
Open up each piece and place the 5-inch edge of the fusible interfacing along the crease. You will have a 1/2 inch of cotton fabric extending along each side of the interfacing. Press the interfacing in place.
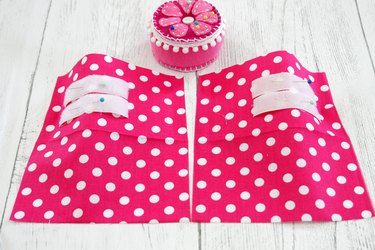
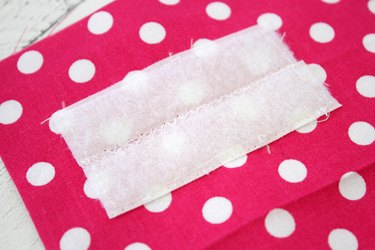
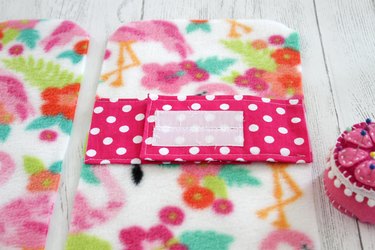
Step 4
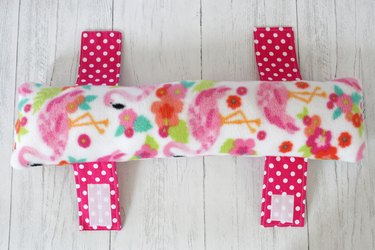
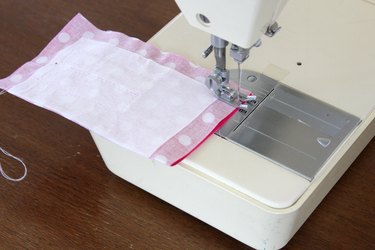
Turn the tabs over so the right side is facing up and the fusible interfacing is facing down. Position the hook and loop fasteners 3/4-inch in from the right side and 3/4-inch away from the crease on one of the tabs. Place the other set of hook and loop fasteners 3/4-inch in from the left side and 3/4-inch away from the crease. Pin and sew in place with a straight stitch around the outside edges and a zig zag stitch down the center.
Step 5
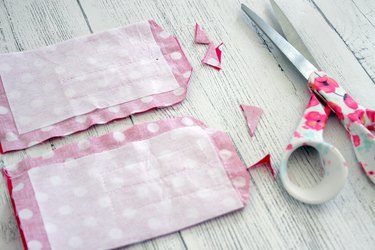
With the hook and loop fasteners sewn in place, refold the tabs in half along the crease with right sides together. Pin and sew along the side and the end that is closest to the fasteners with a 1/2-inch seam allowance. Leave the opposite end open.
Step 6
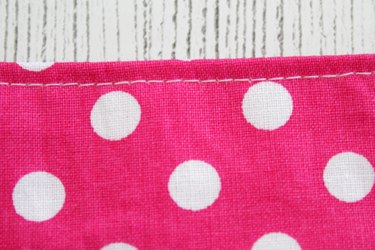
Clip the corners and turn the tabs right side out through the open end. Use a chopstick or a point turner to push out each corner. Press with a hot iron and topstitch around both sides and the finished end.


Step 7
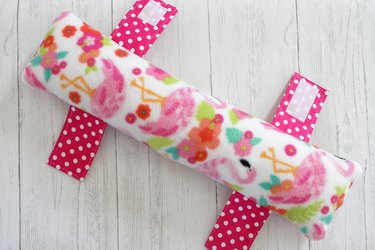
Place one fleece panel, right side up, on your work surface. Place the tabs 4 1/2 inches down from the top with the raw edges lined up with the raw edges of the fleece. The left tab should have the fasteners facing down and the right tab will have the fasteners facing up. Pin in place and repeat 4 1/2 inches up from the bottom edge for the other set of tabs.
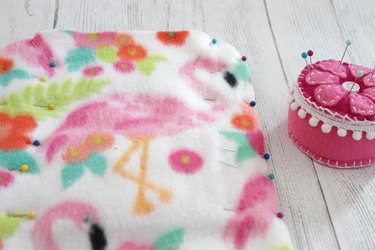
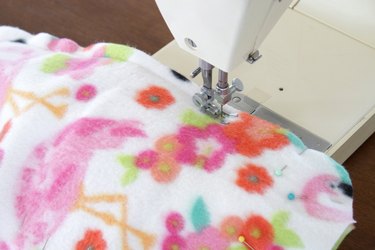
Step 8
Place the other piece of fleece over the tabs so the right sides of the fleece are together. Pin around all the edges leaving an opening at the bottom to allow for turning and stuffing. Sew with a 1/2-inch seam allowance. Notch each corner.

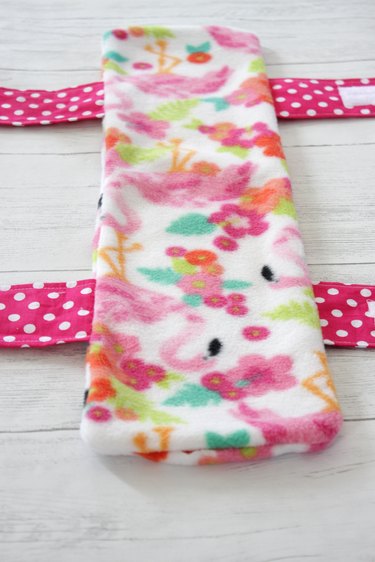
Step 9
Turn the pillow right side out by pulling the fleece through the opening.

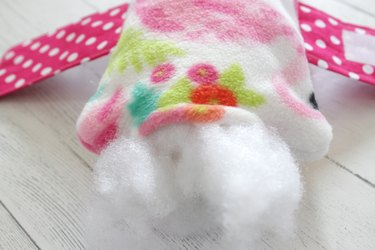
Step 10
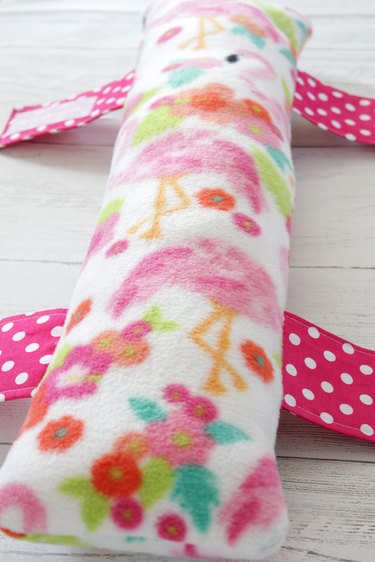
Fill with the stuffing until the pillow reaches your desired firmness.
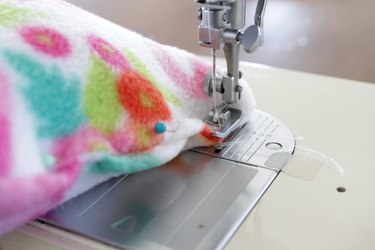
Step 11
Fold in the raw edges on the open end, then pin and sew the opening closed.
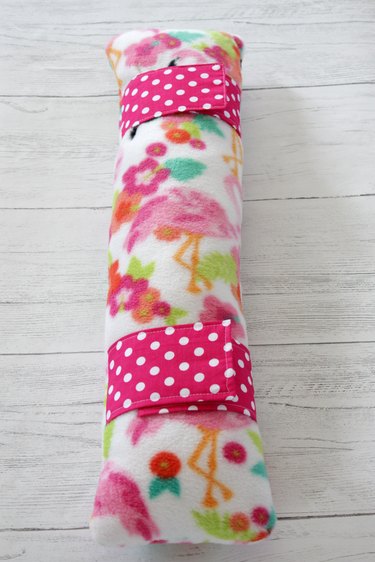
Wrap the tabs around your seatbelt and fasten to hold in place, then snooze away in comfort and style.