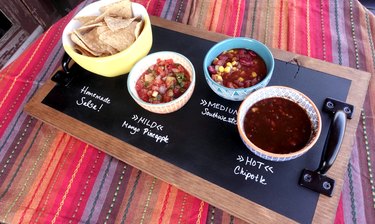
Next time you entertain, step up your hosting game with this incredibly simple yet impressive DIY chalkboard serving tray. Easily customize the dimensions and overall look of your tray by choosing the size, stain color, and handle hardware that suit your personal style -- whether modern, rustic, classic, or industrial. Start now and your tray will be ready for the table in just a few hours!
Video of the Day
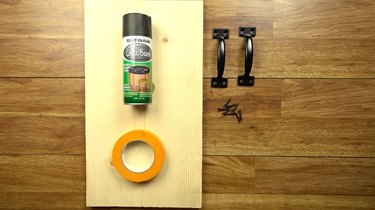
Things You'll Need
3/4-inch thick wood board (desired size -- I used 11 ¼x 20)
Fine grit sand paper or sanding block
Non-toxic wood stain or finish
Painter's tape
Paint primer (spray recommended)
Chalkboard paint (spray recommended)
Drawer/cabinet pulls (front mounting recommended)
5/8-inch screws
Felt pads (optional or recommended if using back mounting hardware)
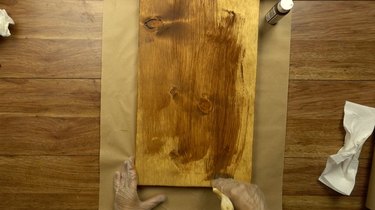
Step 1: Sand & Stain
Smooth the surface, corners, and edges of the plank with fine grit (180 - 220) sandpaper. Then, stain/finish the wood with a non-toxic product.
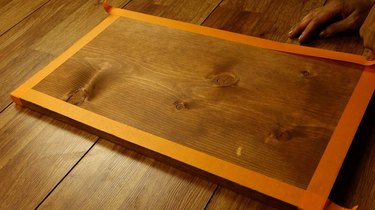
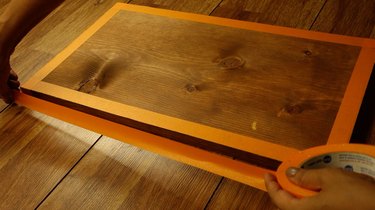
Step 2: Tape Edges & Sides
Mask the edges and sides of the board with painter's tape.
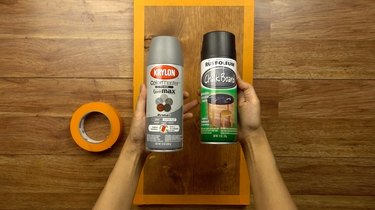
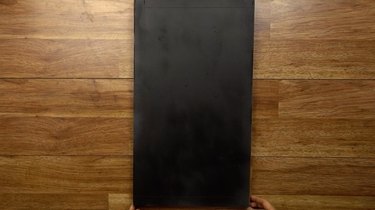
Step 3: Prime & Paint
Once the edges and sides are masked, take the board to a well ventilated area because it's time to prime and paint! Following the manufacturer instructions, coat the surface with paint primer and allow to dry. Then, coat with two or more thin layers of chalkboard paint. We recommend spray products for even coverage and easy of use.
Wait until the paint is completely dry.
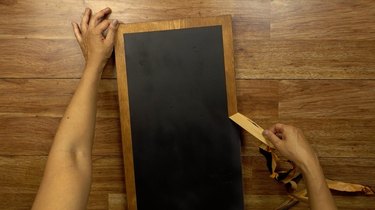
Step 4: Remove Tape
Now comes the most satisfying step of all (at least it is for me!) -- removing the masking tape. Carefully and slowly peel it off to ensure crisp lines between the stained wood edging and chalkboard surface.
Step 5: Attach Hardware
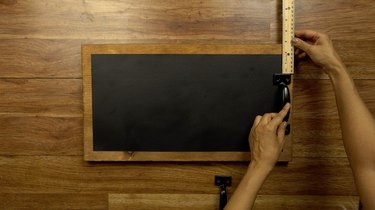
We recommend using front-mounted cabinet/drawer pulls so that that no mounting hardware will protrude from the underside of the tray. However, if you find the absolute perfect handles for your tray and they happen to be rear mounted, you can still use them with a few extra materials and steps (see Tip box below Step 6).

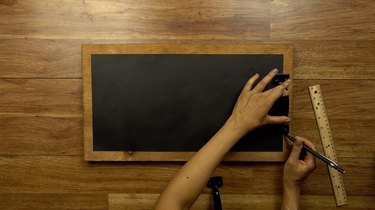
Measure and mark the desired placement of your handles.
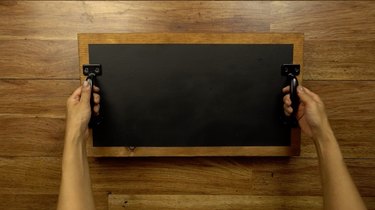
Step 6: Attach Handles
Attach the hardware using 5/8-inch screws.

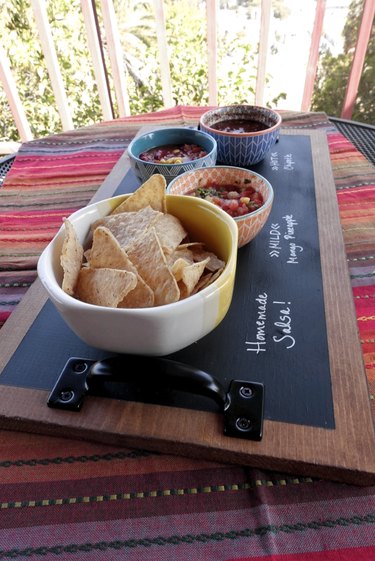
Ta-da! Your tray is good to go.
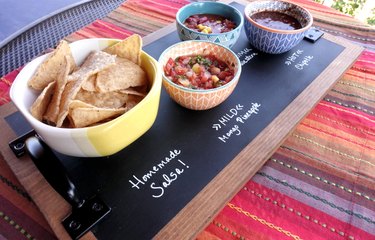
Happy hosting!
Tip
Have rear-mounting hardware that you fear may damage tabletops whenever you set down your tray? Here are a couple of options: 1) pick up some adhesive felt pads to stick on top of the hardware to protect your furniture surfaces from being damaged 2) using wood glue, attach two 1/4 - 3/4 inch strips of wood, the same width as your tray, onto the bottom of the tray (one on each side edge) to keep the tray elevated and away from the surface of your furniture.
The inspiration for this project comes from Shanty 2 Chic.